Well hello there, fellow plant lover! I’m so glad you stopped by. Today, we’re going to dive into the delightful world of propagating our beloved Oxydendrum arboreum, or as many of us affectionately call it, the Sourwood tree.
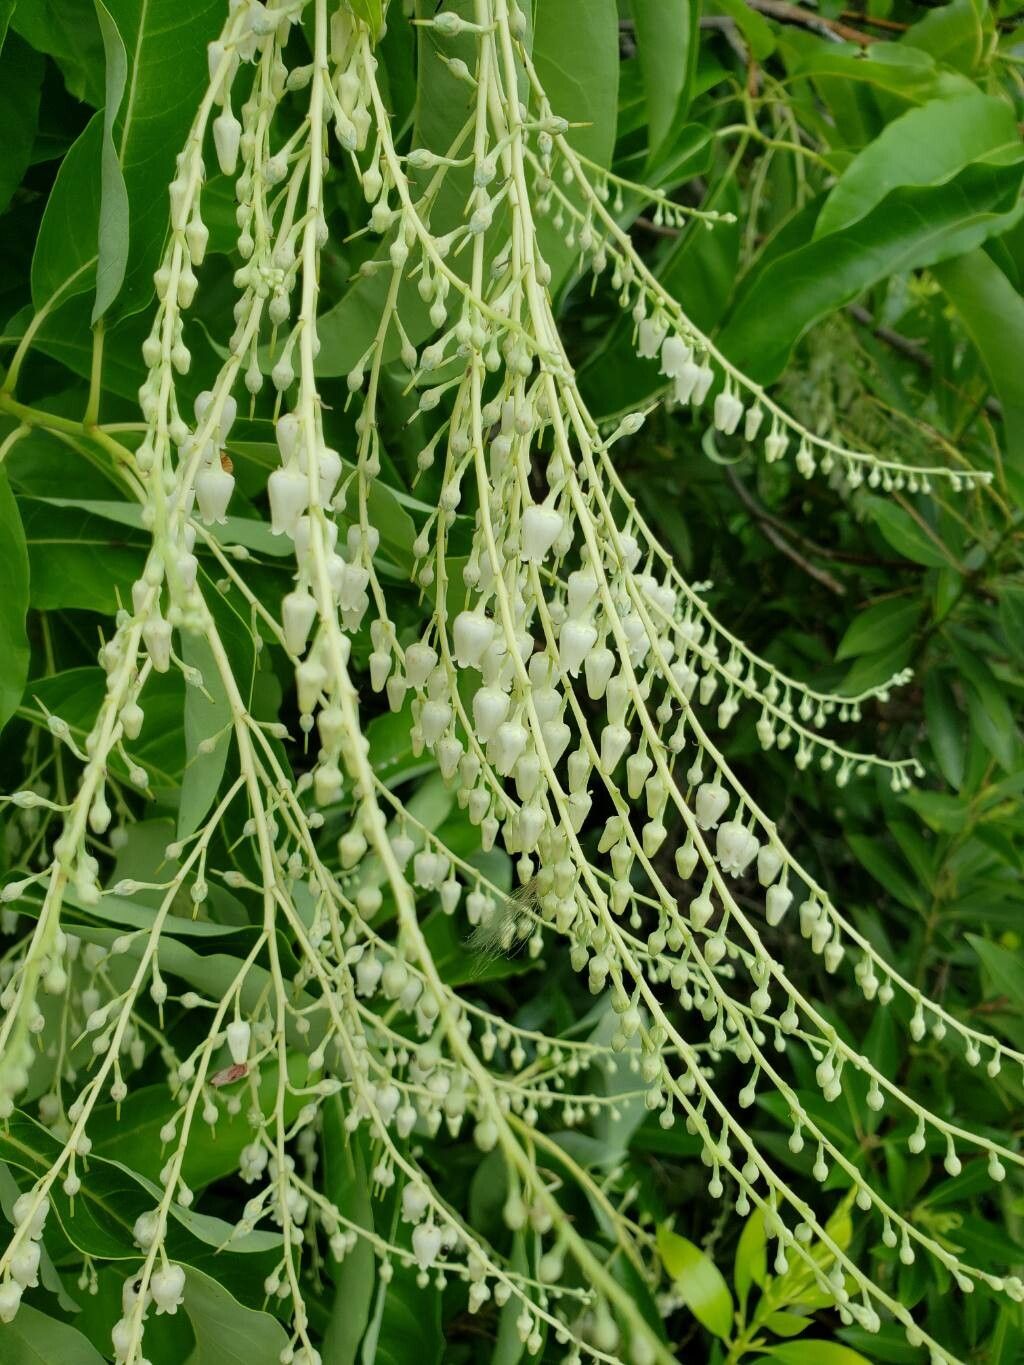
There’s something truly special about coaxing a new life from an existing plant. The Sourwood, with its elegant, cascading white flowers in summer and its fiery autumn foliage, is a stunner. Watching a tiny twig unfurl into a new tree is pure garden magic. Now, I’ll be honest, it’s not one of the easiest plants to propagate, but with a little care and patience, you’ll be rewarded with your own little woodland gems. It’s a project for those who enjoy a bit of a gardening challenge, and trust me, the satisfaction is immense!
The Best Time to Start
For the highest success rate with our Sourwood, I find it’s best to take stem cuttings in late spring to early summer. This is when the new growth is semi-hardy – not too soft and floppy, but not yet fully woody. Think of it as the “just right” stage. You want to catch it when the plant is actively growing and full of energy.
Supplies You’ll Need
Before we get our hands dirty, let’s gather our tools. A little preparation goes a long way!
- Sharp Pruning Shears or a Knife: Cleanliness is key here to prevent disease.
- Rooting Hormone: A good quality powder or gel will really give your cuttings a boost.
- A Well-Draining Potting Mix: I like to use a blend of equal parts peat moss, perlite, and coarse sand. This gives the roots plenty of air and prevents sogginess.
- Small Pots or a Propagation Tray: Clean pots are a must.
- Clear Plastic Bags or a Propagator Lid: To create a humid environment.
- Water: For misting.
- Optional: A Heat Mat: This can be a game-changer, especially if your home is on the cooler side.
Propagation Methods: Stem Cuttings
Stem cuttings are generally the most effective way to propagate Sourwood. Here’s how I do it:
- Select Your Cuttings: Look for healthy, current-year’s growth that is semi-hardwood. Aim for stems about 4-6 inches long. You’ll want to make your cut just below a leaf node (where a leaf attaches to the stem).
- Prepare the Cuttings: Gently remove the lower leaves from the stem, leaving just a few at the very top. This prevents them from rotting once planted. If the leaves are very large, you can even cut them in half to reduce water loss.
- Apply Rooting Hormone: Dip the cut end of the stem into rooting hormone, tapping off any excess. Make sure the cut end is coated.
- Potting Up: Fill your clean pots or propagation tray with your prepared potting mix. Make a hole in the center with a pencil or your finger, deep enough to accommodate most of the stem.
- Insert the Cuttings: Gently push the cutting into the hole, firming the soil around it. Make sure at least one leaf node is below the soil line, as this is where roots will form.
- Water and Cover: Water the soil gently to settle it around the cuttings. Then, cover the pots with a clear plastic bag or a propagator lid. This creates a mini-greenhouse, keeping the humidity high. If using a plastic bag, you might want to prop it up with skewers so it doesn’t touch the leaves.
The “Secret Sauce”
Here are a few little tricks I’ve picked up over the years that can make a big difference:
- Mist Regularly: Don’t let those cuttings dry out! Mist the leaves and the soil daily, especially if you’re not using a propagator lid that’s sealed tight. The goal is to keep them consistently moist but not waterlogged.
- Bottom Heat is Your Friend: If you can, place your pots on a gentle heat mat. This encourages root formation from below, giving your cuttings a real head start. It mimics the warmth of spring soil.
- Patience, Patience, Patience: Honestly, Sourwood can be a bit of a slow starter. Don’t be discouraged if you don’t see signs of life immediately. It can take several weeks to a few months for roots to develop. Resist the urge to tug on them!
Aftercare & Troubleshooting
Once you start to see new leaf growth, that’s a fantastic sign! It means roots are forming.
- Gradual Acclimation: Once new growth appears robust, slowly start to acclimate your cuttings to normal room humidity. This means opening the plastic bag or propagator lid for a few hours each day, gradually increasing the time.
- Watering: Continue to water when the top inch of soil feels dry.
- Transplanting: When your new plant has a good root system (you might see roots peeking out the drainage holes, or gentle tugging reveals resistance), it’s time to transplant it into a slightly larger pot with a good quality potting mix.
The most common issue you might encounter is rot. This is usually a sign of too much moisture and not enough air circulation. If you see stems turning black and mushy, unfortunately, that cutting is likely lost. The best way to combat this is through good drainage in your soil mix and careful watering.
A Little Bit of Encouragement
Propagating Sourwood is a journey, not a race. There will be times you’ll want to peek under the soil, and I totally get it! But try to let go and trust the process. Enjoy the small victories, learn from any setbacks, and most importantly, have fun coaxing new life into your garden. Happy propagating!
Resource:
https://identify.plantnet.org/k-world-flora/species/Oxydendrum%20arboreum%20(L.)%20DC./data