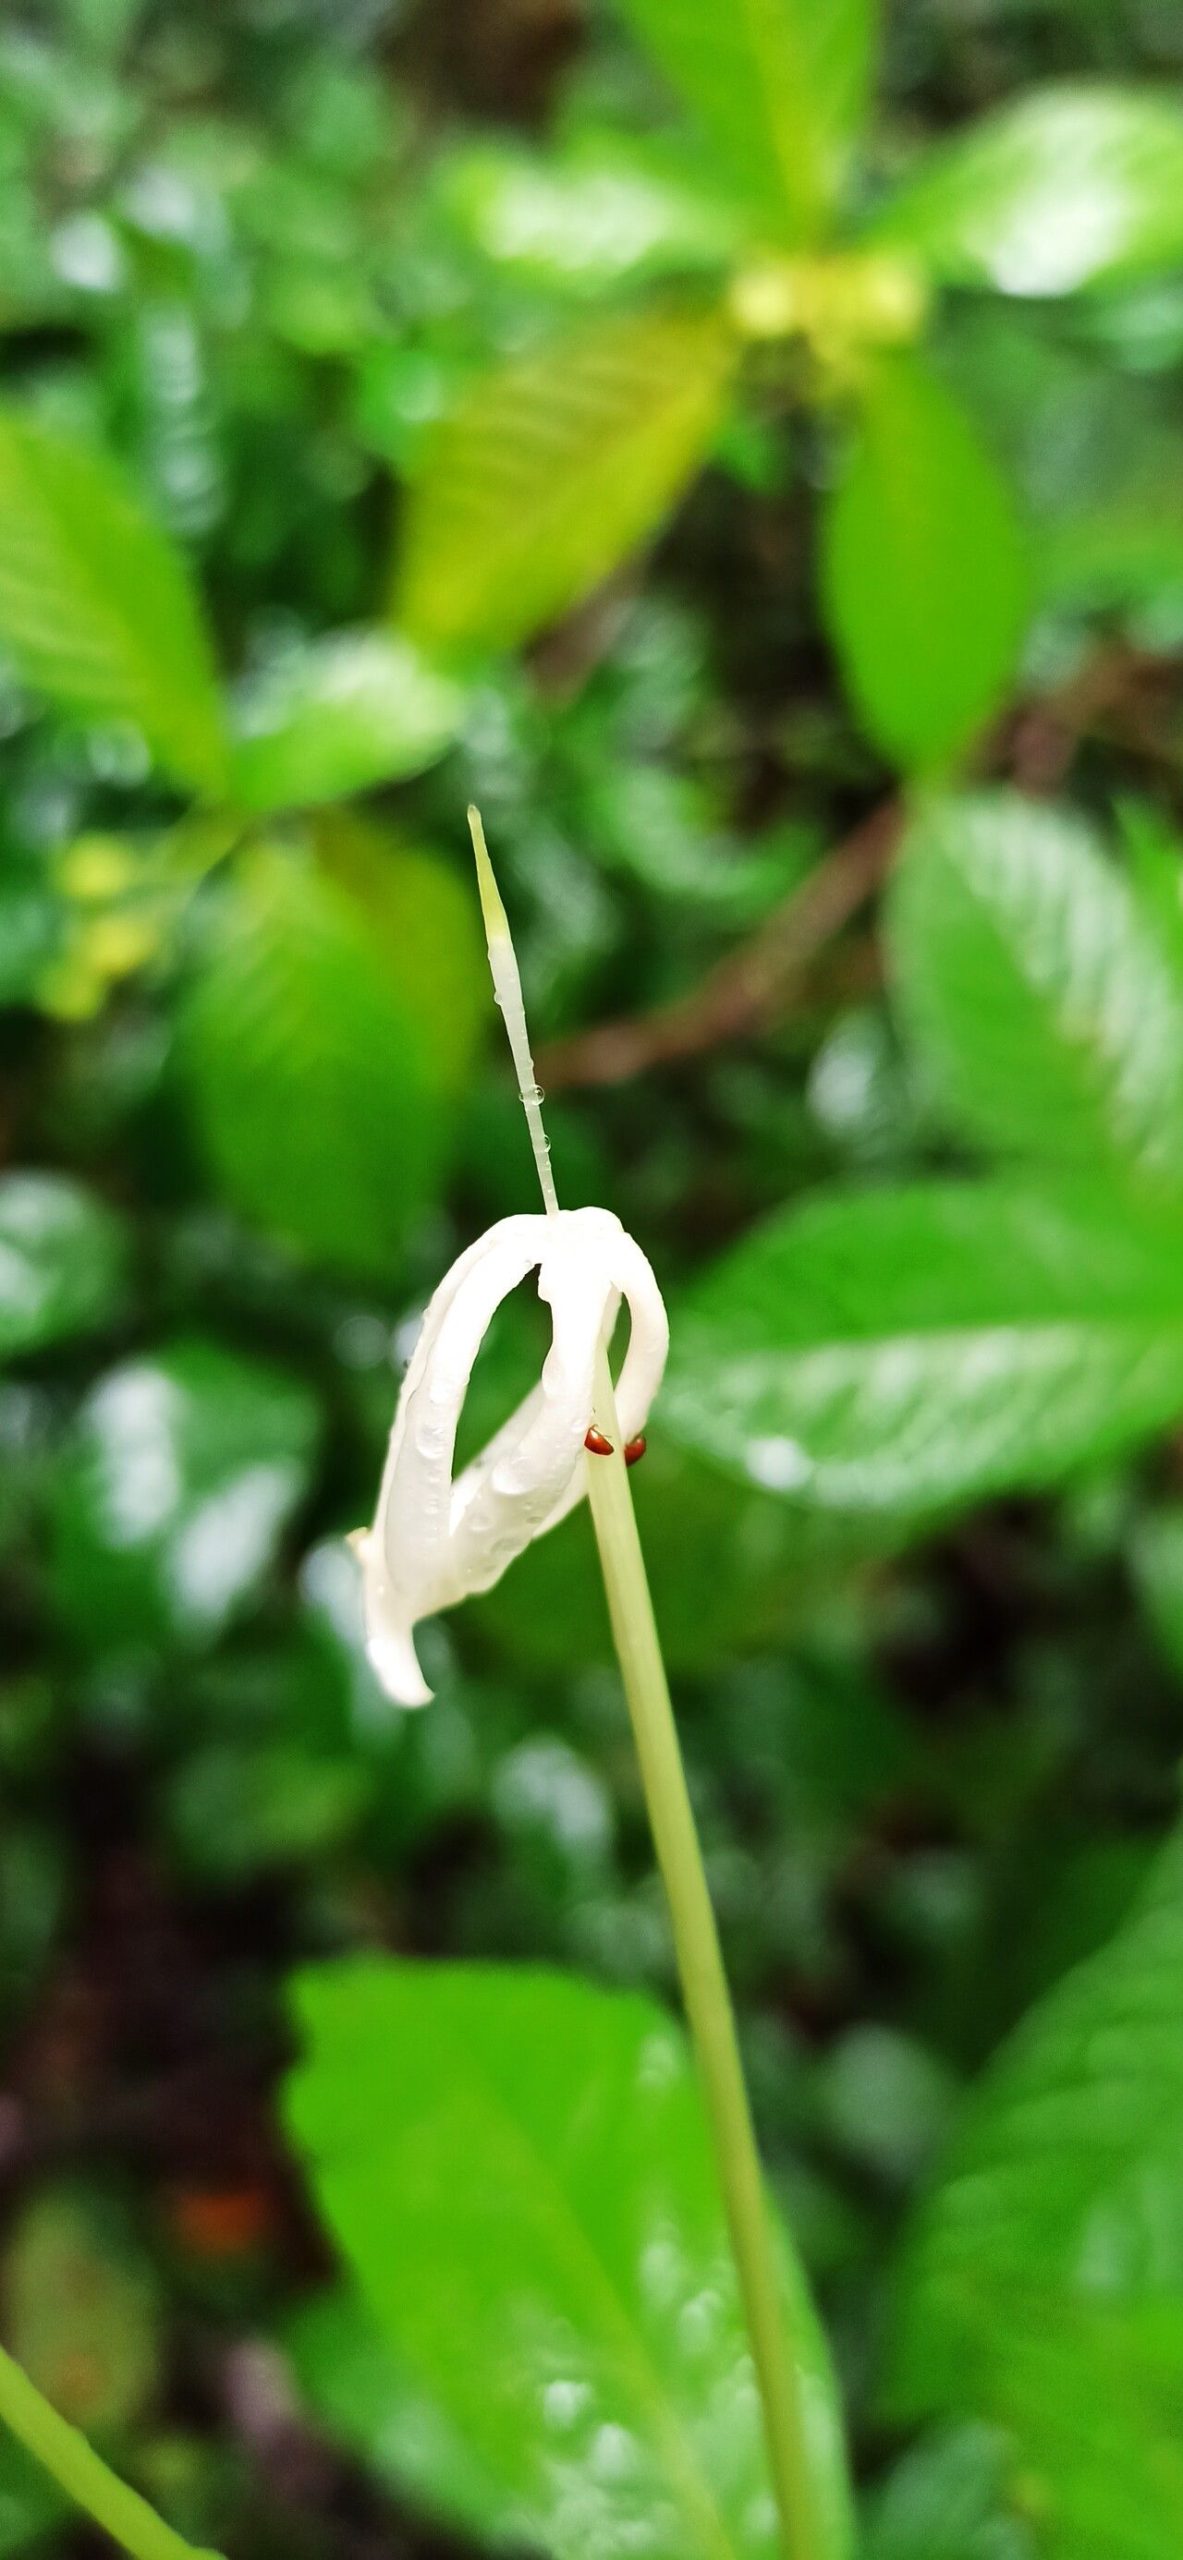
Hello green thumbs! I’m so excited to chat with you today about a plant that always brings a smile to my face: Oxyanthus goetzei. There’s something truly special about its vibrant leaves and the way it can transform a corner of your garden or home into a lush haven. And guess what? Propagating it is a fantastic way to share that beauty and experience the magic of growth firsthand. While Oxyanthus goetzei can be a little particular, it’s definitely a rewarding project, even for those just dipping their toes into the world of plant propagation.
The Best Time to Start
For the absolute best chance of success with your Oxyanthus goetzei cuttings, spring and early summer are your golden ticket. This is when the plant is actively growing, meaning it has plenty of energy to put into developing new roots. Look for stems that are firm but not woody – think of that perfect stage where a spring seedling is just hitting its stride.
Supplies You’ll Need
To get your propagation station set up, you’ll want a few things ready:
- Sharp, clean pruning shears or a knife: Essential for making clean cuts that heal and root well.
- Rooting hormone powder or gel: This isn’t always strictly necessary, but it can give your cuttings a significant boost.
- A well-draining potting mix: I like a blend of equal parts peat moss, perlite, and a bit of coarse sand. This keeps things airy and prevents waterlogging.
- Small pots or trays: Terracotta pots are lovely because they breathe, but plastic ones work just fine too.
- A clear plastic bag or propagation dome: This creates a humid environment, which is crucial for cuttings.
- Water: For misting!
Propagation Methods
My go-to method for Oxyanthus goetzei is stem cuttings. It’s reliable and gives you a great chance of success. Here’s how I do it:
- Take Your Cuttings: Select a healthy, non-flowering stem. Using your sharp shears, make a clean cut just below a leaf node (where a leaf joins the stem). Aim for cuttings that are 4-6 inches long.
- Prepare the Cuttings: Gently remove the lower leaves, leaving just a few at the top. This prevents them from rotting in the soil. If the leaves are quite large, I’ll often cut them in half to reduce water loss.
- Dip in Rooting Hormone (Optional): If you’re using rooting hormone, lightly dip the cut end into the powder or gel. Tap off any excess.
- Plant Your Cuttings: Fill your small pots or trays with your prepared well-draining mix. Make a small hole with your finger or a pencil, and then gently insert the cutting, nestling it in so the nodes are buried. Firm the soil around it.
- Create a Humid Environment: Water the soil lightly until it’s moist but not soaking wet. Then, cover the pot with a clear plastic bag or place it under a propagation dome. This traps moisture around the leaves.
The “Secret Sauce”
Here are a couple of tricks I’ve learned over the years that really make a difference:
- One thing I always do, especially when using water containers or just planting in soil, is to ensure no leaves are touching the water or the soil surface directly. If they sit in moisture, they’re much more prone to rot before they can even think about rooting. Trim off any leaves that are too low.
- If you have a heat mat, using a bit of bottom heat can be a game-changer. It warms the soil just enough to encourage root development without drying out the cutting. It mimics the conditions of spring soil wonderfully.
Aftercare & Troubleshooting
Once your cuttings are planted and covered, find them a bright spot with indirect light. Avoid direct sun, as it can scorch the delicate leaves and dry out your cuttings too quickly. Misting the inside of the plastic bag every few days helps maintain humidity.
You’ll know your cuttings are ready when you see new leaf growth or feel a gentle tug when you lightly try to pull on them – that’s a sign of roots! This can take anywhere from 4 to 8 weeks, so don’t get discouraged if it takes a while.
If you notice leaves turning yellow and mushy, or if the stem feels soft and rotten at the soil line, it’s likely rot. This usually means too much moisture and not enough air circulation. Sadly, these cuttings are usually not salvageable, but learn from it and try again! Ensure your soil is airy and don’t overwater.
A Little Patience, A Lot of Reward
Propagating any plant is a journey, and Oxyanthus goetzei is no exception. Be patient with your little cuttings. Watch them closely, offer them the right conditions, and celebrate every tiny sign of life. There’s an incredible satisfaction in nurturing a new plant from a simple cutting. Happy propagating, and enjoy the abundance!
Resource:
https://identify.plantnet.org/k-world-flora/species/Oxyanthus%20goetzei%20K.Schum./data