Oh, hello there! Come on in and grab a cuppa. Today, we’re diving into the wonderful world of Ortegia hispanica, a gem of a plant that absolutely deserves a spot in your garden. I’ve been growing and fussing over these beauties for years, and trust me, getting more of them to share is a joy.
The Little Plant That Steals Your Heart
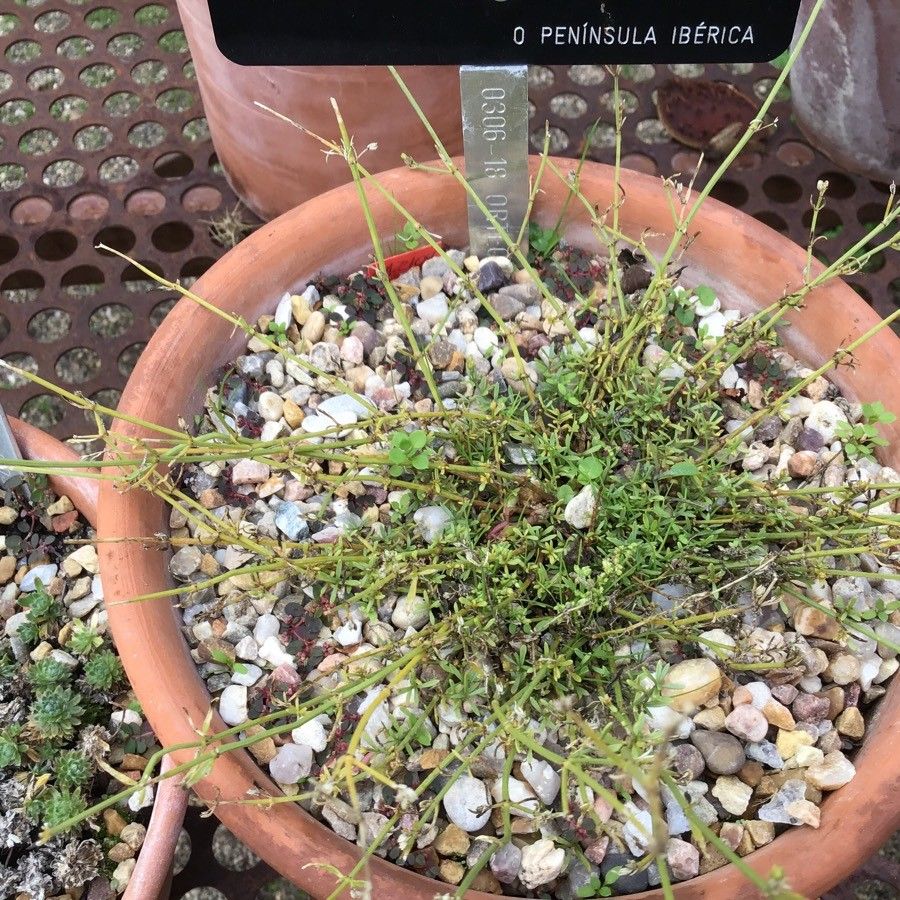
Why Ortegia hispanica, you ask? Well, for starters, it’s just a delight. It’s got this charming, somewhat architectural form, with lovely grey-green foliage that adds a touch of sophistication to any planting scheme. And the flowers? Small, delicate, and oh-so-pretty. But the real magic is in its resilience. It’s happy in sun, tolerates a bit of dryness once established, and it’s just one of those plants that makes you feel like a gardening superstar when it thrives.
Now, about propagating it. Is it for absolute beginners? I’d say it’s a moderate challenge, but with a little patience and these tips, you’ll be well on your way to success. It’s definitely a rewarding project!
When is the Perfect Moment?
The absolute best time to get stuck into propagating Ortegia hispanica is during its active growing season. Think late spring through early summer. This is when the plant is full of vigour, and any new growth you take will have the best chance of taking root and flourishing. Waiting until after it’s finished its initial flush of growth, or when the stems are semi-hardwood, is key.
Your Propagation Toolkit
Gathering your supplies beforehand makes the whole process much smoother. Here’s what I always have on hand:
- Sharp, clean pruning shears or a sharp knife: Essential for making clean cuts.
- Rooting hormone (optional but recommended): Especially helpful for encouraging quicker root development.
- Well-draining potting mix: A 50/50 blend of perlite and peat moss or coco coir works beautifully. You want something that doesn’t hold too much moisture.
- Small pots or seed trays: Clean and with drainage holes, of course!
- Watering can or spray bottle: For gentle watering.
- Plastic bags or a propagation dome: To create a humid environment.
- Labels: To keep track of what you’ve planted!
Bringing New Life: My Go-To Methods
I find two methods work best for Ortegia hispanica: stem cuttings and, if you have an established plant that’s looking a bit crowded, division.
Method 1: Stem Cuttings (My Personal Favourite!)
This is my most consistent method for getting good results.
- Select your material: Look for healthy, non-flowering stems from your established plant. Aim for stems that are about 3-4 inches long and are flexible but firm – not too floppy and not woody.
- Make the cut: Using your sharp, clean tool, take cuttings just below a leaf node (where a leaf attaches to the stem). Angle your cut slightly.
- Prepare the cutting: Gently remove the lower leaves, leaving just a couple at the very top. This prevents them from rotting when you plant them. If the leaves are large, I like to snip them in half to reduce moisture loss.
- Dip in hormone (optional): If you’re using rooting hormone, dip the cut end into it. Tap off any excess.
- Plant them up: Make a hole in your prepared potting mix with a pencil or your finger. Insert the cutting, ensuring the node where you removed the leaves is buried. Gently firm the soil around it.
- Create humidity: Water the pots very gently, then cover them with a clear plastic bag or place them under a propagation dome. Make sure the leaves aren’t touching the sides of the bag. Pop them in a bright spot, but out of direct sunlight.
Method 2: Division (For the Mature Plant)
If your Ortegia is looking a little overgrown, dividing it can be a great way to get new plants and refresh the original.
- Timing is key: This is best done in early spring, just as new growth is starting, or in early autumn.
- Gently excavate: Carefully dig up the entire plant.
- Divide carefully: Using your hands or a clean trowel, gently tease the root ball apart into smaller sections. Each division should have a good portion of roots and some leafy top growth.
- Replant: Plant these divisions into their new pots or directly into the garden, treating them like young plants. Water them in well.
The “Secret Sauce” Insider Tips
Here are a few things I’ve learned that really boost my success rate:
- Don’t let the leaves touch the water when using a plastic bag: I learned this the hard way! If those lower leaves are submerged, they’re almost guaranteed to rot, taking your cutting with them. Trim them off or tent the bag so they’re well above the soil.
- Bottom heat is your friend: If you have it, placing your potted cuttings on a heated propagator mat can make a world of difference. It encourages root formation from below, giving your cuttings a real head start. It’s not essential, but it’s a game-changer.
- Be patient with airflow: Once your cuttings look like they might be trying to grow a new leaf, you can start to gradually increase airflow. This means opening the bag for a few minutes each day, or lifting the dome. You don’t want to shock them, but you also don’t want perpetual sauna conditions once roots have formed.
Aftercare and What Ifs
Once you start to see signs of new growth – a tiny leaf unfurling or a bit of new shoot emerging – it’s a good sign that roots are forming!
- Transition slowly: Start removing the plastic bag or dome for longer periods each day. You want to acclimate your new plants to normal humidity.
- Water with care: Keep the soil consistently moist but not waterlogged. Water when the top inch of soil feels dry.
- Transplant when ready: When your new plants have a decent root system (you can gently tug on them to feel resistance, or see roots coming out of the drainage holes), it’s time to pot them up into slightly larger containers with your regular potting mix.
Now, what if things go wrong? The most common culprit is rot. If your cuttings turn mushy or black and fall apart, it’s usually a sign of too much moisture and not enough airflow. If a cutting wilts and just looks… tired, it might not have taken, but don’t despair! Sometimes they just need more time. I always plant a few extra just in case.
Happy Propagating!
So there you have it! Propagating Ortegia hispanica is a truly satisfying endeavor. It teaches you about patience, observation, and the incredible resilience of plants. Don’t be discouraged if your first few attempts aren’t perfect. Every gardener has had their share of mishaps! Just keep at it, learn from each experience, and enjoy the process of bringing these lovely plants into your life and sharing them with others. Happy gardening!
Resource:
https://identify.plantnet.org/k-world-flora/species/Ortegia%20hispanica%20L./data