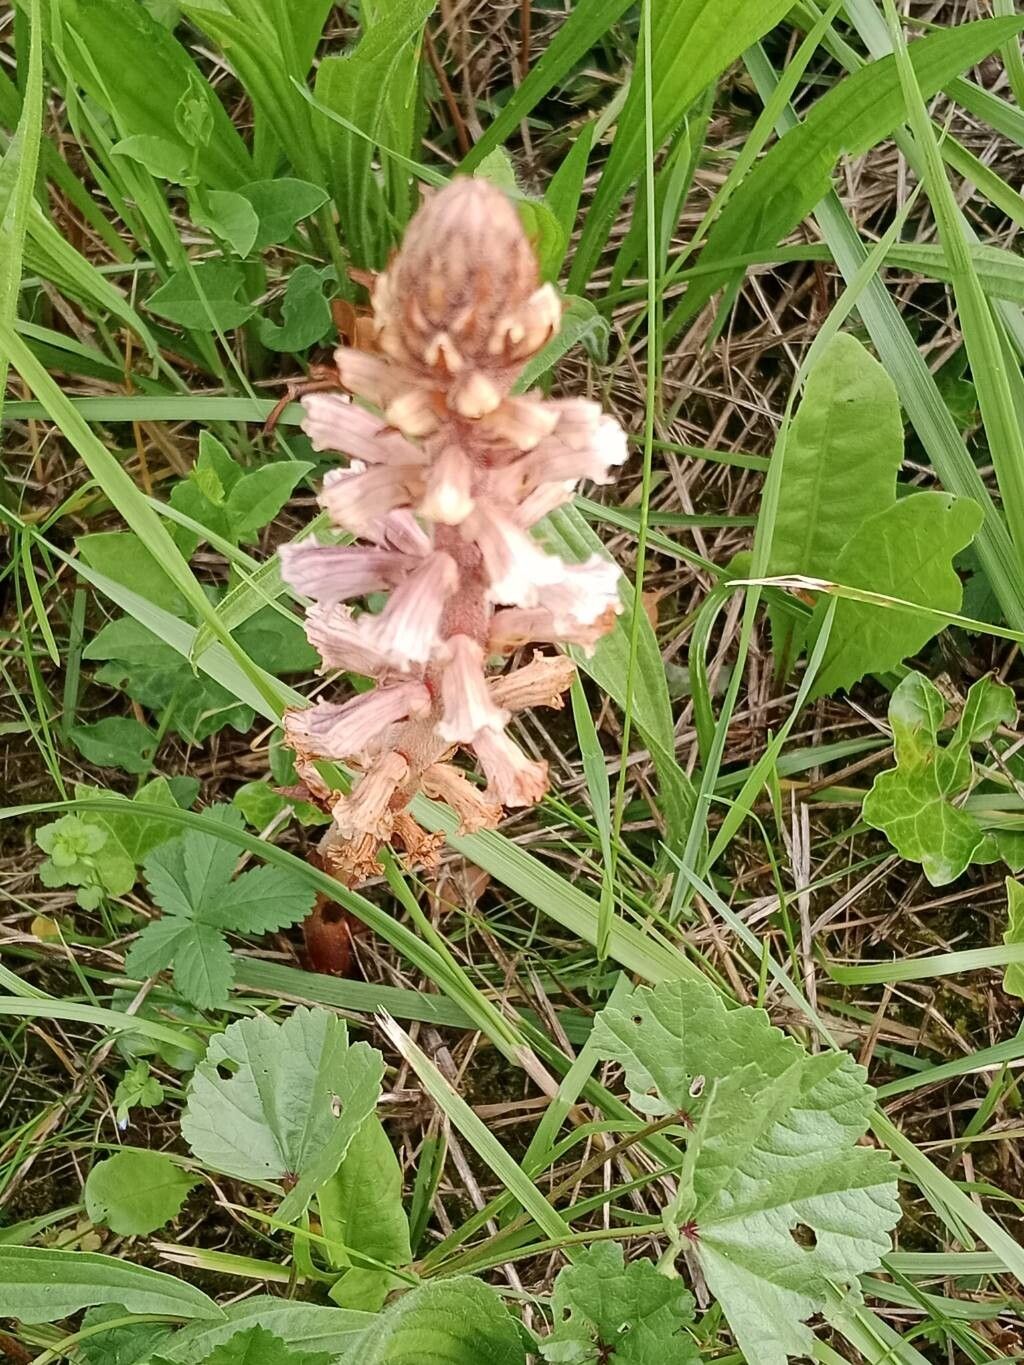
Oh, hello there! Grab your favorite mug, settle in, and let’s chat about a truly unique plant: Orobanche amethystea. You know, the one with those stunning, deep violet-purple spires that just demand attention? It’s a real showstopper in the garden, and there’s a special kind of satisfaction in coaxing new life from it. If you’re looking for a rewarding challenge, you’ve come to the right place. Now, I won’t sugarcoat it – this one isn’t for the absolute beginner, but with a little care and understanding, you can absolutely succeed.
The Best Time to Start
For Orobanche amethystea, timing is everything. The absolute best time to even think about propagating is when the parent plant is actively growing and looking robust, usually in late spring or early summer, after it has finished its main flowering display. You want to catch it when it has plenty of energy to share. Trying to propagate when it’s stressed or dormant is just setting yourself up for disappointment.
Supplies You’ll Need
Here’s what I always have on hand when working with Orobanche:
- Sterile Containers: Small pots or seed trays work well. Make sure they’re clean!
- Well-Draining Potting Mix: I like a blend of perlite and a high-quality, peat-free potting soil. About a 50/50 ratio is usually perfect. Avoid anything too heavy.
- Sharp Pruning Shears or a Craft Knife: Cleanliness is crucial here. We want to make neat cuts.
- Rooting Hormone (Optional but Recommended): A powder or gel rooting hormone can give your cuttings an extra boost.
- Small Pebbles or Grit: For top dressing.
- Watering Can with a Fine Rose: For gentle watering.
- A Spray Bottle: For misting.
Propagation Methods
Now, let’s get our hands dirty! While Orobanche isn’t a plant you’d typically divide or start from seed in the way you would a rose or a tomato, we can have success with stem cuttings.
- Select Your Cuttings: Look for healthy, non-flowering shoots emerging from the base of the plant. These should be about 3-4 inches long and have at least a couple of leaf nodes. Avoid any that look woody or are already developing flower buds.
- Make the Cut: Using your sterilized pruning shears or craft knife, make a clean cut just below a leaf node. This is where the plant is most likely to root.
- Prepare the Cutting: Gently remove the lower leaves from the cutting. You want to expose at least one, but preferably two, leaf nodes.
- Apply Rooting Hormone (If Using): Dip the cut end into your rooting hormone powder or gel. Tap off any excess. This step truly makes a difference for many plants.
- Planting Your Cuttings: Fill your sterile containers with your well-draining mix. Make a small hole with a pencil or your finger in the soil. Insert the cut end of the stem into the hole, ensuring at least one leaf node is buried beneath the surface. Gently firm the soil around the base of the cutting.
- Water Gently: Water thoroughly but gently with your fine-rose watering can. You don’t want to dislodge your cuttings.
- Top Dress: Add a thin layer of small pebbles or grit on top of the soil. This helps to keep the stem base firm and reduces the risk of rot.
The “Secret Sauce”
Here are a couple of things I’ve learned over the years that really help with trickier plants like this:
- Don’t Let Leaves Touch the Water: While I mentioned removing lower leaves already, it bears repeating. If you’re trying water propagation (which is a bit more hit-or-miss with Orobanche), ensure no leaves are submerged. Any plant matter sitting in water is a prime spot for rot. With stem cuttings in soil, this also means ensuring the soil level is below your remaining leaves.
- Embrace Bottom Heat: Orobanche often loves a bit of warmth from below. I have a heated propagator or a heat mat that I place my pots on. This encourages root development from the bottom up, which is crucial for success.
Aftercare & Troubleshooting
Once your cuttings are planted, place them in a bright spot out of direct sunlight. Misting them lightly with your spray bottle every day or two will help keep humidity levels up, which is vital for cuttings. Don’t let the soil dry out completely, but also avoid waterlogged conditions.
The first sign of success will be new growth appearing from the top of your cutting. This can take several weeks, so patience is key!
Now, the tricky part: things can go wrong. The most common issue you’ll face is rot. If a cutting starts to look mushy at the base, or turns black and slimy, that’s a sign of rot. Unfortunately, at that point, it’s usually best to discard it. Ensure you have good air circulation, clean tools, and that well-draining soil. If you see signs of wilting without any rooting, it might be too dry – give it a gentle watering.
A Encouraging Closing
Propagating Orobanche amethystea is a journey, not a race. There will be times when it doesn’t work out, and that’s perfectly okay. Learn from each attempt, adjust your methods, and keep trying. The sheer beauty of this plant makes the effort worthwhile, and that moment when you see tiny roots forming or a new shoot appearing is truly magical. So enjoy the process, and happy gardening!
Resource:
https://identify.plantnet.org/k-world-flora/species/Orobanche%20amethystea%20Thuill./data