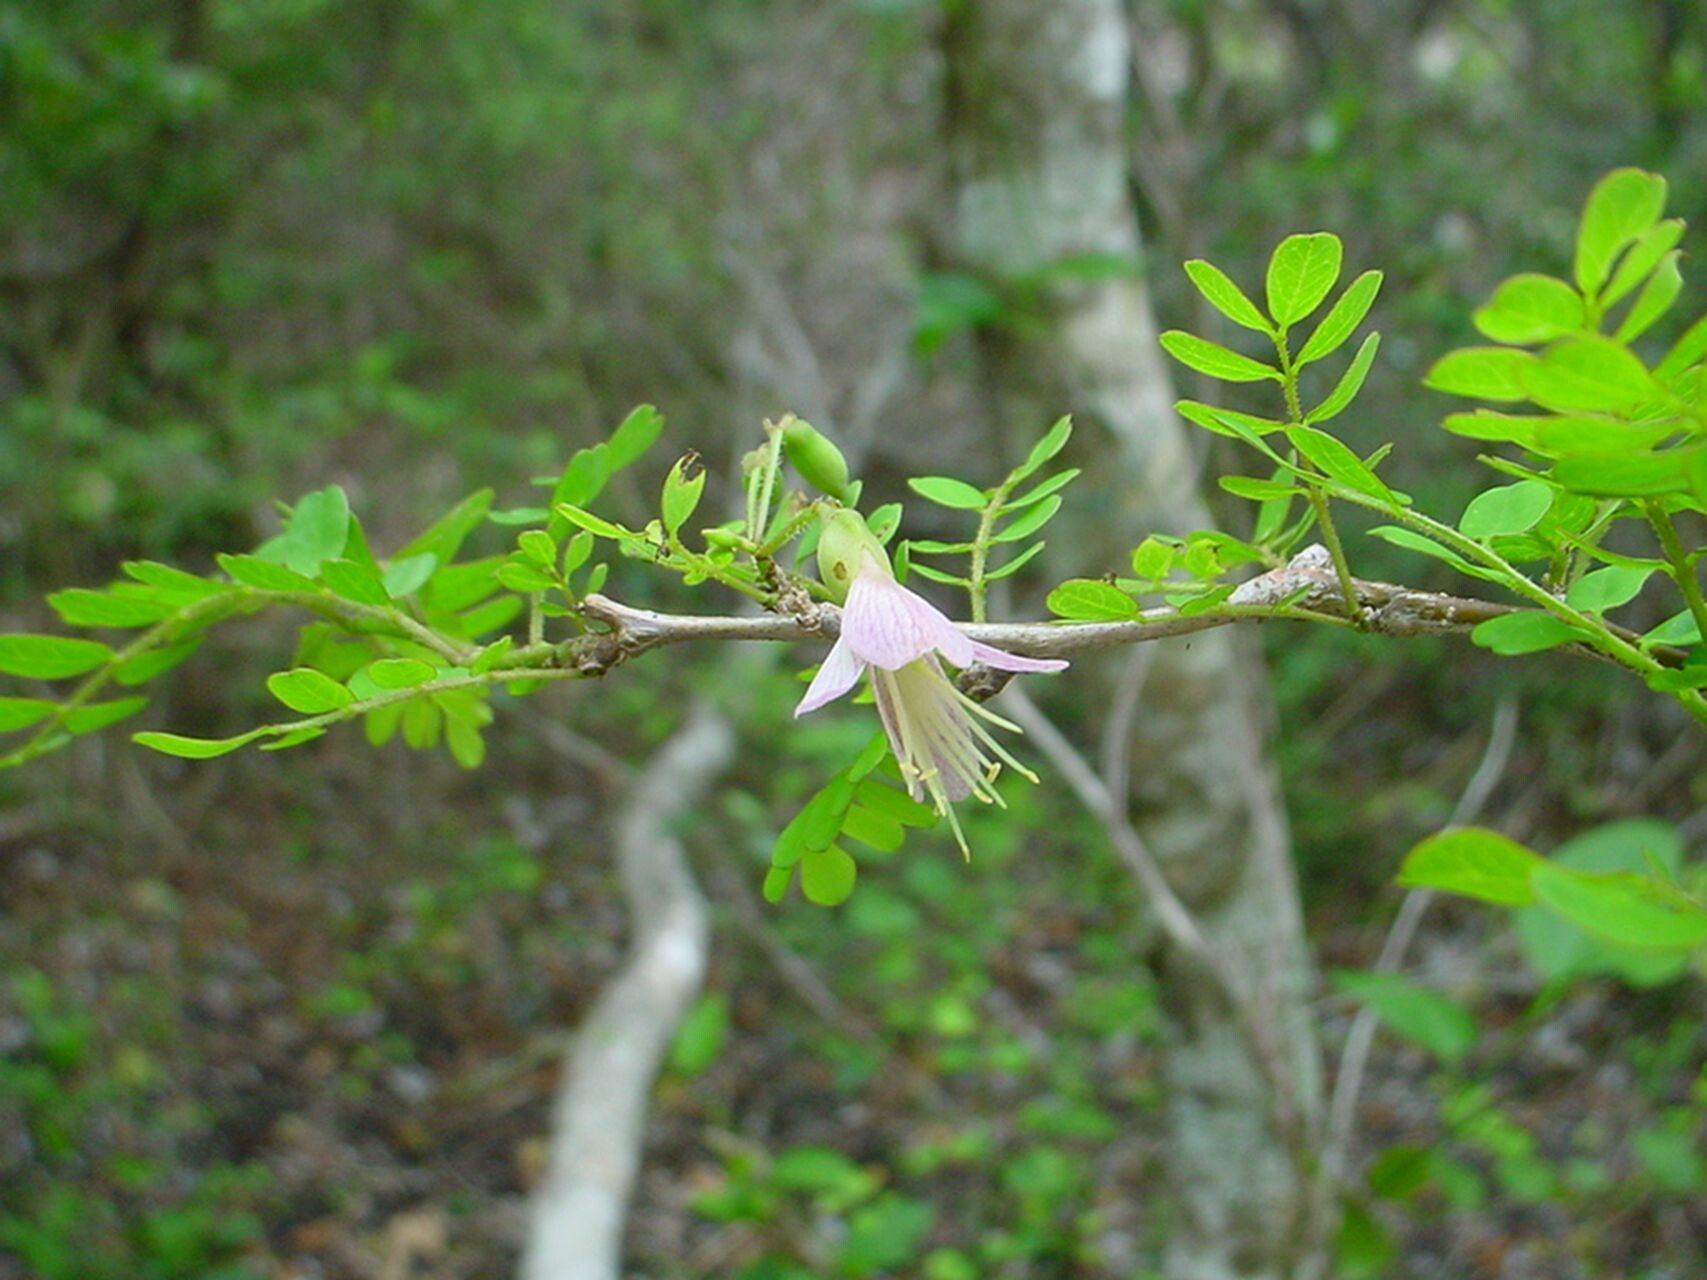
Hello fellow plant lovers! I’m so thrilled to chat with you today about a gem that’s been gracing my garden for years: Ormocarpum cochinchinense. If you’re looking for a plant that brings a touch of the exotic with its delicate, pea-like flowers and lovely foliage, you’re in for a treat. And the best part? Propagating it is a truly rewarding experience. Now, full disclosure – Ormocarpum cochinchinense can be a little particular, so while not impossible for a beginner, it might be best to tackle this one after you’ve had a bit of practice with easier plants. But don’t let that deter you! With a little patience and my guidance, I’m confident we can get you a whole new collection of these beauties.
The Best Time to Start
For the highest chances of success, I always recommend propagating Ormocarpum cochinchinense during its active growing season. Think late spring through early summer, when the plant is vibrant and full of energy. The days are longer, the temperatures are warmer, and the cuttings will have plenty of light and heat to encourage root development. Avoid propagating when the plant is stressed, like during prolonged heatwaves or when it’s just finished flowering.
Supplies You’ll Need
Gathering your supplies beforehand makes the whole process so much smoother. Here’s what I always have on hand:
- Sharp, sterile pruning shears or a knife: Clean cuts are crucial for preventing disease.
- A good propagating mix: I prefer a blend of perlite and peat moss or coco coir (about a 50/50 ratio). This provides excellent drainage and aeration, which Ormocarpum cochinchinense absolutely adores.
- Small pots or trays: Clean pots with drainage holes are a must.
- Rooting hormone (optional but recommended): A powder or gel can give your cuttings a significant boost.
- A clear plastic bag or propagation dome: This helps maintain humidity around the cuttings.
- Water: For watering and, if you choose, for water propagation.
- Labels and a marker: To keep track of what you’ve propagated and when!
Propagation Methods
Here are my go-to methods for multiplying these gorgeous plants:
Stem Cuttings (My Favorite!)
This is usually the most reliable method for Ormocarpum cochinchinense.
- Select healthy stems: Look for non-flowering, semi-hardwood stems that are about 4-6 inches long. They should be firm but still have a bit of flexibility.
- Make clean cuts: Using your sterile shears, take cuttings just below a leaf node (the point where a leaf attaches to the stem). This is where the magic happens for root formation.
- Prepare the cuttings: Gently remove the lower leaves, leaving just the top few. If you’re using rooting hormone, dip the cut end into the powder or gel.
- Plant the cuttings: Fill your small pots with your propagating mix. Make a pilot hole with a pencil or dowel so you don’t rub off the rooting hormone. Insert the cutting into the hole and gently firm the soil around it.
- Water and cover: Water thoroughly until you see water draining from the bottom. Then, place the pot inside a clear plastic bag or cover it with a propagation dome to create a mini-greenhouse.
Water Propagation
This method is a bit more visual and can be fun to watch!
- Take cuttings: Follow steps 1 and 2 from the stem cuttings method.
- Remove lower leaves: Just like with soil propagation, take off all but the top few leaves.
- Place in water: Put your cuttings in a clean glass or jar filled with fresh water. Make sure no leaves are submerged in the water, as this can lead to rot.
- Change water regularly: Refresh the water every few days to keep it clean and oxygenated.
- Watch for roots: You should start to see tiny roots emerge from the leaf nodes within a few weeks. Once the roots are about an inch long, it’s time to transplant them into soil!
The “Secret Sauce” (Pro Tips)
Here are a few things I’ve learned over the years that can really make a difference:
- Bottom Heat is Your Friend: If you have a heat mat specifically for propagation, use it! A gentle warmth from underneath (around 70-80°F or 21-27°C) helps stimulate root growth incredibly. It’s like a cozy blanket for your cuttings.
- Don’t Over-Water: After the initial watering, only water when the top inch of soil feels dry. Soggy soil is the fastest way to invite fungal diseases and rot. Good drainage is far more important than constant moisture.
- Air Circulation is Key: While you want that humidity inside the bag, open the bag for a few minutes each day to let fresh air circulate. This helps prevent mold and strengthens the new plant.
Aftercare & Troubleshooting
Once you see those wonderful new roots, it’s time to transition your babies.
- Acclimation: Gradually reduce the humidity by opening the plastic bag or dome wider over a few days. This helps the new plant get used to the drier air of your home.
- Planting: Once roots are well-established (you might even see them poking through drainage holes), you can transplant your cuttings into their own small pots filled with a good quality potting mix. Water them in gently.
- Common Signs of Failure: The most common culprits are rot and desiccation. If your cutting turns mushy and black, that’s rot. If it looks dried out and shriveled, it likely didn’t get enough humidity or dried out too quickly. Don’t be discouraged if a few don’t make it – it happens to all of us! Just note what might have gone wrong and try again.
Propagating Ormocarpum cochinchinense is a delightful journey. It’s a chance to connect with nature on a deeper level, to witness new life emerge from a simple stem. Be patient, observe your cuttings closely, and celebrate every little sign of progress. Happy propagating, and may your gardens be ever lush!
Resource: