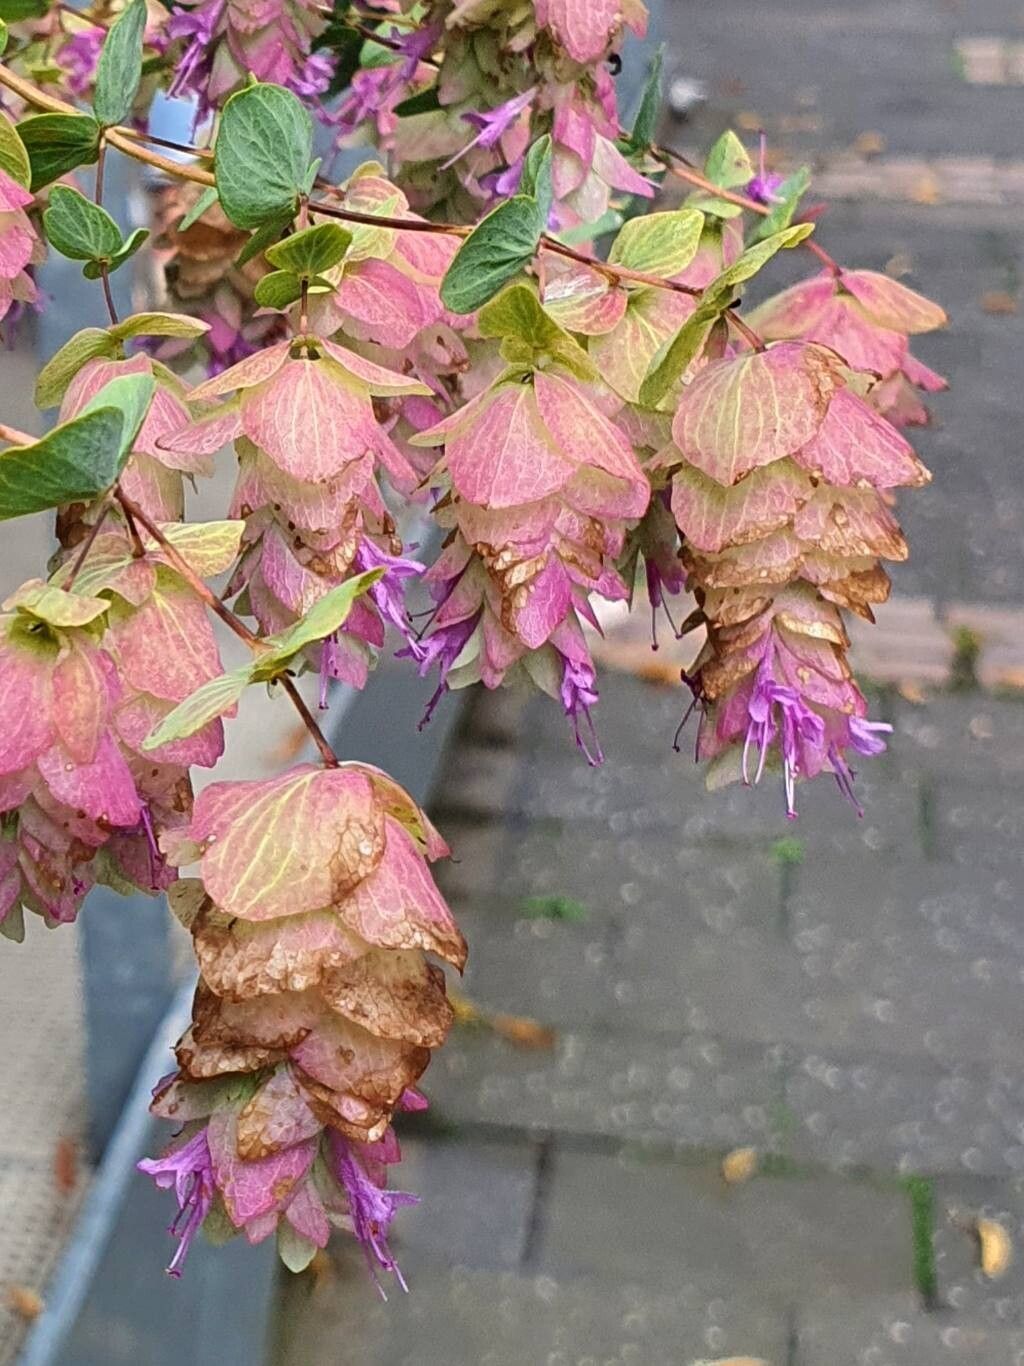
Ah, Origanum rotundifolium! You know, I just adore this little oregano. It’s got those lovely rounded leaves and those charming little hops of pinkish-purple flowers that pollinators absolutely go wild for. Seeing your own little patch of this herb expand, or even sharing some with a fellow garden enthusiast, is truly one of those simple joys that makes gardening so special. Now, if you’re new to the game, don’t let the thought of propagating Origanum rotundifolium intimidate you. I’ve found it to be quite forgiving, which is always a good sign for beginners.
The Best Time to Start
For the absolute best chance of success with Origanum rotundifolium, I always recommend late spring or early summer. This is when the plant is in its active growing phase. You’ll want to take cuttings from healthy, non-flowering stems. Look for stems that are tender but not too soft – about pencil thickness is usually ideal. Trying to propagate when the plant is stressed or dormant just makes everyone’s life harder, wouldn’t you agree?
Supplies You’ll Need
Before we dive in, let’s make sure you have everything ready. A little preparation goes a long way!
- Sharp Pruning Shears or a Clean Knife: For making clean cuts.
- Rooting Hormone (Optional but Recommended): I find it really gives cuttings a boost, though Origanum rotundifolium can root without it. Use a powder or gel.
- Potting Mix: A well-draining, light mix is key. I often use a blend of peat moss or coco coir with perlite or coarse sand.
- Small Pots or Trays: With drainage holes, of course!
- Clear Plastic Bag or Dome: To create a humid environment for your cuttings.
- Watering Can with a Fine Rose: For gentle watering.
- Labels: To keep track of what you’ve planted and when!
Propagation Methods
I’ve had the most luck with stem cuttings for this particular oregano. It’s straightforward and offers a great success rate.
Stem Cuttings: My Go-To Method
- Take Cuttings: Using your clean shears or knife, take cuttings that are 4-6 inches long from healthy, vigorous stems. Make your cut just below a leaf node (where a leaf attaches to the stem).
- Prepare the Cuttings: Gently remove the lower leaves from the cutting, leaving just a few at the top. This prevents them from rotting in the soil. If your cutting is too long, you can pinch off the very tip to encourage branching later.
- Apply Rooting Hormone (Optional): Dip the cut end of the stem into your rooting hormone, tapping off any excess.
- Potting Up: Fill your small pots or trays with your pre-moistened potting mix. Make a small hole in the center with your finger or a pencil.
- Insert Cuttings: Firmly insert the cut end of each cutting into the hole, ensuring the leaf nodes are buried in the soil. Gently firm the soil around the stem.
- Water Gently: Water the soil thoroughly but gently, making sure it’s evenly moist.
- Create Humidity: Cover the pots or trays with a clear plastic bag or a propagation dome. This is crucial for keeping the cuttings from drying out. If you’re using a bag, you might want to prop it up with a few skewers so it doesn’t touch the leaves.
- Find a Warm Spot: Place the pots in a bright location but out of direct, harsh sunlight. A windowsill that gets morning sun is often perfect.
The “Secret Sauce”
Here are a couple of little tricks I’ve learned over the years that can really make a difference:
- The “Bottom Heat” Trick: If you can, place your pots on a gentle heat mat designed for plants. This bottom warmth really encourages those roots to start forming much faster. It mimics the warmth of spring soil.
- Don’t Let Leaves Touch Water or Soil (Long-Term): While we want leaves to be above the soil for cuttings, if you ever use water propagation (which I find less successful for this plant), make sure no leaves are submerged. They’ll just turn to mush and rot. For soil cuttings, once they’re potted, ensure no leaves are resting directly on the damp soil.
Aftercare & Troubleshooting
Once your cuttings are planted, the real waiting game begins. Check the moisture level regularly and mist the leaves lightly if they look dry, especially if you don’t have a dome.
- Checking for Roots: After 3-4 weeks, you can give a very gentle tug on a cutting. If there’s resistance, it means roots have formed! You can also look for tiny new leaf growth, which is another good sign.
- When to Acclimatize: Once you see good root development (or new growth), it’s time to gradually acclimatize your new plants. This means removing the plastic bag or dome for an hour or two each day, slowly increasing the time over a week.
- Signs of Trouble: The most common culprit is rot, usually indicated by wilting, mushy stems, or blackening at the base of the cutting. This often happens from overwatering or poor drainage. Another sign of failure is if the cutting simply turns yellow and brittle, meaning it dried out too much. Don’t be discouraged if a few don’t make it!
A Little Patience, A Lot of Reward
Growing new plants from your own garden favorites is such a fulfilling process. Be patient with your Origanum rotundifolium cuttings. Tend to them, give them the right environment, and celebrate each little root that forms. Before you know it, you’ll have a whole new batch of fragrant oregano to enjoy, share, or even plant out in your garden. Happy propagating!
Resource:
https://identify.plantnet.org/k-world-flora/species/Origanum%20rotundifolium%20Boiss./data