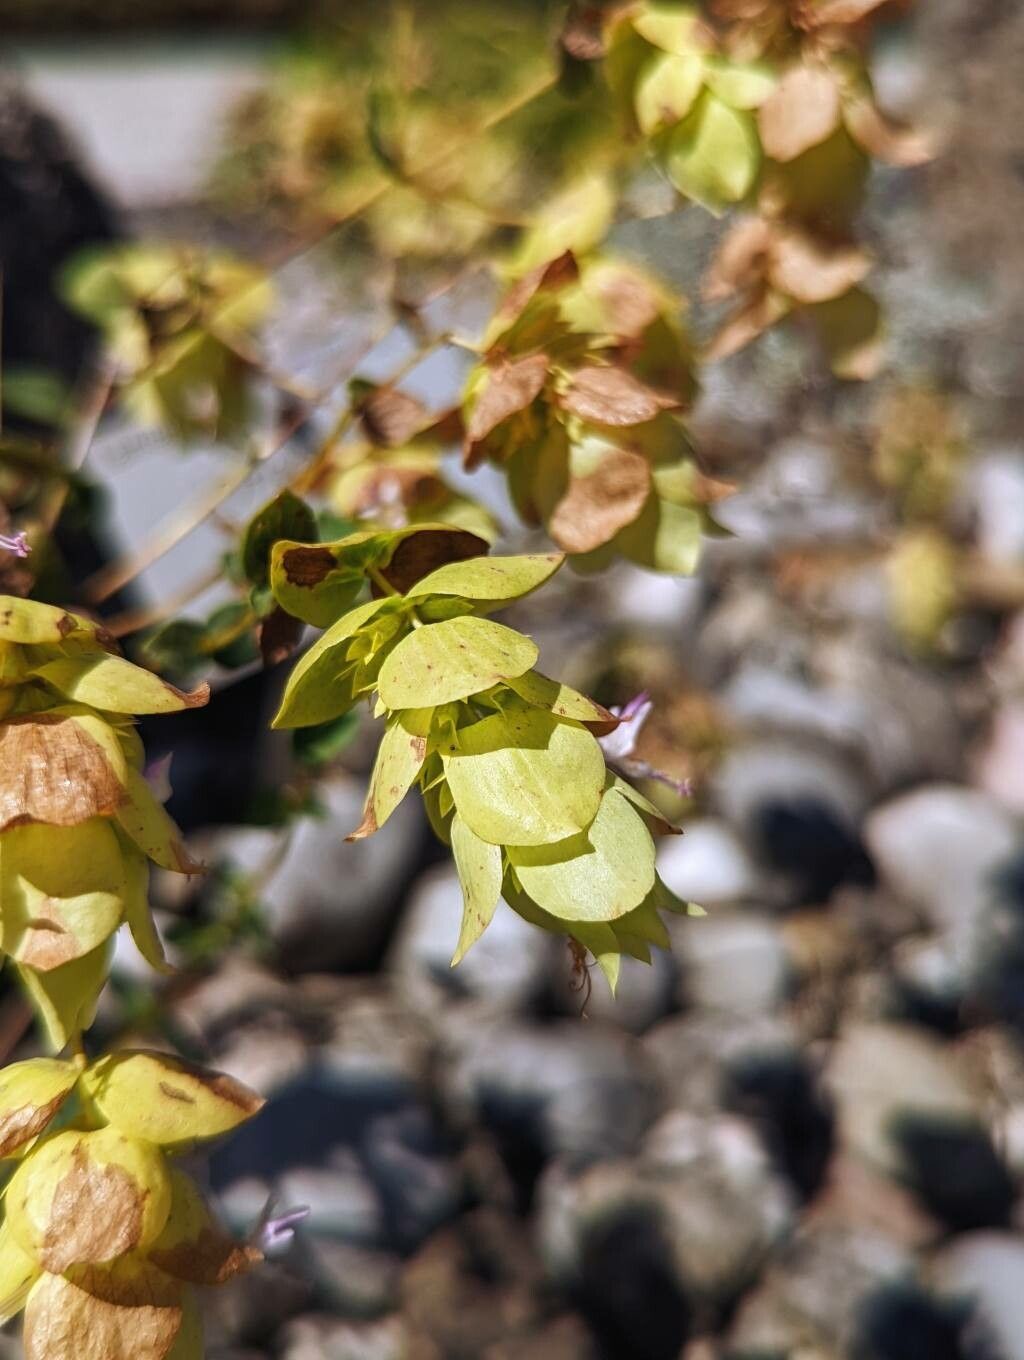
Hello, fellow plant lovers! Today, we’re diving into the wonderful world of Origanum acutidens, also known as Turkish Oregano or Cretan Oregano. If you haven’t met this charmer yet, imagine a cascade of delicate, fragrant leaves, perfect for your culinary creations or simply to bring a burst of Mediterranean charm to your garden. It’s an absolute joy to have around, and the best part? You can easily grow more of it yourself!
Propagating Origanum acutidens is a truly rewarding experience. It’s not overly fussy, making it a fantastic project for beginners and seasoned gardeners alike. There’s something incredibly satisfying about taking a small piece of a beloved plant and nurturing it into a brand new one.
The Best Time to Start
For the highest success rate with stem cuttings, I find late spring to early summer to be absolutely ideal. This is when the plant is actively growing, and its stems are semi-hardwood – not too soft and floppy, but not woody and old either. You’ll get the best energy transfer from the parent plant, leading to quicker root development.
Supplies You’ll Need
Before we get our hands dirty, let’s gather our essentials:
- Sharp pruning shears or a clean knife: For taking clean cuttings.
- Small pots or seed trays: With drainage holes, of course!
- Well-draining potting mix: I like a blend of equal parts perlite, coco coir, and a bit of compost. You can also use a dedicated seed-starting mix.
- Rooting hormone (optional but recommended): Helps speed up root formation.
- Watering can with a fine rose: To water gently.
- Plastic bags or a propagator: To create a humid environment.
- Labels and a pen: So you don’t forget what you’ve planted!
Propagation Methods
Let’s get growing! The most straightforward way to propagate Origanum acutidens is through stem cuttings.
- Take Your Cuttings: Select healthy, non-flowering stems from your mature plant. Using your sharp pruners or knife, take cuttings that are about 4-6 inches long. Make your cut just below a leaf node (where the leaves attach to the stem).
- Prepare the Cuttings: Gently remove the leaves from the bottom half of each cutting. You want to expose a few nodes that will eventually form roots. If the remaining leaves are very large, you can pinch off half of them to reduce water loss.
- Dip in Rooting Hormone (if using): Lightly dip the cut end of each stem into your rooting hormone powder. Tap off any excess.
- Plant Your Cuttings: Fill your pots or trays with your prepared potting mix. Make a small hole in the center of each pot or cell with a pencil or your finger. Gently insert the cut end of the stem into the hole, ensuring at least two leaf nodes are below the soil surface. Firm the soil gently around the base of each cutting.
- Water and Cover: Water the soil thoroughly but gently. You want it to be moist, not waterlogged. Then, cover your pots or trays with a clear plastic bag or place them in a propagator. This creates a mini-greenhouse to keep humidity high, which is crucial for cuttings to root.
The “Secret Sauce” (Pro Tips)
Having gardened for a while, I’ve learned a few tricks that just make things work a bit better.
- Bottom Heat is Your Friend: If you have a propagation mat or can place your pots on a gently warmed surface (like near a radiator, but not directly on it!), this is a game-changer. Warmer soil encourages root development much faster than relying on ambient room temperature alone.
- Don’t Be Afraid of Airflow: While you want humidity, you don’t want stagnant air. Once a week, I like to lift the plastic bag or open the propagator for a few minutes to allow for some air circulation. This helps prevent fungal issues.
- The “Gently Pull” Test: After about 3-4 weeks, you can gently tug on a cutting. If you feel resistance, congratulations – you have roots! If it pulls out easily, it hasn’t rooted yet, so put it back and give it more time.
Aftercare & Troubleshooting
Once you see new leaf growth, that’s a good sign your cuttings are rooting! Gradually acclimate your new plants to normal humidity levels by slowly opening the plastic bag or propagator over a few days. Keep the soil consistently moist, but again, avoid soggy conditions.
The most common issue you might encounter is rot. This usually happens if the soil is too wet and there’s not enough airflow. If you see a cutting looking limp, grey, and mushy, unfortunately, it’s likely succumbed to rot. Remove it immediately to prevent it from spreading to other cuttings. Don’t be discouraged; this just means adjusting your watering or airflow next time.
A Encouraging Closing
Growing plants from cuttings is a beautiful act of patience and observation. You’re participating in nature’s cycle, and it’s such a rewarding journey. Trust the process, keep an eye on your little charges, and before you know it, you’ll have a whole collection of your own beautiful Origanum acutidens. Happy gardening!
Resource: