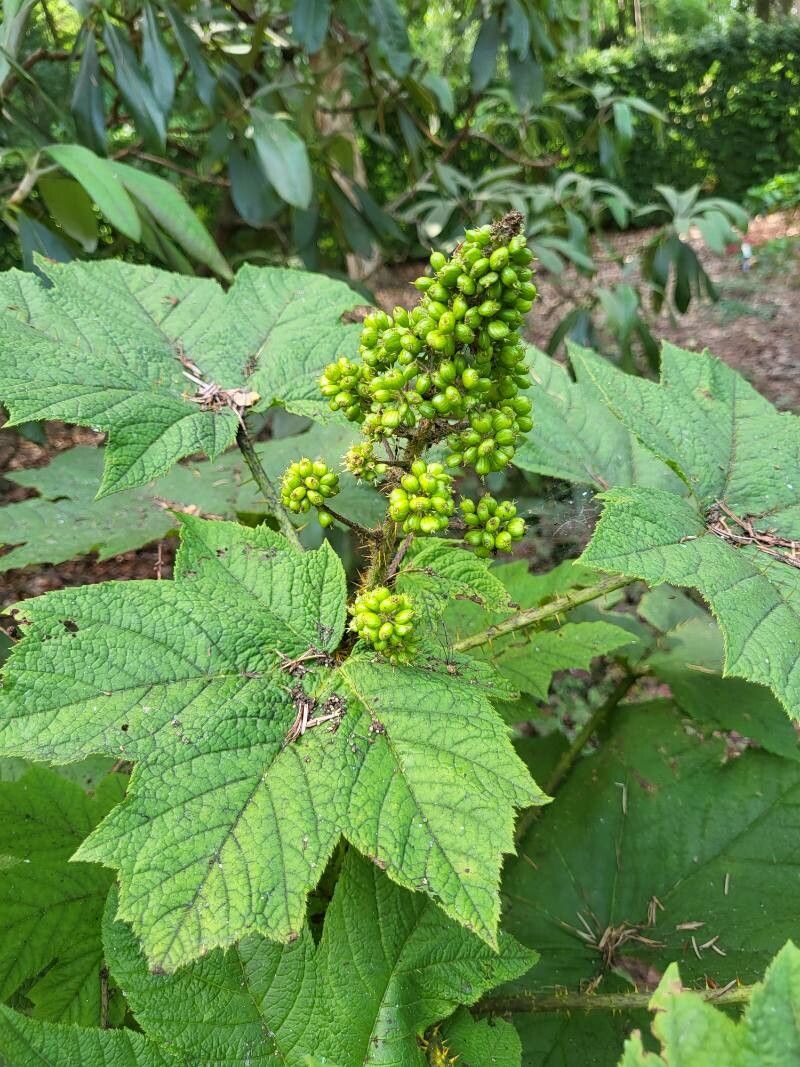
Oh, hello there! Come on in, grab a mug. Let’s chat about a truly magnificent, albeit a bit spiky, plant: Oplopanax horridus, more commonly known as Devil’s Club. If you’re looking for a plant that commands attention in a shady, woodland garden, this is it. Its enormous, maple-like leaves and striking appearance are absolutely captivating. Plus, there’s something incredibly satisfying about coaxing a new plant into existence from a parent. While Devil’s Club isn’t always the easiest plant to propagate, with a little patience and the right approach, you can certainly be successful. Think of it as a rewarding challenge!
The Best Time to Start
For Devil’s Club, spring is really your golden ticket. As the plant begins its active growth phase, and before it gets too hot and dry, is when you’ll see the most vigor. This is when cuttings are full of life, and divisions are more likely to recover quickly. Aim for a time when the new shoots are just emerging, and the plant feels full of energy.
Supplies You’ll Need
Gathering your tools beforehand makes the whole process so much smoother. Here’s what I usually have on hand:
- Sharp Pruning Shears or a Knife: Cleanliness is key here to prevent disease.
- Rooting Hormone Powder: Not always essential for Devil’s Club, but it can give your cuttings a nice boost.
- Well-Draining Potting Mix: I like a blend of peat, perlite, and a bit of compost for cuttings. For divisions, the native soil amended with compost is often best.
- Small Pots or Trays: With drainage holes, of course!
- Plastic Bags or Domes: To create a humid environment for cuttings.
- Dibber or a Pencil: For making planting holes.
- Watering Can or Spray Bottle: For gentle watering.
Propagation Methods
Devil’s Club is best propagated through stem cuttings or division.
Stem Cuttings (Spring is Best!)
This is the most common method for getting new plants.
- Take the Cuttings: In early spring, when new growth is about 4-6 inches long and still relatively soft, carefully select healthy, vigorous stems. Using your clean shears, make a clean cut just below a leaf node (where a leaf attaches to the stem). You want pieces that have at least a couple of nodes.
- Prepare the Cuttings: Gently remove the lower leaves from the cutting, leaving just a few at the top. This prevents them from rotting in the soil. If your cuttings are a bit leggy, you can pinch off the very tip to encourage bushier growth.
- Apply Rooting Hormone (Optional but Recommended): Dip the cut end of each stem into your rooting hormone powder. Tap off any excess.
- Pot Them Up: Fill your small pots with your well-draining potting mix. Use a pencil or dibber to make a hole in the center of the soil.
- Plant the Cuttings: Insert the cut end of the cutting into the hole, making sure at least one node is buried beneath the soil surface. Gently firm the soil around the stem.
- Create Humidity: Water them gently so the soil is moist but not waterlogged. Then, cover the pots with a clear plastic bag or a plastic dome. You want to create a mini greenhouse effect to keep the humidity high. Slide the pots into a bright spot that doesn’t get direct, scorching sun.
Division (Also Best in Spring)
If you have an established Devil’s Club, you can divide its root system.
- Excavate Carefully: In early spring, as growth begins, carefully dig around the base of your established plant. You want to expose the root ball as much as possible without causing too much damage.
- Examine the Roots: Look for natural divisions – sections of the plant that have their own collection of roots and shoots.
- Separate Gently: Using a sharp spade or even your hands, gently pull or cut the root ball apart into smaller sections. Each division should have a healthy portion of roots and at least one or two shoots.
- Replant Immediately: Plant each division into its new location or into pots filled with amended soil. Water them in well.
The “Secret Sauce” (Pro Tips)
Here are a couple of little tricks that have worked wonders for me:
- Bottom Heat is Your Friend: For stem cuttings, placing the pots on a heated propagation mat can really speed up root development. The warmth encourages the plant to send out those precious roots. Just a gentle, consistent warmth makes a difference.
- Don’t Drown Your Cuttings: This is crucial! While humidity is important, waterlogged soil is the quickest way to invite rot. Mist the leaves from time to time if they look dry, but let the soil surface dry out slightly between waterings. Think “moist, not soggy.”
Aftercare & Troubleshooting
Once you see new leaf growth on your cuttings, that’s usually a good sign that roots are forming!
- Gradual Acclimation: Once roots have established (you might see them peeking from the drainage holes), gradually remove the plastic bag or dome over a week or so. This allows the young plant to adjust to the normal humidity levels.
- Watering: Continue to keep the soil consistently moist but not wet. As the plant grows, you can transition to a slightly less humid environment.
- Troubleshooting Rot: The most common issue is rot. If your cuttings turn black and mushy, that’s rot. This is usually due to too much moisture and poor air circulation. If you see signs of rot, remove the affected cutting immediately to prevent it from spreading. Poor drainage in your potting mix is often the culprit here.
A Little Patience Goes a Long Way
Propagating Devil’s Club can be a journey, but a most rewarding one. Take your time, pay attention to what your cuttings and divisions are telling you, and don’t be discouraged if you don’t have 100% success right away. Enjoy the process of nurturing these young plants. Happy gardening!
Resource:
https://identify.plantnet.org/k-world-flora/species/Oplopanax%20horridus%20(Sm.)%20Miq./data