Hello fellow plant lovers!
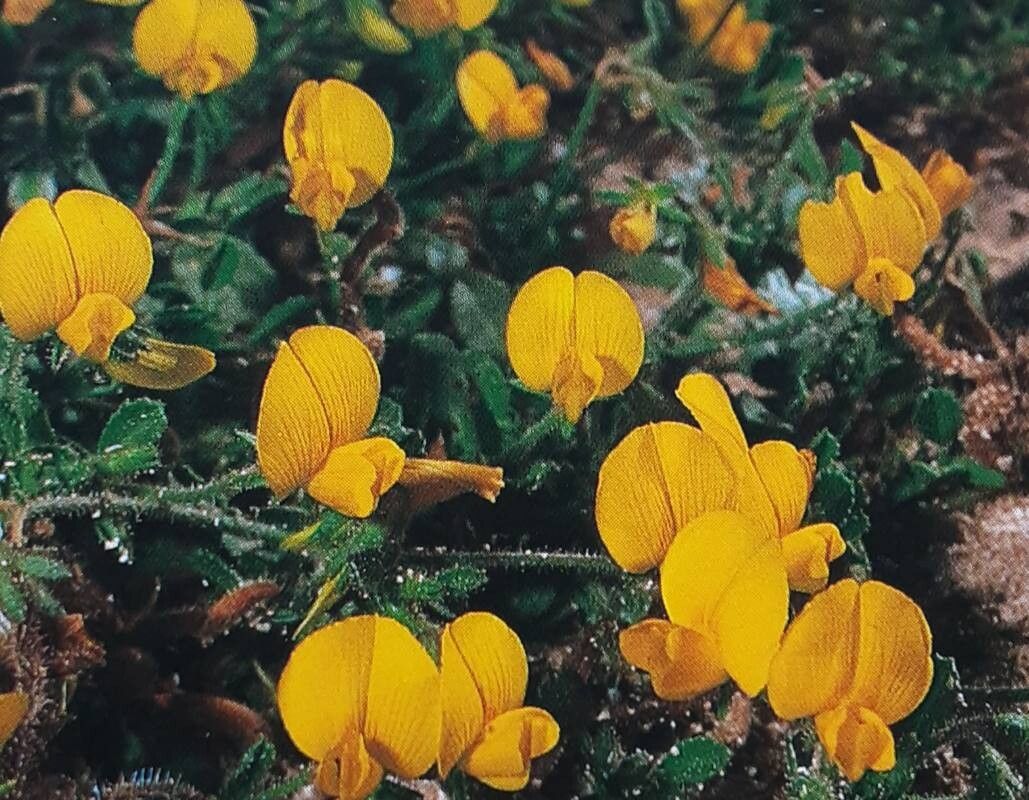
Today, we’re diving into the wonderful world of propagating Ononis hebecarpa. This little gem, with its charming pink to purplish flowers and delicate foliage, brings a touch of wild beauty to any garden. Growing new plants from existing ones is incredibly satisfying. It’s like having a magic trick up your sleeve! I’ve found Ononis hebecarpa to be quite manageable once you get the hang of it, making it a lovely project even for those relatively new to propagation.
The Best Time to Start
For Ononis hebecarpa, the golden window for propagation is late spring to early summer. This is when the plant is actively growing and producing plenty of fresh, pliable stems. You want to work with softwood cuttings – these are the new, non-woody shoots that are still quite flexible. If you wait too long, the stems become too woody and much harder to root.
Supplies You’ll Need
Here’s a little kit to get you started:
- Sharp pruning shears or a clean knife: For taking clean cuts.
- Rooting hormone (optional but recommended): Helps kickstart root development.
- Well-draining potting mix: A blend of peat moss, perlite, and a bit of sand works wonders. Avoid anything too heavy.
- Small pots or seed trays: Clean ones are a must!
- Plastic bags or a propagation dome: To create a humid environment.
- Dibber or pencil: For making planting holes.
- Watering can with a fine rose: For gentle watering.
Propagation Methods
Stem cuttings are your best bet for Ononis hebecarpa. Here’s how I do it:
- Take Your Cuttings: Choose healthy, vigorous stems. Using your sharp shears, take cuttings that are about 4-6 inches long. Make the cut just below a leaf node (the point where a leaf attaches to the stem). This is where those magical rooting hormones are concentrated!
- Prepare the Cuttings: Gently remove the lower leaves from the cutting, leaving just about two to three leaves at the top. This prevents them from rotting in the soil and reduces water loss. If the top leaves are very large, you can even snip them in half.
- Apply Rooting Hormone (Optional): Dip the cut end of the stem into your rooting hormone powder or gel. Tap off any excess.
- Plant Them Up: Fill your pots or trays with your well-draining potting mix. Using your dibber or pencil, make small holes in the soil. Carefully insert the cut end of each cutting into a hole, making sure the bottom leaves are not buried. Gently firm the soil around the base of the cutting.
- Create Humidity: Water the soil gently. Then, cover the pots with a clear plastic bag or place them inside a propagation dome. This traps humidity, which is crucial for cuttings to root.
The “Secret Sauce” (Pro Tips)
- Don’t Let Those Leaves Touch the Water! When you water your cuttings, ensure no leaves are sitting in standing water at the bottom of the pot or tray. This is a surefire way to invite rot.
- Bottom Heat is Your Friend: If you have access to a heat mat, placing your pots on it can significantly speed up root formation. A gentle warmth from below encourages activity in the stem.
- Observe, Observe, Observe: Don’t just set and forget! Check your cuttings regularly. Look for signs of wilting or for fresh green growth. Fresh growth is usually a good indication that roots are forming.
Aftercare & Troubleshooting
Once you see new leafy growth appearing on your cuttings, it’s a great sign that roots are developing! You can gently tug on a cutting – if there’s resistance, it has rooted. Gradually introduce your new plants to normal humidity by opening the plastic bag a little more each day over a week or so. Keep the soil consistently moist but not waterlogged.
The most common issue you’ll face is rot. If a cutting turns black, mushy, and falls over, it’s likely rotted. This is usually due to too much moisture without enough airflow or if the leaves were allowed to sit in water. If you see signs of rot, remove the affected cutting immediately to prevent it from spreading. Other problems can include wilting due to lack of humidity or drying out, or mold growth if the environment is too wet and stagnant.
Happy Planting!
Propagating Ononis hebecarpa takes a bit of patience, but the reward of seeing those tiny roots emerge and watching your new plants thrive is absolutely worth it. Don’t be discouraged if some cuttings don’t make it; it’s all part of the learning process. Enjoy the journey, get your hands dirty, and celebrate every little success!
Resource:
https://identify.plantnet.org/k-world-flora/species/Ononis%20hebecarpa%20Webb%20&%20Berthel./data