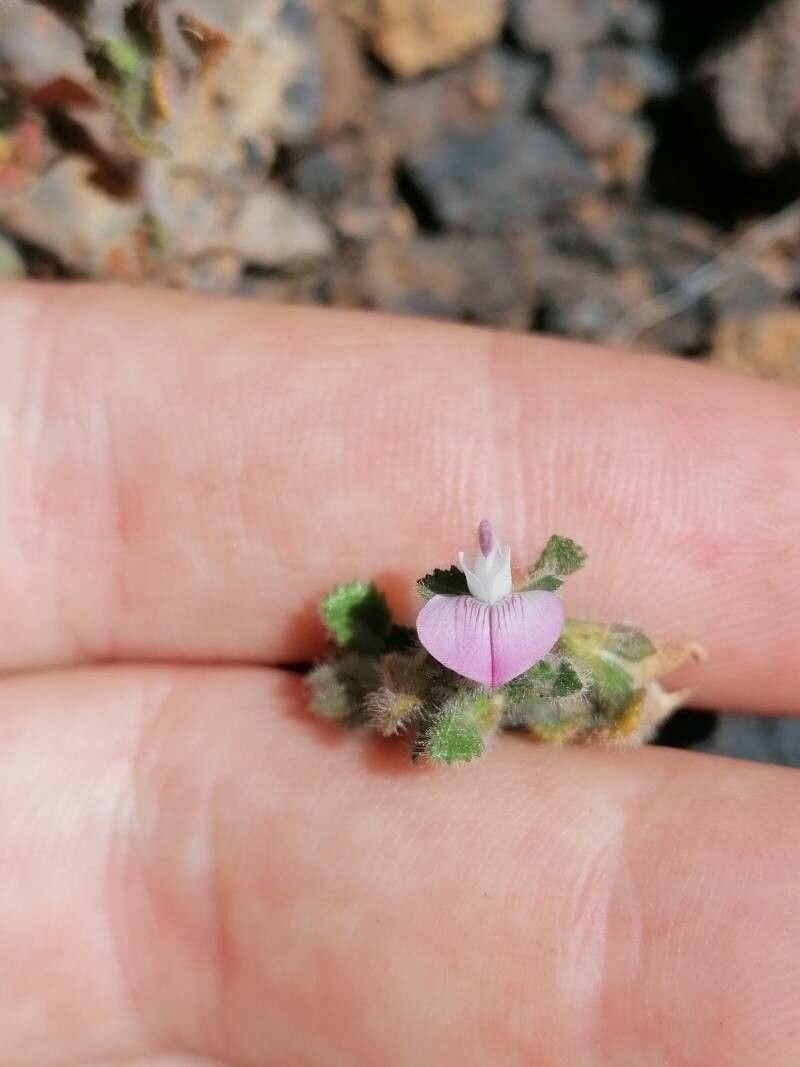
Hello there, fellow plant enthusiasts! Today, we’re diving into the delightful world of Ononis christii, often known as the Christ’s Restharrow. This charming little shrub, with its delicate pink-purple pea-like flowers and lovely grey-green foliage, is a real gem in any garden. If you enjoy charming blooms and don’t mind a bit of gentle fussing over your new green babies, then propagating Ononis christii is a truly rewarding endeavor. For beginners, I’d say it’s moderately easy, but with a few pointers, you’ll be well on your way to success.
The Best Time to Start
My favorite time to get propagating Ononis christii is late spring to early summer. This is when the plant is actively growing, full of energy, and ready to put out new shoots that have a good chance of rooting. Waiting until the soil has warmed up nicely also helps.
Supplies You’ll Need
Here’s what I usually gather before I begin:
- Sharp pruning shears or a clean knife: For taking clean cuts.
- Propagation trays or small pots: Clean ones are a must.
- A well-draining potting mix: I like a blend of peat moss or coir, perlite, and a little bit of sand.
- Rooting hormone powder or gel: This really gives cuttings a helping hand.
- A clear plastic bag or dome: To create a humid microclimate.
- A watering can with a fine rose: For gentle watering.
- Labels and a permanent marker: To keep track of your new plants!
Propagation Methods
For Ononis christii, I find stem cuttings to be the most reliable and satisfying method.
- Choose your cuttings: Look for nice, healthy, semi-woody stems. That means they should be firm but not too old and woody. You want stems that have grown this season.
- Take the cuttings: Using your sharp shears or knife, take cuttings that are about 4 to 6 inches long. Try to make the cut just below a leaf node (where a leaf attaches to the stem). This is where roots are most likely to form.
- Prepare the cuttings: Gently remove the lower leaves from the cutting, leaving just a few at the top. This prevents them from rotting in the soil. If the remaining leaves are very large, you can even cut them in half to reduce water loss.
- Apply rooting hormone: Dip the cut end of each stem into your rooting hormone. Tap off any excess.
- Pot them up: Fill your small pots or trays with your prepared potting mix. Moisten the mix thoroughly. Then, make a small hole with a pencil or your finger and insert the cutting, ensuring the nodes where you removed leaves are buried. Gently firm the soil around the stem.
- Create humidity: Water lightly again. Then, cover the pots with a clear plastic bag or place them under a propagator dome. This traps in moisture, which is crucial for cuttings before they develop roots.
The “Secret Sauce” (Pro Tips)
- Bottom Heat is Your Friend: If you have access to a heated propagation mat, use it! Ononis christii cuttings really appreciate a bit of warmth from below to encourage root development. It makes a noticeable difference.
- Keep it Clean, Keep it Cool: Always use sterilized pots and tools. This is non-negotiable for preventing fungal diseases, which can be a real setback. And after taking cuttings, be mindful of where you place them – avoid harsh direct sun until they’re established. Bright, indirect light is perfect.
- Don’t Disturb Too Soon: Patience is key! Try not to wiggle or pull on your cuttings to check for roots. It’s best to wait until you see new leaf growth, which is usually a good sign that roots are forming.
Aftercare & Troubleshooting
Once your cuttings have rooted (you’ll usually see new growth after a few weeks), it’s time to transition them.
- Harden them off: Gradually introduce them to drier air by opening the plastic bag a little more each day. Then, remove the bag entirely for a few hours at a time before leaving it off completely.
- Transplant carefully: When they are strong enough to handle, transplant them into slightly larger pots.
- Watch for rot: The most common sign of failure is rotting at the soil line. This usually happens if the cuttings are kept too wet or if the air circulation is poor. If you see this, sadly, that cutting is probably lost, but don’t be discouraged! It just means you might need to adjust your watering or humidity levels for the next batch. Yellowing leaves can also indicate stress or overwatering.
So there you have it! Propagating Ononis christii is such a fulfilling way to expand your garden and share these lovely plants with friends. Remember, every gardener has had plants that didn’t make it – it’s all part of the learning curve. Be patient, enjoy the process, and soon you’ll be admiring your very own baby Restharrows! Happy propagating!
Resource:
https://identify.plantnet.org/k-world-flora/species/Ononis%20christii%20Bolle/data