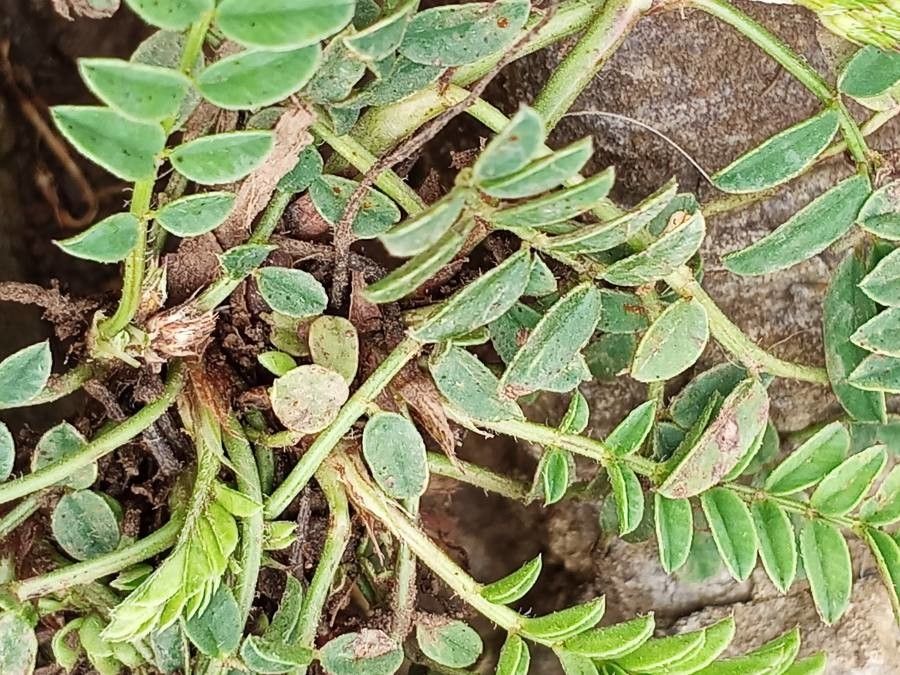
Hello, fellow garden enthusiasts! Today, I want to chat about a plant that truly brightens my garden and brings a smile to my face every time I see it: Onobrychis pyrenaica, often called the Pyrenean Sainfoin. This pretty little thing puts on a lovely show with its delicate pink or purplish flowers, humming with happy pollinators. It’s a real charmer, and the joy of creating more of it from your existing plants is just fantastic.
Now, about tackling this. Is it tricky? Honestly, I find Onobrychis pyrenaica to be quite forgiving. If you’re just dipping your toes into propagation, this is a wonderful plant to start with. You’ll likely have a good bit of success right from the get-go!
The Best Time to Start
My favorite time to get started with propagating Onobrychis pyrenaica is late spring or early summer. This is when the plant is actively growing after its spring burst. You’ll be looking for new, healthy shoots that are firm but not yet woody. This vibrant growth stage means the plant has plenty of energy to put into developing new roots.
Supplies You’ll Need
Before we get our hands dirty, let’s gather our tools:
- Sharp, clean pruning shears or a craft knife: For making clean cuts, which helps prevent disease.
- Small pots or seed trays: Clean ones are essential!
- A good quality, well-draining potting mix: I like a mix of standard potting soil with added perlite or coarse sand for extra drainage.
- Rooting hormone (optional but recommended): A powder or gel can give cuttings a real boost.
- A plastic bag or propagator lid: To create a humid environment.
- Triggers or a misting bottle: For keeping things moist.
- Labels: To keep track of what you’ve planted and when!
Propagation Methods
For Onobrychis pyrenaica, the most straightforward and successful method is stem cuttings. It’s reliable and generally gives a great strike rate.
- Select your cuttings: Look for young, semi-hardwood stems. You want them to be about 4-6 inches long. Pinch or cut them just below a leaf node (where a leaf attaches to the stem). Remove any flowers or flower buds immediately; they’ll only compete for the plant’s energy.
- Prepare the cuttings: Strip off the lower leaves, leaving just a couple at the top. This reduces water loss and prevents leaves from rotting when buried. If you’re using rooting hormone, dip the cut end into the powder or gel. Gently tap off any excess.
- Plant the cuttings: Fill your small pots with your prepared, well-draining soil mix, and moisten it thoroughly. Make a small hole with your finger or a pencil. Insert the cut end of the stem into the hole, ensuring the nodes where you removed the leaves are below the soil surface. Gently firm the soil around the cutting.
- Create a humid environment: Water the pots gently again. Then, cover each pot with a clear plastic bag or place them in a propagator. This traps moisture, which is crucial for cuttings to root. Make sure the plastic doesn’t touch the leaves.
- Placement: Place your pots in a bright spot with indirect sunlight. Avoid hot, direct sun, which can scorch the delicate new cuttings.
The “Secret Sauce” (Pro Tips)
Here are a few things I’ve learned over the years that really make a difference:
- When making your cuts, don’t be afraid to be decisive. A clean, sharp cut is always better than a ragged tear.
- If you’re using a plastic bag, give it a little lift daily to allow for some air circulation. This helps prevent fungal issues and rot.
- For even faster rooting, consider using bottom heat. A heated propagator mat placed under your pots can provide a cozy environment that really encourages root development.
Aftercare & Troubleshooting
Once your cuttings are nestled in their pots, the waiting game begins! Keep the soil consistently moist but not waterlogged. You should see signs of new leaf growth within a few weeks, which is a good indicator that roots are forming.
If you notice wilting that doesn’t perk up after watering, it might mean the cutting hasn’t rooted yet and is struggling to take up water. If you see mushy, dark stems or leaves, that’s a definite sign of rot. This usually happens from too much moisture and poor air circulation. In this case, sadly, the cutting is likely lost. Don’t be discouraged; just try again with fresh material!
Once you see good root development – you can gently tug on a cutting, and it feels firm, or you might even see roots peeking through the drainage holes – it’s time to gradually acclimatize your new plants to normal room conditions. Slowly open the propagator lid or the plastic bag over a few days. Once they’re sturdy, you can pot them up into slightly larger containers.
A Encouraging Closing
Nurturing a new plant from a cutting is such a rewarding experience. It’s a testament to nature’s resilience and your own gardening touch. Be patient with your Onobrychis pyrenaica cuttings; some take their sweet time. Enjoy the process, celebrate each tiny new leaf, and before you know it, you’ll have a whole new collection of these delightful blooms to share or enjoy yourself. Happy propagating!
Resource: