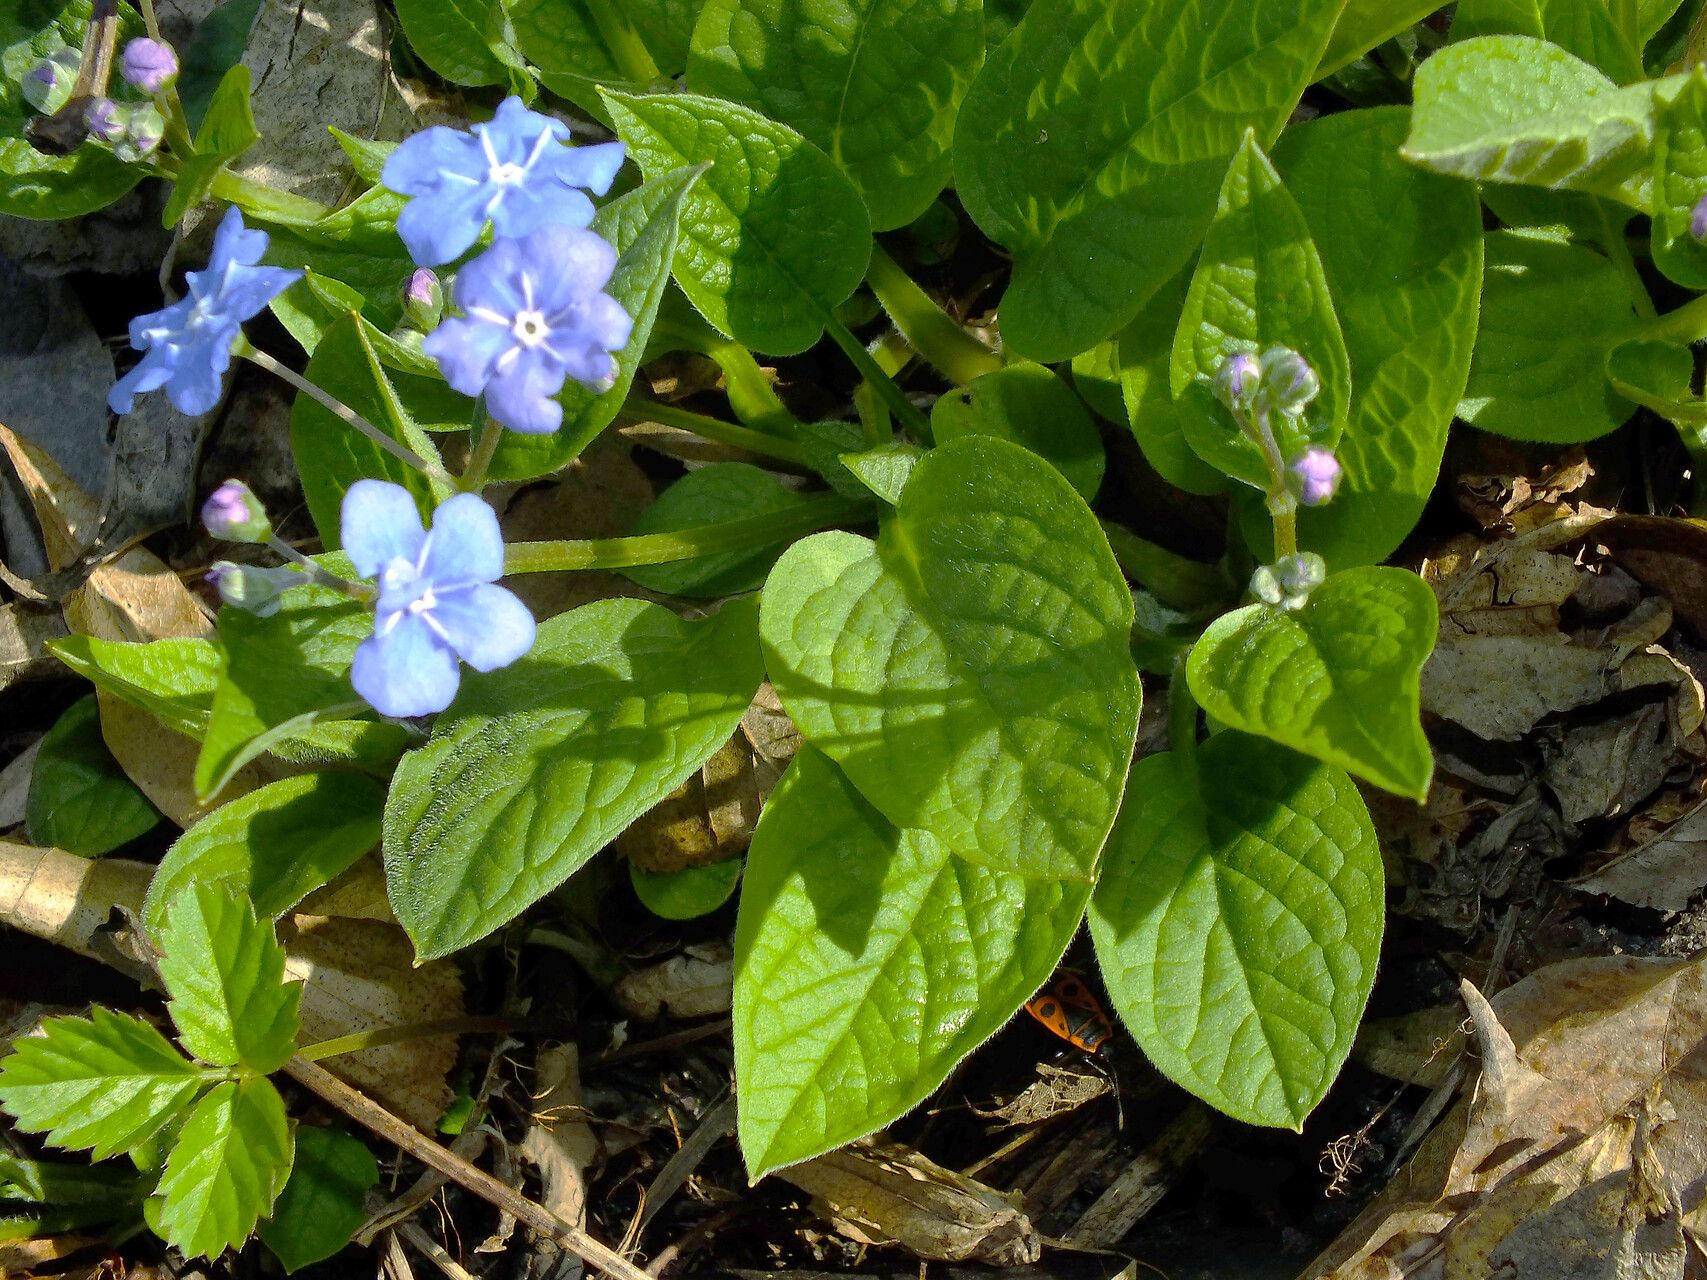
Oh, Omphalodes verna! If you haven’t met this little gem, let me introduce you. Often called Carolina Bell or Navelwort, it’s a simply delightful woodland plant. Its delicate, sky-blue flowers in early spring are a welcome sight, peeking out from beneath its glossy, green leaves. It carpets the ground beautifully, and there’s something incredibly satisfying about creating more of these cheerful blooms from your existing plants. For beginners? Honestly, I’d say Omphalodes verna is wonderfully forgiving. You’ll likely find success without too much fuss.
The Best Time to Start
When it comes to getting new Omphalodes verna plants going, I’ve found the sweet spot to be late spring or early summer. This is usually after the main flowering push is over, and the plant is in a lively growth phase. The stems are developing nicely, and there’s plenty of energy for them to put into forming new roots. Trying to propagate too early in the spring, or when it’s extremely hot and dry, can be a little more challenging.
Supplies You’ll Need
Gathering your supplies beforehand makes the whole process smoother. Here’s what I usually have on hand:
- Clean, sharp pruning shears or a sharp knife: For making clean cuts.
- A good quality potting mix: I prefer a mix that drains well. A blend of potting soil, perlite, and a bit of compost works wonders for me.
- Small pots or seed trays: Clean ones are crucial to avoid any nasties.
- Rooting hormone (optional but recommended): A powdered or gel form can give cuttings a real boost.
- Watering can with a fine rose or spray bottle: For gentle watering.
- Labels and a marker: So you don’t forget what you planted where!
Propagation Methods
There are a couple of ways to go about it with Omphalodes verna, and I find division to be the most foolproof for this particular plant.
Division: A Gardener’s Best Friend
This is truly the easiest and most successful method for Omphalodes verna. It’s less about manipulating cuttings and more about helping the plant expand.
- Gently dig up your established Omphalodes verna plant. Do this in late spring or early summer, as I mentioned. Try to disturb the root ball as little as possible.
- Assess the root ball. You’ll usually see clumps of growth that are naturally separating.
- Carefully tease the plant apart. You can use your hands to gently pull clumps apart. If it’s a bit stubborn, a clean trowel or even your knife can help you slice through denser sections. The goal is to end up with smaller divisions, each with its own healthy roots and some leafy growth.
- Replant your divisions immediately. Give each division its own space in a pot filled with your well-draining potting mix, or replant them directly into your garden beds where you want them to grow.
- Water thoroughly. Make sure the soil is moist but not waterlogged.
Stem Cuttings (A Little More Patience Required)
While division is my go-to, you can also try stem cuttings. It’s a bit more involved but can be rewarding.
- Take cuttings in late spring or early summer. Look for healthy, non-flowering stems. You want sections that are about 3-4 inches long.
- Make a clean cut just below a leaf node. This is where new roots are most likely to form.
- Remove the lower leaves. Leave just a few leaves at the top. This helps reduce water loss while the cutting tries to establish roots.
- Dip the cut end in rooting hormone (optional). This can encourage faster and stronger root development.
- Insert the cuttings into pots filled with moist potting mix. Make a small hole with a pencil or your finger and gently push the cutting in. Firm the soil around it.
- Water gently. Keep the soil consistently moist but not soggy. You can cover the pots with a plastic bag or a propagator lid to create a humid environment.
The “Secret Sauce” (Pro Tips)
Here are a couple of little tricks I’ve picked up over the years that can make a difference:
- Don’t overcrowd your pots! When dividing, give each new division a bit of breathing room in its pot. If they’re too close, they’ll compete for resources and can be more prone to rot.
- Consider bottom heat for cuttings. If you’re trying stem cuttings and feel like they’re taking a while, a heated propagator mat can be a game-changer. It provides gentle warmth to the base of the cuttings, encouraging root formation much faster. It’s like giving them a cozy little greenhouse to get started in.
Aftercare & Troubleshooting
Once your Omphalodes verna divisions or cuttings have rooted (you’ll see new growth or feel a bit of resistance when you gently tug), it’s time to treat them like the precious new plants they are!
- Continue to water regularly. Keep the soil consistently moist, especially during the first few weeks after planting. Avoid letting them dry out completely.
- Gradually introduce them to more light. If your cuttings were under cover or in a shadier spot, slowly acclimate them to brighter conditions before planting them out permanently.
- Watch out for rot. The biggest enemy of young propagations is often overwatering, which can lead to root rot. If you see your cuttings wilting despite the soil being moist, or if they have a slimy, mushy appearance, rot might be the culprit. Ensure good drainage, and don’t be afraid to let the top of the soil dry out slightly between waterings.
- Pests are less common, but keep an eye out. Slugs can sometimes nibble on young plants, so a bit of slug deterrent might be helpful if you have a persistent problem in your garden.
A Encouraging Closing
Propagating Omphalodes verna is such a rewarding endeavor. It’s a gentle introduction to plant propagation, and seeing those tiny divisions or cuttings grow into robust new plants is a joy. Be patient with the process – nature has its own timeline – and enjoy the satisfaction of nurturing new life. Happy gardening!
Resource:
https://identify.plantnet.org/k-world-flora/species/Omphalodes%20verna%20Moench/data