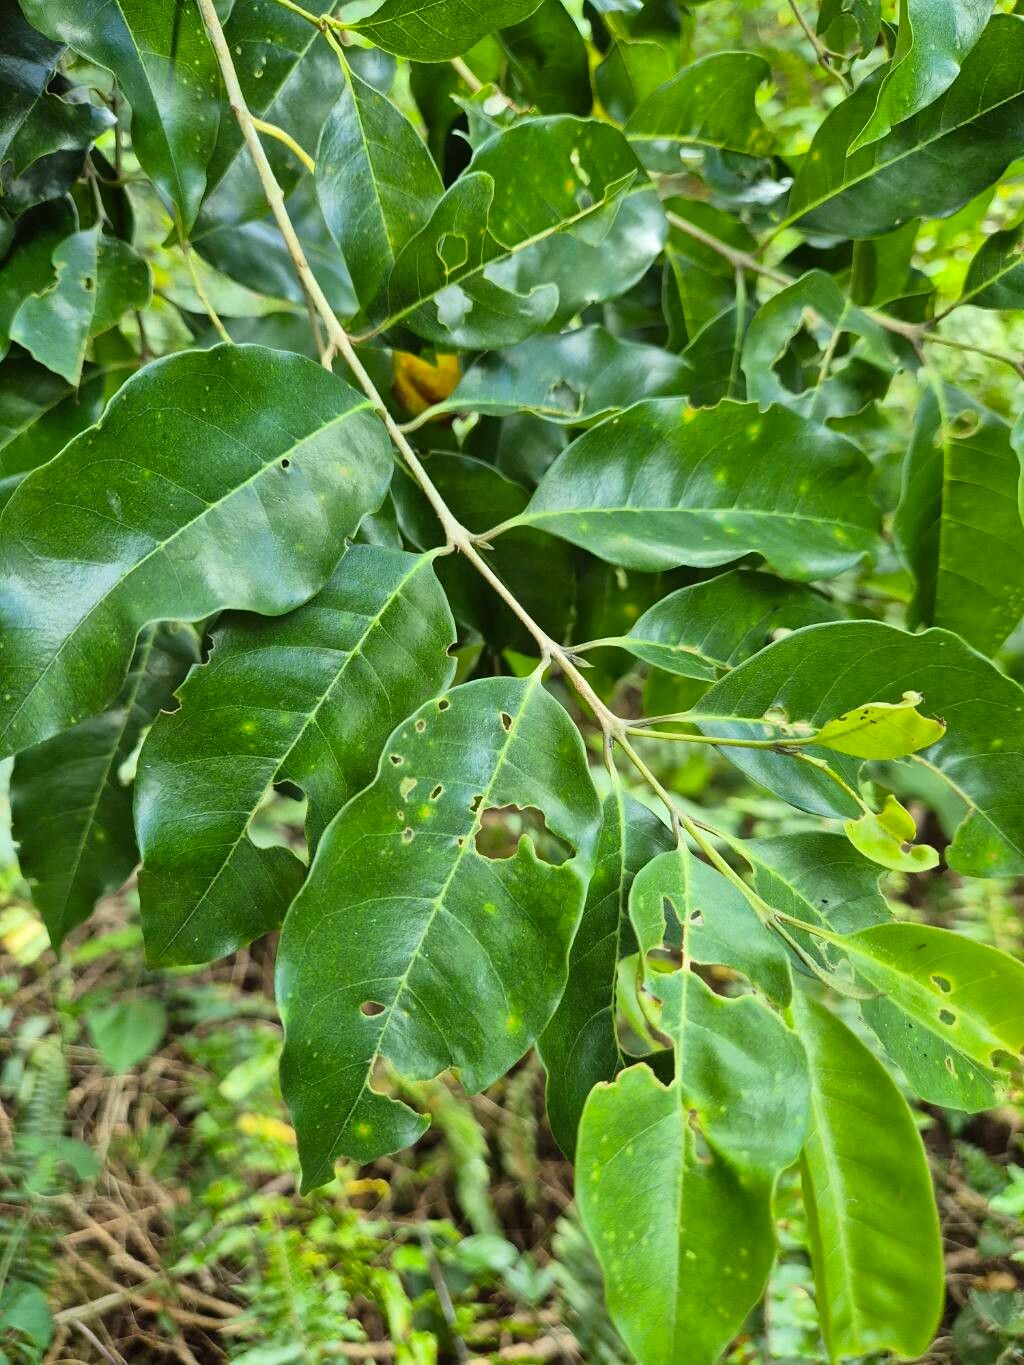
Oh, hello there, fellow garden enthusiast! I’m so glad you’re interested in propagating Olea paniculata, also known as the native Australian olive or Mulla Mulla olive. These beauties are just wonderful in so many ways. Their glossy, deep green leaves offer a touch of elegance, and they’re remarkably tough once established, handling a range of conditions. Plus, there’s a special kind of satisfaction you get from nurturing a brand new plant from a tiny cutting. It’s like unlocking a little bit of horticultural magic right in your own home!
Now, for beginners, I’d say propagating Olea paniculata is moderately successful. It’s not quite as foolproof as, say, a spider plant, but with a little patience and attention, you’ll likely see great results. It’s a rewarding challenge, for sure.
The Best Time to Start
When it comes to getting the best success rate for propagating your Olea paniculata, spring is definitely your best bet. Think about when the plant itself is really bursting with new growth, pushing out fresh shoots. This vigorous energy is exactly what you want to tap into. Late spring, after the last real chill of winter has passed, is perfect. You’re aiming to take cuttings from semi-hardwood, which means the stems are no longer floppy and new, but not yet thick and woody. They’ll have a bit of flexibility but feel firm when you gently bend them.
Supplies You’ll Need
To set yourself up for success, gather these essentials:
- Clean, sharp pruning shears or a sharp knife: Essential for making clean cuts.
- Potting mix: A well-draining mix is crucial. I often use a blend of coarse sand, perlite, and peat moss (or coir) in roughly equal parts.
- Small pots or trays: With good drainage holes, of course.
- Rooting hormone (optional but recommended): A powder or gel will significantly boost your chances.
- Clear plastic bags or a propagation dome: To create a humid environment.
- Water: For misting.
- Labels: To remember what you’ve planted and when!
Propagation Methods
I find stem cuttings to be the most reliable way to go with Olea paniculata. It’s straightforward and yields excellent results.
Stem Cuttings:
- Select your cuttings: Find those semi-hardwood shoots I mentioned. Look for stems that are about 4-6 inches long.
- Make the cut: Using your clean shears or knife, make a clean cut just below a leaf node. A leaf node is where a leaf attaches to the stem, and it’s where roots are most likely to form.
- Prepare the cutting: Gently remove the lower leaves, leaving just the top couple of leaves. If the remaining leaves are very large, you can cut them in half horizontally to reduce moisture loss.
- Apply rooting hormone: Dip the cut end of the stem into your rooting hormone, ensuring it’s coated to about an inch up from the cut. Tap off any excess.
- Plant your cuttings: Make a small hole in your prepared potting mix with a pencil or your finger. Carefully insert the cutting, making sure the leaf nodes are below the soil surface. Gently firm the soil around the base of the cutting.
- Water gently: Water your cuttings lightly. You don’t want to drown them, just make the soil nicely moist.
- Create humidity: Place your pots in a clear plastic bag, sealing it loosely, or put them under a propagation dome. This traps moisture, which is vital for cuttings that can’t yet absorb water through roots.
The “Secret Sauce” (Pro Tips)
Here are a few things I’ve learned over the years that can really make a difference:
- Watch out for condensation: While humidity is key, too much condensation dripping onto the leaves can encourage fungal diseases. Periodically open the bag or dome for a few minutes each day to let things air out a bit.
- Bottom heat is your friend: If you have it, placing your pots on a gentle heated propagation mat can significantly speed up root development. It mimics the warmth of spring soil and gives those root cells a real kickstart.
- Don’t disturb them too soon! Resist the urge to constantly tug at your cuttings to “check for roots.” You’ll damage nascent root systems. You’ll know they’re rooting when you see new leaf growth or feel a gentle resistance when you very lightly tug.
Aftercare & Troubleshooting
Once you start seeing signs of new growth, congratulate yourself! This is a good indicator that roots are forming.
- Gradual acclimatization: Begin slowly introducing your new plants to less humid conditions. This means opening the plastic bag or dome for longer periods each day over a week or two before removing it altogether.
- Watering: Keep the soil consistently moist but not waterlogged. Overwatering is the quickest way to invite problems.
- Potting up: Once your cuttings have a decent root system (you might see roots peeking out the drainage holes), you can carefully pot them into slightly larger individual pots with your regular potting mix.
The most common issue you’ll encounter is rot. If a cutting turns black and mushy, or the leaves start to yellow and fall off despite consistent watering, it’s likely rot. This is often due to too much moisture or poor air circulation. If you see this, sadly, that cutting is probably lost, but don’t get discouraged. It happens to the best of us! Just remove the offending cutting and reassess your conditions.
A Encouraging Closing
See? It’s really quite manageable. Propagating your Olea paniculata is a journey, and like any good horticultural adventure, it requires a bit of patience and a whole lot of observation. Don’t be afraid to experiment, learn from any setbacks, and most importantly, enjoy the process. Watching something grow from your own hands is one of life’s simple, profound joys. Happy propagating!
Resource:
https://identify.plantnet.org/k-world-flora/species/Olea%20paniculata%20R.Br./data