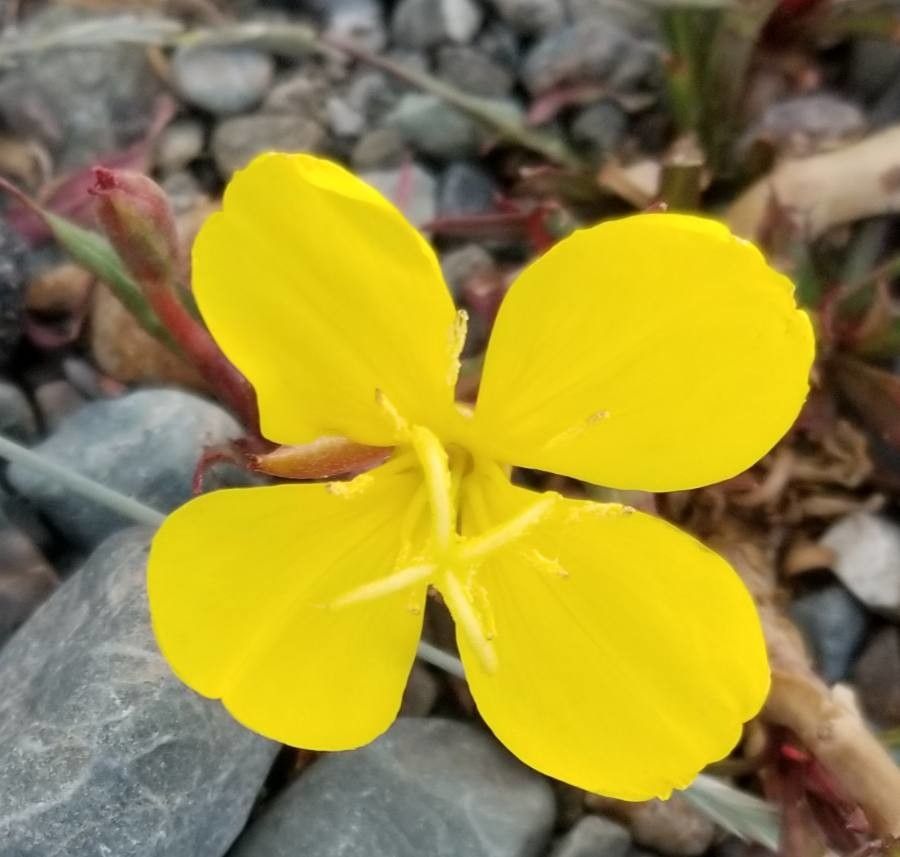
Hello fellow garden enthusiasts! I’m so excited to share my tips on propagating Oenothera magellanica, often called the Magellan evening primrose. If you’re drawn to its cheerful, star-shaped yellow flowers that really put on a show, especially in the late afternoon, you’re in for a treat. Growing more of these beauties from existing plants is incredibly satisfying, and it’s a fantastic way to fill out your garden beds or share with friends.
Now, I know some propagation can feel a bit… intimidating. But honestly, Oenothera magellanica is a pretty forgiving plant to work with. I’d say it’s a great choice for beginners looking to dip their toes into the world of plant propagation. You’ll likely find a lot of success with this one!
The Best Time to Start
For the highest success rate, I always recommend starting in late spring to early summer. This is when the plant is actively growing and has plenty of energy to dedicate to forming new roots. You’re looking for stems that are firm but not woody – think of them as being in that “just right” stage, a bit like the perfect spaghetti!
Supplies You’ll Need
Gathering your tools beforehand makes the whole process smoother. Here’s what I usually have on hand:
- Sharp pruning shears or a very clean knife: For making clean cuts.
- Rooting hormone (optional, but recommended for extra oomph): A powder or gel really helps kickstart root development.
- Potting mix: A light, well-draining mix is key. I like to use a blend of seed-starting mix or a 50/50 mix of peat moss and perlite.
- Small pots or trays: Clean ones are important to prevent disease. About 3-4 inch pots are perfect.
- Clear plastic bags or a propagator: To create a humid environment.
- Watering can with a fine rose or a spray bottle: To water gently.
Propagation Methods: Let’s Get Planting!
There are a couple of ways to go about this, but my absolute favorite for Oenothera magellanica is by stem cuttings. It’s straightforward and yields excellent results.
Stem Cuttings:
- Take the Cuttings: In late spring or early summer, select a healthy stem that’s about 4-6 inches long. Using your clean shears or knife, make a clean cut just below a leaf node (that little bump on the stem where a leaf grows). Remove the lower leaves, leaving just the top few.
- Prepare the Cutting: If you’re using rooting hormone, lightly dip the cut end into the powder or gel, tapping off any excess. This step isn’t strictly necessary for Oenothera, as they are quite keen to root, but it gives them a good boost.
- Plant the Cuttings: Fill your small pots with your prepared potting mix. Make a small hole in the center with your finger or a pencil. Gently insert the cut end of the stem into the hole, ensuring the leaf nodes are below the soil surface. Firm the soil gently around the cutting.
- Water Gently: Water the potting mix thoroughly but gently. You want the soil to be moist, not soggy.
- Create a Humid Environment: This is crucial! Cover the pot with a clear plastic bag, securing it around the rim with a rubber band or tape to trap moisture. Alternatively, you can place the pots inside a propagator with the lid closed. Make sure the leaves aren’t pressing against the plastic if possible – it can encourage rot.
Water Propagation (A Fun Alternative!):
While not my preferred method for this particular plant, you can try water propagation.
- Take Cuttings: Follow the same steps as above for taking cuttings.
- Place in Water: Remove all lower leaves and place the cuttings in a jar or glass of clean water. Ensure that no leaves are submerged in the water, only the stem.
- Change Water Regularly: Change the water every few days to keep it fresh and prevent bacterial growth.
- Wait for Roots: You should start to see tiny white roots appearing from the nodes within a couple of weeks. Once the roots are about an inch long, you can transplant them into pots with potting mix as described above.
The “Secret Sauce” (Pro Tips from My Garden!)
Here are a few little tricks I’ve picked up over the years that can make a big difference:
- Don’t Over-Water Before Roots Appear: It’s tempting to keep things constantly moist, but waterlogged soil is the fastest way to cause rot. Aim for consistently moist, not wet. If the soil feels dry to the touch about an inch down, it’s time to water.
- Bottom Heat is Your Friend: If you have a heated propagator or a heat mat, using it can significantly speed up root formation. A consistent temperature of around 70-75°F (21-24°C) is ideal. It mimics the warmth of spring and gets those roots moving!
- Sterilize Everything: I can’t stress this enough! Cleanliness is paramount. Use clean pots, clean tools, and even clean your hands. This drastically reduces the risk of fungal diseases that can wipe out your new cuttings.
Aftercare & Troubleshooting
Once your cuttings have developed a healthy root system and new growth is appearing (you’ll usually see this after 3-6 weeks), it’s time to give them a little more attention.
- Weaning Off Humidity: Gradually introduce your new plants to drier air. Start by opening the plastic bag for a few hours each day, then remove it entirely over a week or so.
- Potting Up: When the roots have filled the small pot (you can often see them peeking out the drainage holes), it’s time to pot them up into slightly larger containers. Use a good quality potting mix.
- Light: Place your new plants in a bright, indirect light location. Once they are well-established, you can gradually introduce them to more sun.
The most common sign of failure is rotting at the base of the stem. This is usually a sign of too much moisture and poor air circulation. If you see this, unfortunately, that cutting is likely lost. Don’t get discouraged! Just try again, paying closer attention to soil moisture and air circulation. Yellowing leaves can also indicate issues, but sometimes it’s just the plant adjusting. Look for signs of new growth as the best indicator of success.
A Little Patience Goes a Long Way
Propagating plants is a journey, and Oenothera magellanica is a wonderful companion for that journey. Remember to be patient, observe your cuttings, and don’t be afraid to experiment a little. Every gardener has had their share of failed attempts – it’s all part of the learning process! Enjoy the magic of watching new life emerge from a simple stem. Happy gardening!
Resource:
https://identify.plantnet.org/k-world-flora/species/Oenothera%20magellanica%20Phil./data