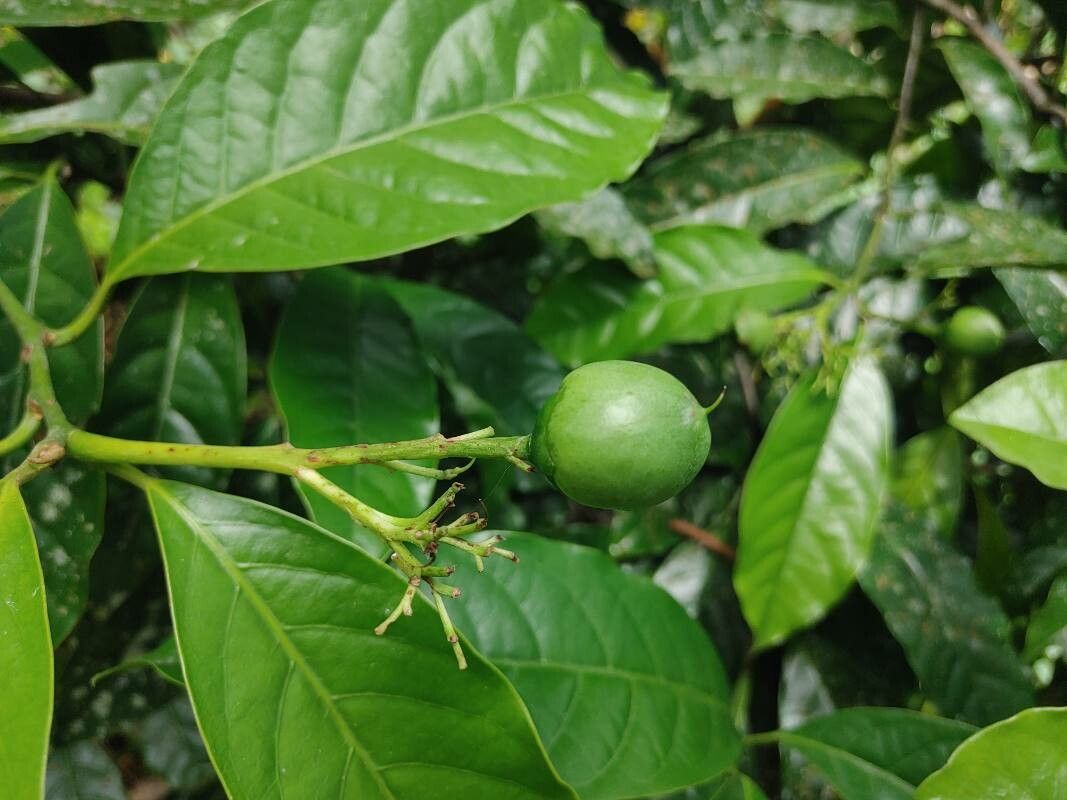
Hey there, fellow plant enthusiasts! If you’re anything like me, you’ve probably fallen head over heels for the unique charm of Oecopetalum mexicanum. Its architectural leaves and whisper-quiet elegance make it a real stunner in any indoor jungle. And let me tell you, coaxing a new Oecopetalum into being from a piece of the parent plant is one of the most satisfying gardening feats. Now, I won’t sugarcoat it – Oecopetalum isn’t quite as hands-off as a ZZ plant, but with a little patience and the right approach, you’ll find it’s a wonderfully rewarding plant to propagate.
The Best Time to Start
Our Oecopetalum really gets going in the spring and early summer. This is when the plant is actively growing, full of energy, and more likely to dedicate that energy to putting out roots. Think of it like a teenager – bursting with growth and ready for anything! Trying to propagate when the plant is resting in winter can lead to slower results, or even failure.
Supplies You’ll Need
To get your propagation journey off to a smooth start, gather these essentials:
- Sharp, clean pruning shears or a razor blade: For making neat cuts.
- A rooting hormone powder or gel: This is optional but highly recommended for Oecopetalum. It really gives your cuttings a boost.
- A well-draining potting mix: I like a blend of perlite, orchid bark, and peat moss. You can also buy commercial succulent or cactus mix and amend it.
- Small pots or propagation trays: With drainage holes, of course!
- A spray bottle: For gentle misting.
- Clear plastic bags or a propagation dome: To create a humid environment.
- Water: For water propagation, if you choose that route.
Propagation Methods
Oecopetalum mexicanum is best propagated through stem cuttings or division. Let’s dive into how we do it.
Stem Cuttings
This is my go-to method for Oecopetalum. It’s efficient and usually yields great results.
- Choose a healthy stem: Look for a mature, healthy stem on your parent plant. It should have at least two or three sets of leaves.
- Make a clean cut: Using your sterilized pruning shears or razor blade, cut the stem about an inch or two below a leaf node. A node is where a leaf attaches to the stem.
- Remove lower leaves: Gently strip off the leaves from the bottom inch or so of the stem. This will prevent rot when you place the cutting in soil.
- Apply rooting hormone: Dip the cut end into your rooting hormone powder or gel. Tap off any excess. This step is crucial for encouraging root formation.
- Plant the cutting: Fill your small pot with your well-draining potting mix. Make a small hole in the center and insert the cutting so that the leaf nodes you cleared are buried. Gently firm the soil around the stem.
- Create a humid environment: Water the soil lightly, then cover the pot with a clear plastic bag or place it under a propagation dome. This traps humidity, which is vital for cuttings waiting for roots.
- Find a bright spot: Place the pot in a location that receives bright, indirect light. Avoid direct sun, as it can scorch the delicate cutting.
Division
If your Oecopetalum is already a bit mature and has started to form clumps, division is a fantastic way to get more plants.
- Gently remove the plant from its pot: This is best done when you’re repotting anyway.
- Inspect the root ball: Look for natural breaks where the plant has divided itself. You should be able to see where a new shoot is emerging from the existing root system.
- Separate the divisions: Using your hands or a clean knife, carefully pull or cut the divisions apart. Ensure each division has a good amount of roots and at least one healthy stem or leaf cluster.
- Pot up the divisions: Plant each division in its own pot filled with your well-draining potting mix.
- Water lightly and place in bright, indirect light: Similar to cuttings, give them a gentle watering and set them up in a bright spot.
The “Secret Sauce” (Pro Tips)
Here are a couple of tricks I’ve picked up over the years that really make a difference with Oecopetalum:
- Let those cuttings callous: Before you dip the stem in rooting hormone and plant it, let the cut end air dry for a day or two. This forms a protective callus, which helps prevent rot and encourages root development. You’ll see a dry, slightly hardened tip.
- Bottom heat is your friend: Oecopetalum roots love a little warmth. If you can, place your pots on a seedling heat mat set to a low temperature. This gentle warmth from below mimics natural growing conditions and significantly speeds up root formation.
Aftercare & Troubleshooting
Once your cuttings or divisions are planted, consistency is key.
Watering: Water sparingly. You want the soil to stay consistently moist but never waterlogged. Overwatering is the quickest way to invite rot. I usually mist the leaves every few days (avoiding the crown) and water the soil only when the top inch feels dry.
Patience: This is the big one! Roots can take weeks, sometimes even months, to form. Resist the urge to constantly pull the cutting out to check. You’ll know it’s rooting when you see new growth or feel resistance when you gently tug on the stem.
Troubleshooting:
- Rot: This is the most common issue. If you see mushy stems or leaves turning yellow and dropping, it’s likely rot from overwatering. Act fast: remove the affected parts and try to dry out the soil. If the entire cutting is affected, you might have to start over.
- No Growth: Don’t panic immediately. Remember, Oecopetalum can be slow. Ensure it’s in bright, indirect light and has adequate humidity. If it’s been months with absolutely zero signs of life, it might not have taken, but don’t let that discourage you from trying again!
A Little Encouragement to Finish
Propagating Oecopetalum mexicanum is a journey, and like any good journey, it’s filled with learning and discovery. Be patient with your little green babies, celebrate the small victories (like the first hint of a new leaf!), and don’t be afraid to get your hands in the soil. You’ve got this! Happy propagating!
Resource: