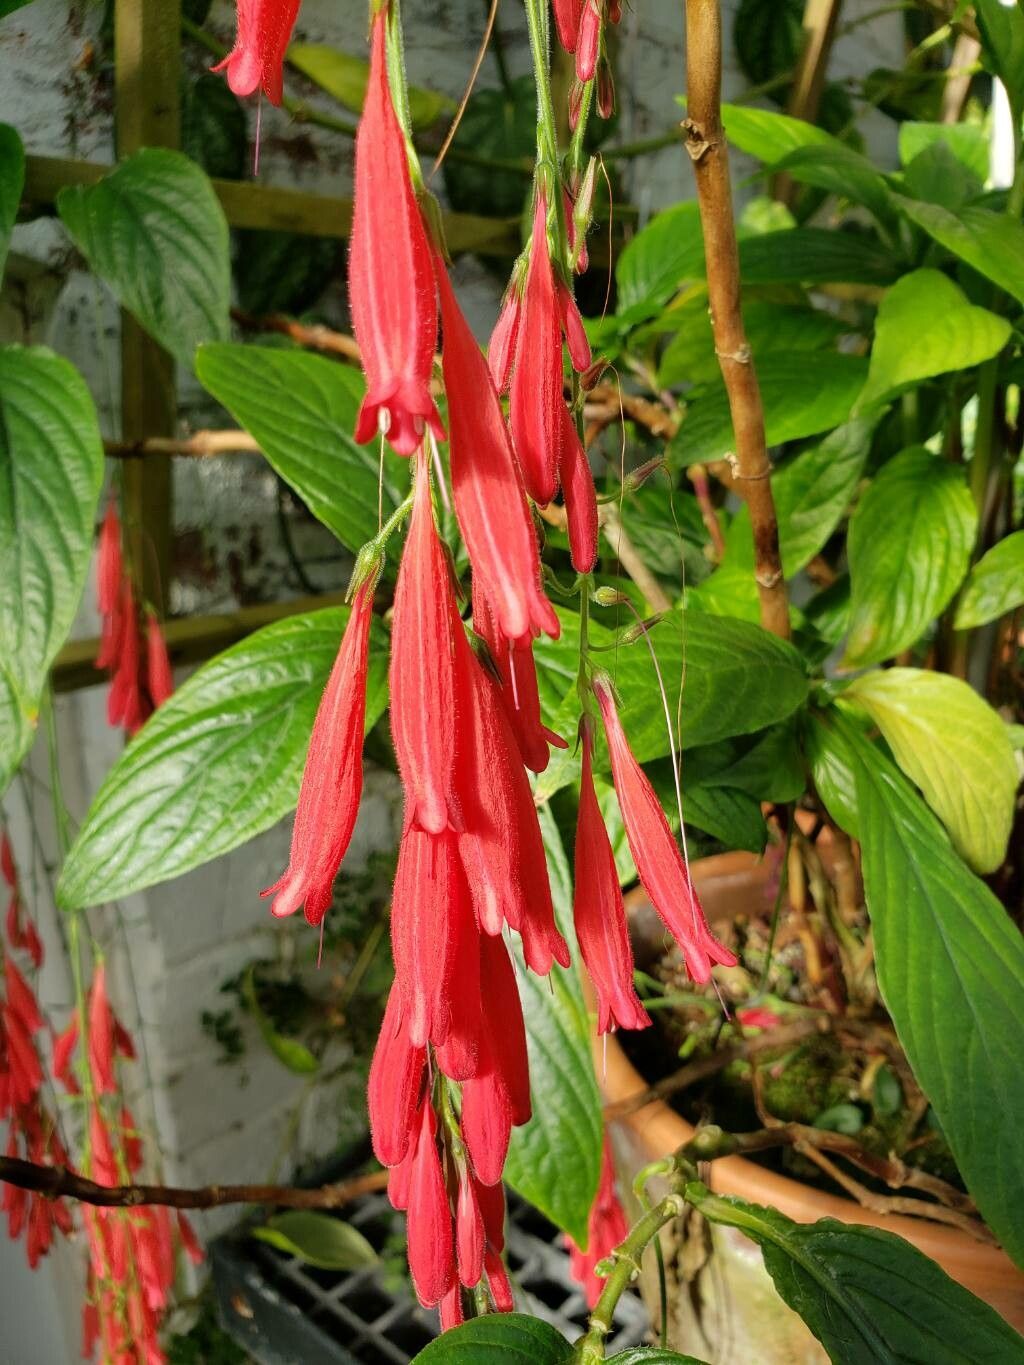
Oh, hello there! Pull up a chair and let’s chat about one of my absolute favorite tropical beauties: Odontonema schomburgkianum, more commonly known as the Firespike. If you appreciate a burst of fiery color in your garden or even just a stunning specimen on your patio, you’re going to love this plant. Its vibrant, upright spikes of red or sometimes orange flowers are simply breathtaking, especially when they start to bloom in the cooler months.
There’s something so incredibly satisfying about taking a piece of a healthy plant and coaxing it into becoming a brand-new one. It’s a tiny miracle, really! And the good news is, Odontonema schomburgkianum is quite a generous plant when it comes to propagation. It’s not overly fussy, which makes it a fantastic candidate for gardeners who are just dipping their toes into the world of growing plants from cuttings or divisions. You’ll likely find this process quite rewarding.
The Best Time to Start
When it comes to Firespike, spring and early summer are generally your sweet spot for propagation. This is when the plant is actively growing and has plenty of energy to dedicate to developing new roots. Warm temperatures and longer daylight hours really give them a boost. You want to be looking for stems that are developing new leaves but haven’t yet flowered, as these tend to have the best vigor.
Supplies You’ll Need
To get our little Firespike babies started, you’ll want to gather these items:
- A sharp, clean pruning shear or a sterile knife.
- A well-draining potting mix. A good blend of perlite, peat moss, and compost works wonderfully. You can also buy a good quality seed-starting mix.
- Small pots or seedling trays with drainage holes.
- Rooting hormone (optional, but it can give you a little extra insurance for faster root development). I prefer the powder form.
- A spray bottle filled with water.
- A clear plastic bag or propagation dome to create a humid environment.
- A label and marker to keep track of your new plants.
Propagation Methods
Here are a couple of tried-and-true ways to get more Firespike plants. I find stem cuttings to be the most straightforward for this particular plant.
Stem Cuttings:
- Select your parent plant: Find a healthy, vigorous Odontonema schomburgkianum that is actively growing.
- Take your cuttings: Using your clean pruning shears, take cuttings that are about 4 to 6 inches long. Look for stems that have at least two or three sets of leaves. Make your cut just below a leaf node (the bump where a leaf attaches to the stem). This is where the magic happens for root formation.
- Prepare the cuttings: Gently remove the lower leaves from the cutting, leaving just one or two sets of leaves at the top. This prevents them from rotting when you place them in the soil.
- Apply rooting hormone (optional): If you’re using rooting hormone, dip the cut end of the stem into the powder, tapping off any excess.
- Plant your cuttings: Moisten your potting mix thoroughly but ensure it’s not waterlogged. Make a small hole in the mix with your finger or a pencil and insert the cut end of the stem, ensuring the leaf nodes are buried. Gently firm the soil around the cutting.
- Water and cover: Give your cuttings a light watering and then cover the pot or tray with a clear plastic bag or propagation dome. This will help maintain high humidity, which is crucial for cuttings to root.
- Place in bright, indirect light: Find a warm spot for your cuttings that receives bright, filtered sunlight. Avoid direct sun, as this can scorch the delicate new growth.
Water Propagation (A quick check-in method):
While stem cuttings in soil are my preference, you can try them in water!
- Follow steps 1-3 for stem cuttings.
- Place the cuttings in a jar or vase of water, making sure that no leaves are submerged. The water level should just cover the leaf nodes.
- Place in bright, indirect light.
- Change the water every few days to keep it fresh and prevent bacterial growth.
- You should start to see tiny white roots appearing from the nodes in a few weeks. Once the roots are about an inch long, you can then transplant them into potting mix as described above.
The “Secret Sauce” (Pro Tips)
Here are a few little tricks I’ve picked up over the years that make a big difference:
- As I mentioned, don’t let those lower leaves touch the water or the soil’s surface. If they sit in moisture, they’ll quickly turn mushy and rot, which can spread and kill your cutting before it even has a chance to root.
- I absolutely swear by bottom heat for cuttings. You can buy inexpensive seedling heat mats, or even place your pots on top of an appliance that generates a little warmth, like a modem. This gentle warmth encourages roots to form much faster. Just make sure the heat isn’t too intense!
- When you’re preparing your cuttings, don’t be afraid to be a little ruthless. Sometimes, a cutting that looks a bit leggy and has lots of leaves can be trimmed back, losing some length but gaining more vigor from the remaining growth. Plus, you get more cuttings that way!
Aftercare & Troubleshooting
Once you start seeing those tell-tale signs of new growth – tiny leaves unfurling or a gentle tug on the cutting meeting resistance – you know roots are forming! At this point, you can gradually acclimate your new plants to normal conditions by opening the plastic bag or dome a little more each day over a week or so. Water them consistently, keeping the soil moist but not soggy.
The most common issue you might encounter is rot. If your stems turn mushy or black, it’s usually a sign of too much moisture and poor air circulation. If you catch it early, you might be able to salvage a healthier part of the stem and try again. Also, wilting can happen if the humidity drops too quickly or if the plant hasn’t rooted yet. Keep them covered while they’re establishing. Yellowing leaves can sometimes mean too much direct sun.
A Little Encouragement
Growing plants from cuttings is a journey, and like any good journey, there might be a few bumps along the way. Don’t get discouraged if a cutting doesn’t make it. Each attempt is a learning experience! Be patient with your new Firespike babies, provide them with steady care, and soon you’ll have beautiful new plants to admire, share, or even plant out in a shady spot in your garden. Happy propagating!
Resource: