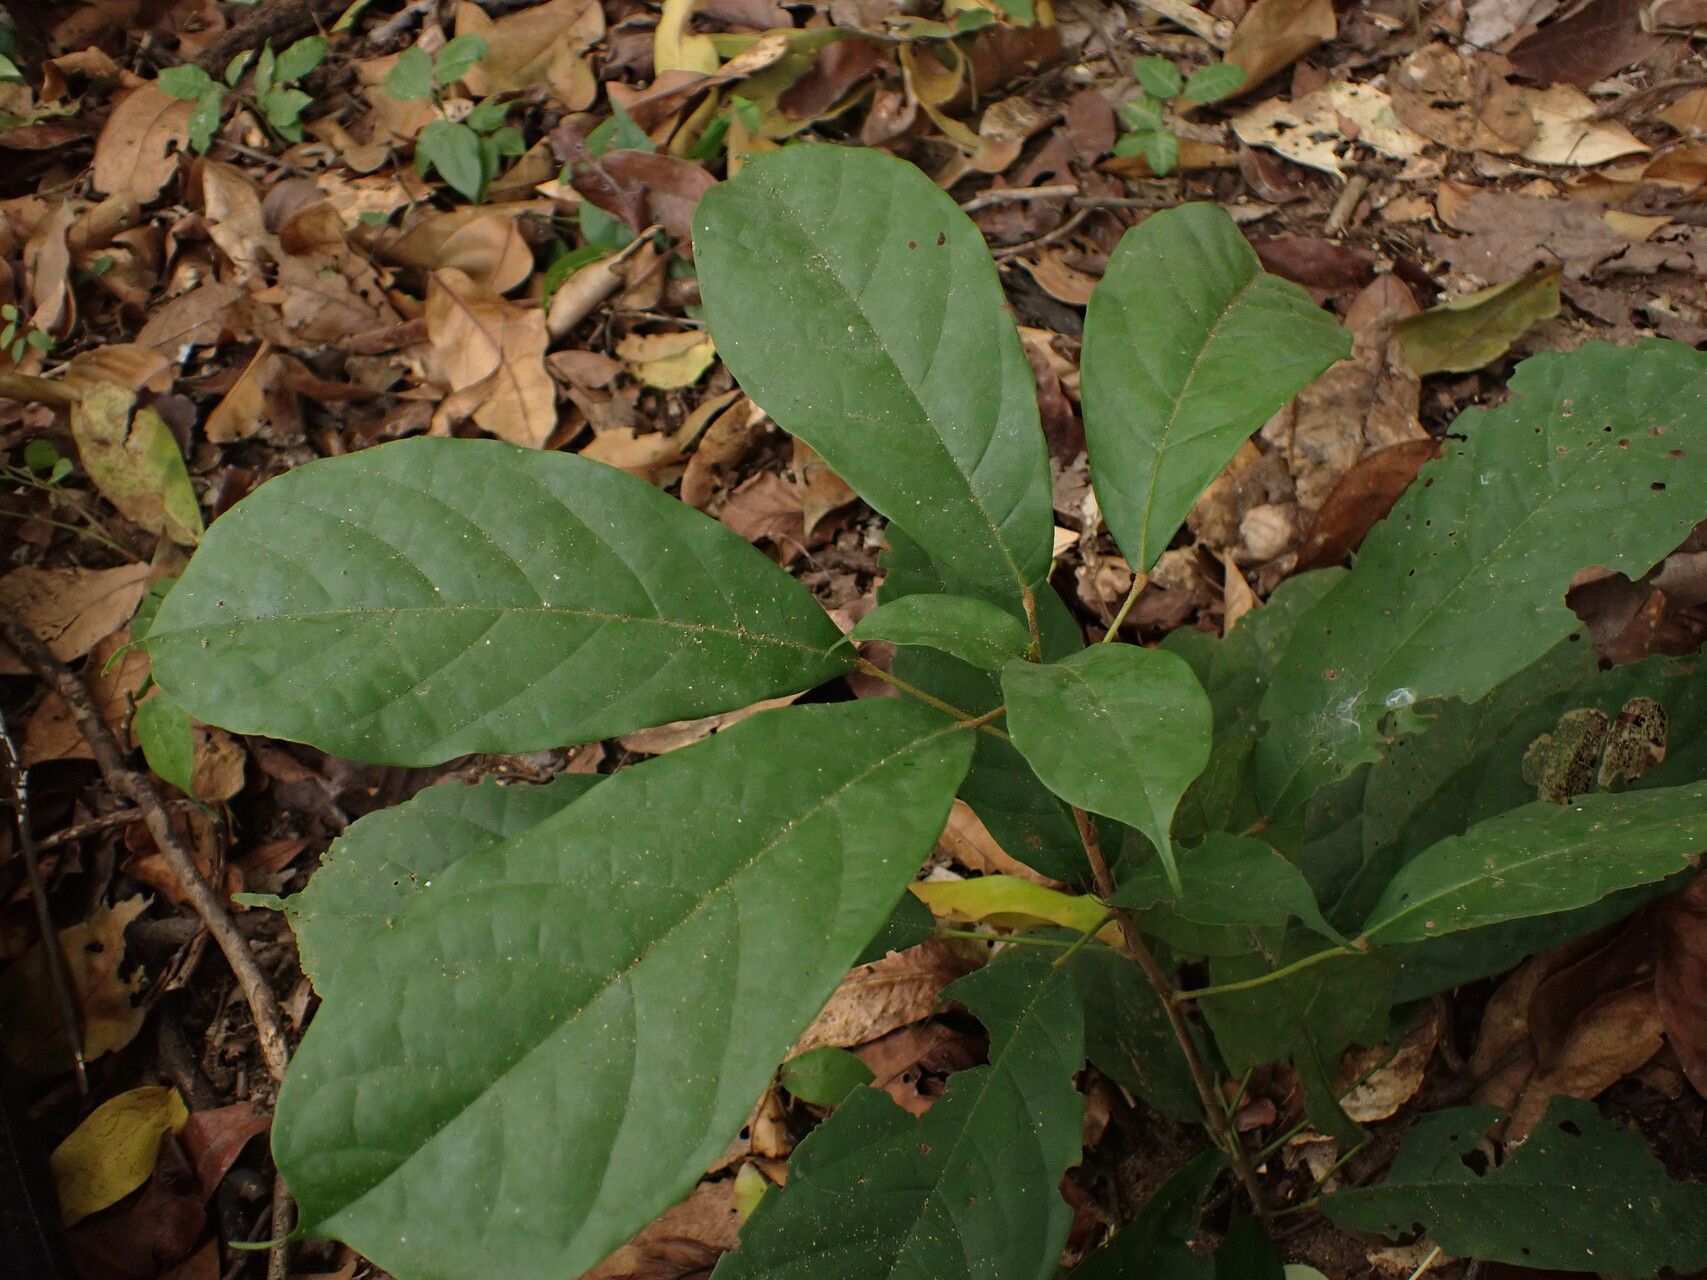
Oh, hello there! Come on in, grab a mug of something warm. I’m so glad you’re interested in Octolobus heteromerus. It’s such a unique plant with its wonderfully architectural leaves and the way it just breathes life into a space. Honestly, coaxing a new plant into existence from a piece of an existing one is one of the most satisfying gardening experiences there is. It’s like a little bit of magic you can perform right in your own home. And Octolobus? It’s not the easiest plant to propagate for a complete beginner, but with a little attention and these steps, you’ll be well on your way to multiplying your leafy treasures.
The Best Time to Start
For the best chance of success with Octolobus, spring and early summer are your golden windows. This is when the plant is in its most vigorous growth phase. You’ll find it’s more receptive to taking cuttings and developing roots when it’s actively pushing out new shoots. Waiting until your plant has produced some fresh, healthy growth is key.
Supplies You’ll Need
Here’s a little kit to get you started:
- Sharp, clean pruning shears or a craft knife: Essential for making a clean cut.
- A rooting hormone powder or gel (optional but recommended): This can really give your cuttings a boost.
- Well-draining potting mix: A good blend of perlite and peat moss works beautifully for Octolobus. You can buy specialty houseplant mixes, or make your own.
- Small pots or propagation trays: Terracotta pots are great for allowing the soil to breathe.
- A clear plastic bag or propagation dome: To create a humid environment.
- Watering can or spray bottle: For gentle watering.
Propagation Methods
I find stem cuttings to be the most reliable way to go with Octolobus. It’s a straightforward process, and you usually get great results.
Stem Cuttings:
- Select a healthy stem: Look for a stem that’s at least 4-6 inches long and has several sets of leaves. It should be firm, not woody or too soft and floppy.
- Make your cut: Using your clean shears or knife, make a clean cut just below a leaf node. A leaf node is that little bump on the stem where a leaf emerges. This is where the magic happens, where roots are most likely to form.
- Prepare the cutting: Gently remove the lower leaves, leaving just a few at the top. This prevents them from rotting when they’re in the soil. If your stem is quite long, you can even cut it in half at a node to get two potential plants from one cutting.
- Apply rooting hormone (optional): Dip the cut end of the stem into the rooting hormone, tapping off any excess.
- Plant your cutting: Fill your small pot with your well-draining potting mix. Make a small hole in the center with your finger or a pencil and gently insert the cut end of the stem into the hole. Firm the soil around it, making sure the node is buried.
- Water gently: Give the soil a good, thorough watering until you see water draining from the bottom of the pot.
- Create humidity: Pop your pot into a clear plastic bag, or place a propagation dome over it. This traps moisture and creates the humid environment your cutting needs to thrive. Leave the bag slightly open or vent the dome occasionally to prevent mold.
The “Secret Sauce”
Here are a couple of things I’ve learned over the years that can really make a difference:
- Don’t overdo the water: While your cutting needs moisture, it doesn’t want to be waterlogged. Let the top inch of soil dry out slightly between waterings. Overwatering is a surefire way to encourage rot.
- Consider bottom heat: If you have a heat mat designed for seedlings, placing your pots on it can significantly speed up root development. It mimics the warmth of spring and encourages those roots to emerge with more enthusiasm.
Aftercare & Troubleshooting
Once your cutting is planted, place it in bright, indirect light. Direct sun will scorch those delicate leaves. Be patient! It can take anywhere from four to eight weeks, sometimes longer, for roots to establish. You can gently tug on the cutting after a few weeks. If you feel resistance, you’ve got roots!
Signs of trouble usually involve rot. If your stem turns mushy and black or develops fuzzy mold, it’s likely gone too far. This is often due to too much moisture and insufficient air circulation. If you catch it early, you might be able to salvage it by cutting away the rotten parts and repotting in fresh, dry soil, but often, it’s best to start again with a fresh cutting.
A Encouraging Closing
So, don’t be discouraged if your first attempt isn’t a roaring success. Gardening is a journey, and propagation is a skill that improves with practice. Take a deep breath, enjoy the process of nurturing a new life, and celebrate every little sign of progress. Happy propagating!
Resource:
https://identify.plantnet.org/k-world-flora/species/Octolobus%20heteromerus%20K.Schum./data