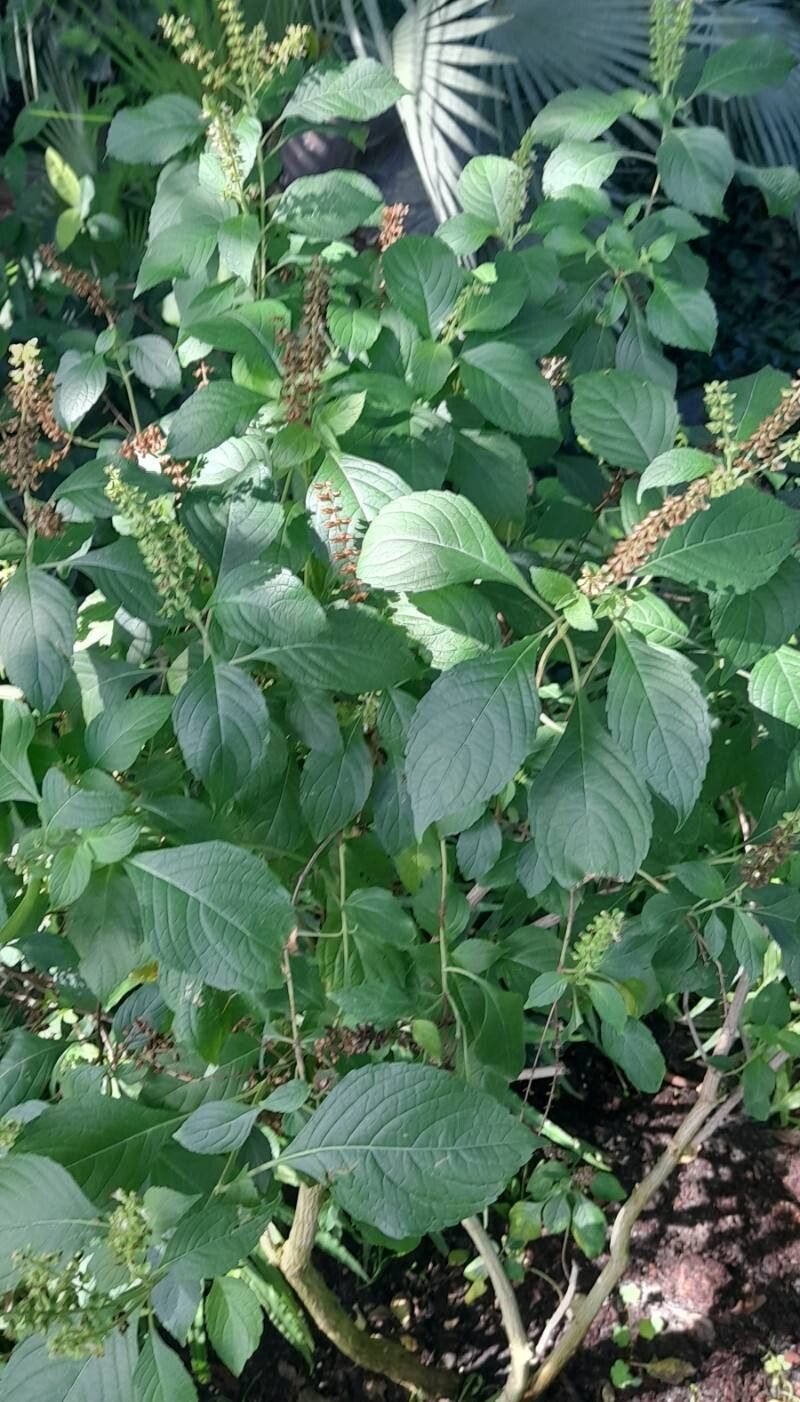
Hello there, fellow garden enthusiasts! I’m so delighted you’re interested in multiplying your Ocimum gratissimum, also known as Plectranthus or sometimes even a type of aromatic basil! This South African native is a real gem. Its fragrant, velvety leaves release a wonderful scent when brushed, and it’s packed with useful properties. Honestly, propagating it is a joy, and I find it quite forgiving, even for those of you just dipping your toes into the world of plant propagation. You’ll have more of this delightful plant to enjoy in no time!
The Best Time to Start
For the absolute highest success rate, I always recommend starting your Ocimum gratissimum propagation in the late spring or early summer. This is when the plant is in its most vigorous growth phase. You want to be taking cuttings from healthy, non-flowering stems. Think of it as tapping into the plant’s natural energy surge!
Supplies You’ll Need
Here’s what you’ll want to have on hand before you begin:
- Sharp pruning shears or a clean, sharp knife: This is crucial for making clean cuts, which help prevent disease and promote rooting.
- Small pots or trays: Clean containers with drainage holes are essential.
- Propagation mix or a sandy potting soil: Something that drains well is key. A good mix is half potting soil and half perlite or coarse sand.
- Rooting hormone (optional but recommended): This can give your cuttings an extra boost in developing roots. I personally like to use a powdered one.
- Watering can or spray bottle: For gentle watering.
- Plastic bag or propagator lid: To create a humid environment for your cuttings.
Propagation Methods
My favorite way to propagate Ocimum gratissimum is through stem cuttings. It’s so straightforward!
- Select Your Cuttings: Look for healthy, non-flowering stems. Aim for cuttings that are about 4-6 inches long. You can often find these just by lightly pruning your existing plant.
- Make the Cut: Using your clean shears or knife, make a clean cut just below a leaf node (where a leaf attaches to the stem). This is where the magic happens for root development!
- Prepare the Cuttings: Gently remove the lower leaves from your cuttings, leaving only two to three sets of leaves at the top. This prevents the lower leaves from rotting once they’re in the soil or water.
- Apply Rooting Hormone (Optional): If you’re using rooting hormone, dip the cut end of each stem into it, tapping off any excess.
- Plant Your Cuttings: Insert the prepared cuttings into your well-draining potting mix. Make sure the leaf nodes that you removed the leaves from are buried in the soil. Gently firm the soil around the stems.
- Water Gently: Water your cuttings lightly so the soil is moist but not waterlogged. A gentle misting spray is often best at this stage.
- Create Humidity: To keep your cuttings happy and prevent them from drying out, cover the pots with a clear plastic bag or a propagator lid. Make sure the leaves aren’t touching the plastic. You can prop up the bag with a few small sticks if needed.
- Find a Bright Spot: Place your pots in a bright location with indirect sunlight. Avoid harsh, direct sun, which can scorch the tender cuttings.
The “Secret Sauce” (Pro Tips)
Here are a few things I’ve learned over the years that really make a difference:
- Bottom Heat is Your Friend: If you can, place your pots on a heat mat. A gentle warmth from below encourages root development much faster than relying on ambient room temperature alone. It mimics the warmth of spring soil!
- Don’t Drown Them: While humidity is important, avoid overwatering. The goal is consistently moist soil, not soggy. Soggy soil is a fast track to rot. Checking the soil moisture with your finger is always the best guide.
- Patience, Young Grasshopper: Some plants root in a couple of weeks, others take a bit longer. For Ocimum gratissimum, you can usually expect to see signs of new growth or feel a gentle tug on the stem (indicating roots!) within 3-5 weeks. Don’t panic if it takes a little longer!
Aftercare & Troubleshooting
Once your cuttings have developed a good root system (you can gently pull on a stem and feel resistance), it’s time for them to become independent little plants!
- Gradual Acclimation: Slowly remove the plastic bag over a few days to get them used to drier air.
- Watering: Water them when the top inch of soil feels dry.
- Potting Up: Once they’re a bit larger and busher, you can transplant them into their own individual pots.
Watch out for wilting or mushy stems. This is usually a sign of overwatering or rot. If you see this, it’s often difficult to save, but you can try to take a fresh cutting from another part of the parent plant and make sure your watering and drainage are spot on this time. Sometimes, the cuttings just don’t take; it happens to all of us! Don’t get discouraged.
There you have it! Propagating Ocimum gratissimum is a truly rewarding experience. It’s a chance to connect with nature, multiply your favorite scents and flavors, and share the joy with others. Be patient with your little cuttings, give them the right conditions, and I just know you’ll be successful. Happy propagating!
Resource:
https://identify.plantnet.org/k-world-flora/species/Ocimum%20gratissimum%20L./data