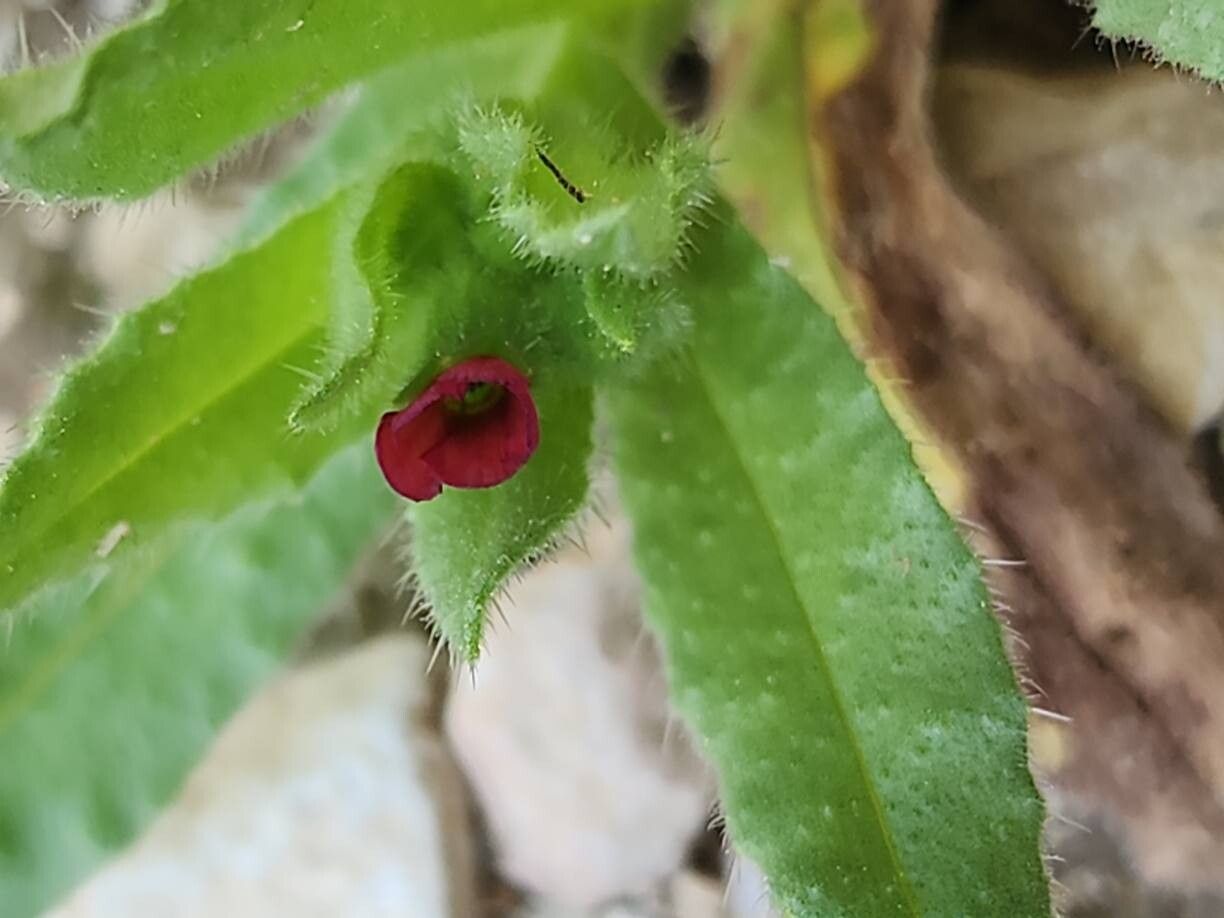
Hello there, fellow plant enthusiasts! Today, we’re diving into the wonderful world of propagating Nonea caspica, also known as Caspian Comfrey. I’ve been growing and sharing plants for two decades now, and I can tell you, there’s a special kind of joy in watching a new life sprout from a piece of an old favorite. Nonea caspica is a delightful plant with its attractive, often fuzzy foliage and clusters of bell-shaped flowers – a beautiful addition to any garden border or container. And the best part? Propagating it is generally quite forgiving, making it an excellent choice for those just dipping their toes into the world of plant multiplication. You’ll be sharing these beauties with friends in no time!
The Best Time to Start
For the highest chance of success with your Nonea caspica cuttings, I always recommend working in the late spring or early summer. This is when the plant is actively growing, meaning it has plenty of energy to put into developing new roots. You’ll want to choose young, healthy stems that are not flowering or producing seed. They should be firm but still a little flexible – not overly woody.
Supplies You’ll Need
Gathering your tools before you begin always makes the process smoother. Here’s what I usually have on hand:
- Sharp pruning shears or a clean knife: For making clean cuts.
- Rooting hormone powder or gel (optional but recommended): Helps to encourage root development.
- Small pots or propagation trays: With drainage holes, of course!
- A well-draining potting mix: I like a blend of peat moss, perlite, and a bit of compost.
- A watering can or spray bottle: For keeping things consistently moist.
- A plastic bag or clear dome: To create a humid environment.
- Labels: So you don’t forget what you’ve planted!
Propagation Methods
There are a couple of tried-and-true methods for propagating Nonea caspica. I find stem cuttings to be the most reliable and easiest for this particular plant.
Stem Cuttings: My Go-To Method
- Take Your Cuttings: Using your clean shears or knife, select a healthy stem and cut it into sections about 4-6 inches long. Make your cuts just below a leaf node (where a leaf attaches to the stem).
- Prepare the Cuttings: Gently remove the lower leaves from each cutting, leaving just a couple of leaves at the top. This helps the plant focus its energy on root production rather than leaf maintenance. If the remaining leaves are very large, you can snip them in half to reduce water loss.
- Apply Rooting Hormone (Optional): Dip the cut end of each stem into your rooting hormone. Tap off any excess powder. This step really does give them a boost.
- Plant Your Cuttings: Fill your small pots or propagation tray with your prepared potting mix. Make a small hole in the center of the mix with your finger or a pencil.
- Insert and Water: Carefully insert the prepared cuttings into the holes, ensuring the leaf nodes are buried in the soil. Gently firm the soil around the base of each cutting. Then, water thoroughly until the mix is evenly moist.
- Create Humidity: Cover the pots with a clear plastic bag or a propagation dome. This creates a mini-greenhouse effect, which is crucial for cuttings to root. Poke a few small holes in the bag for ventilation.
The “Secret Sauce” (Pro Tips)
After years of practice, a few little tricks really make a difference.
- Don’t Overwater: While you want the soil to be consistently moist, never let your cuttings sit in soggy conditions. This is the quickest way to invite rot. I always err on the side of slightly too dry rather than too wet.
- The Magic of Bottom Heat: If you have a propagation mat or can place your pots on top of a refrigerator, gentle bottom heat can significantly speed up the rooting process. It mimics the warmth of spring and tells the plant, “It’s time to grow!”
- Patience is Key: Honestly, the biggest secret is just giving them time. Don’t be tempted to pull them up to check for roots too soon.
Aftercare & Troubleshooting
Once your cuttings have started to develop roots – you might see new leaf growth or a gentle tug against the soil – it’s time to transition them to their own space.
Carefully remove the plastic bag or dome. Continue to water them when the top inch of soil feels dry. You can start feeding them with a diluted liquid fertilizer every few weeks once you see consistent new growth. If you notice the leaves turning yellow and mushy, or if the stem at the soil line looks dark and soft, this is usually a sign of rot. Unfortunately, this often means the cutting is a loss, but don’t despair! Just clean out the pot and try again. Sometimes it’s just a matter of finding the right balance of moisture and light.
A Little Encouraging Closing
Propagating plants is a journey, and along the way, you learn so much. Don’t be discouraged if not every cutting takes. Each attempt is a learning opportunity. Be patient with your little Nonea caspica babies, give them a bit of warmth and humidity, and you’ll soon have a delightful collection to enjoy and share. Happy propagating!
Resource:
https://identify.plantnet.org/k-world-flora/species/Nonea%20caspica%20(Willd.)%20G.Don/data