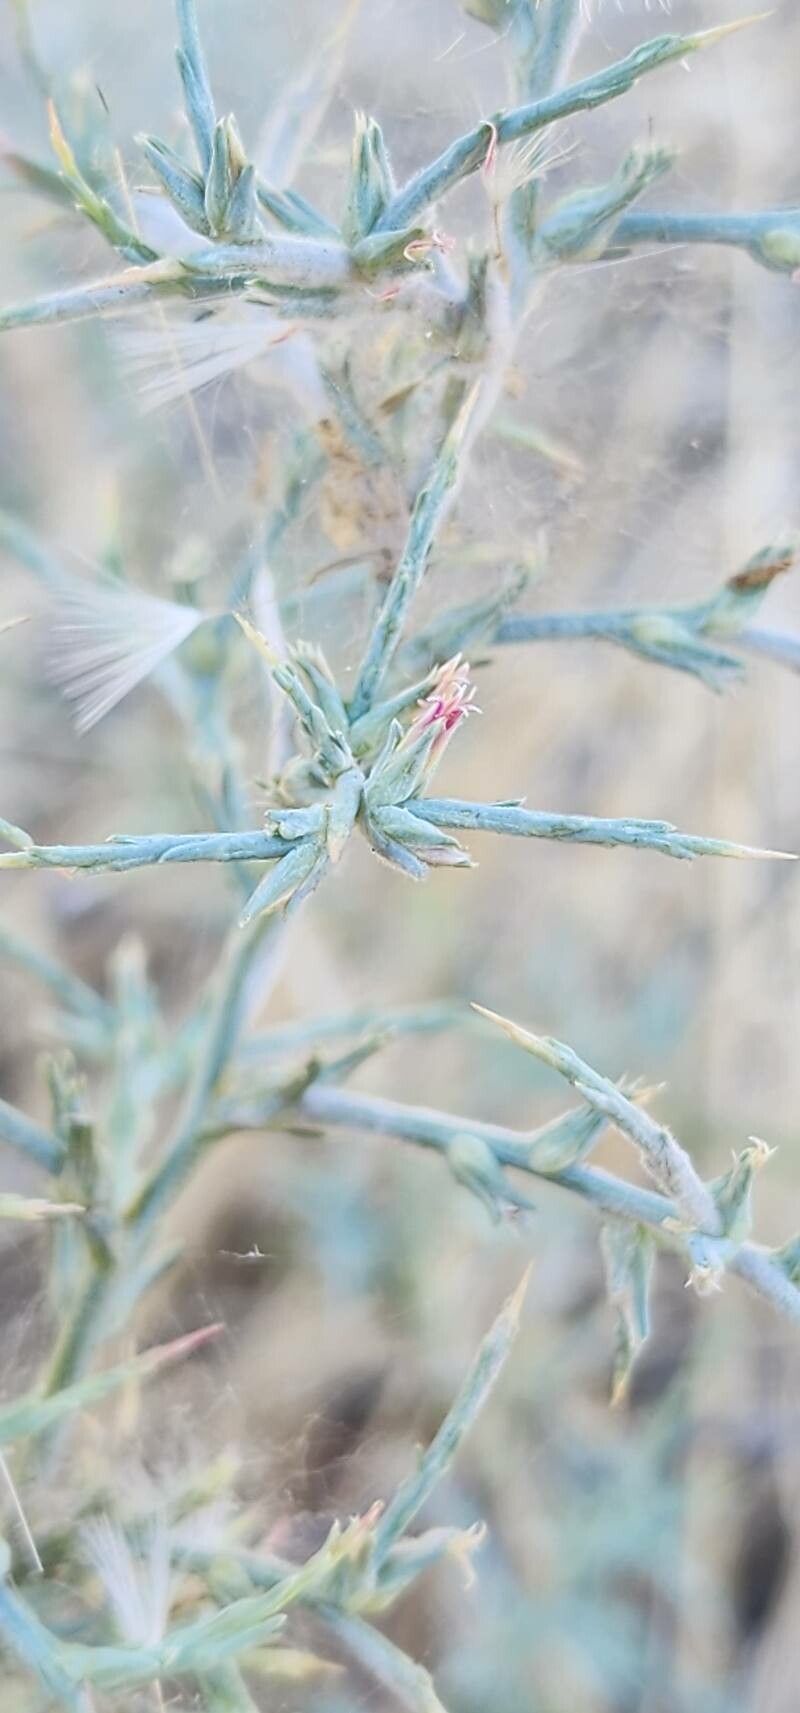
Hello fellow garden enthusiasts! Today, I want to talk about a plant that has truly captured my heart: Noaea mucronata. This beauty, with its silvery foliage and delicate, almost airy appearance, adds such a wonderful texture to any garden. It’s not overly fussy, but the real joy comes from creating more of these little wonders yourself. Propagating Noaea mucronata is a rewarding experience, and I’m happy to share how I do it. It’s a plant that’s generally quite welcoming to those just dipping their toes into the world of propagation, so don’t be shy!
The Best Time to Start
For the best chance of success with Noaea mucronata, I find that late spring to early summer is the sweet spot. This is when the plant is actively growing and has plenty of energy to put into developing new roots. You want to take cuttings from healthy, non-flowering stems – those are usually a bit more pliable and ready to root.
Supplies You’ll Need
Gathering your supplies beforehand makes the whole process so much smoother. Here’s what I always have on hand:
- Sharp, clean pruners or a sharp knife: A clean cut is crucial for preventing disease and encouraging rooting.
- Rooting hormone (optional but recommended): This gives cuttings a little boost, especially for softwood cuttings.
- Well-draining potting mix: I like a blend of equal parts peat moss and perlite, or a commercial succulent/cacti mix.
- Small pots or seed trays: Anything that can hold your cuttings and mix. Make sure they have drainage holes!
- Plastic bags or a propagatior lid: To create a humid environment.
- Watering can with a fine rose or a spray bottle: For gentle watering.
- Labels and a marker: To keep track of what you’ve planted and when.
Propagation Methods
I typically have the best luck with stem cuttings. It’s straightforward and usually yields great results.
Stem Cuttings:
- Select and cut: Choose a healthy stem that’s about 4-6 inches long. Make a clean cut just below a leaf node. A leaf node is where a leaf attaches to the stem; this is where roots are most likely to form.
- Prepare the cutting: Gently remove the lower leaves from the stem, leaving about 2-3 leaves at the top. This prevents the lower leaves from rotting once planted.
- Apply rooting hormone (optional): Dip the cut end into rooting hormone, tapping off any excess.
- Plant the cutting: Make a small hole in your prepared potting mix with a pencil or your finger. Insert the cut end of the stem into the hole, ensuring the leaf nodes are under the surface. Gently firm the soil around the cutting.
- Water gently: Water the soil thoroughly but gently, allowing excess water to drain away.
- Create humidity: Cover the pot or tray with a plastic bag or propagator lid to lock in moisture. You can poke a few small holes in the bag for some air circulation, or prop the lid open slightly.
- Find a good spot: Place the pot in a bright location, but out of direct, harsh sunlight. A warm spot is ideal.
The “Secret Sauce” (Pro Tips)
Over the years, I’ve picked up a few tricks that seem to make all the difference.
- Bottom heat is your friend: If you have a heat mat specifically for propagation, use it! Placing your pots on a gentle heat source can significantly speed up root development, especially if your ambient temperature isn’t consistently warm. I’ve seen cuttings root almost twice as fast this way.
- Don’t overwater, but don’t let them dry out: This is a delicate balance. The soil should feel consistently moist, but never soggy. Check it regularly. If the soil feels dry to the touch, give it a gentle watering.
- Patience is key with these beauties: Noaea mucronata isn’t the fastest rooter. It can take anywhere from 4-8 weeks for you to see significant signs of new growth, which usually indicates roots have formed. Resist the urge to tug on the cuttings to “check” for roots – you could disturb the developing ones!
Aftercare & Troubleshooting
Once you start seeing new leaves or upward growth, that’s a great sign your cuttings have rooted! At this point, you can gradually reduce the humidity by opening the bag or propagator lid a little more each day until it’s completely removed. Continue to keep the soil consistently moist and in that bright, indirect light.
The most common problem you might encounter is rot. If you see your cuttings become mushy, black, or start to wilt dramatically despite being watered, rot is likely the culprit. This usually happens due to overwatering or poor drainage of the potting mix. If this happens, it’s usually best to discard the affected cuttings and start again, ensuring you’re using a very well-draining mix and not overdoing the watering.
A Little Encouragement
Watching a tiny cutting transform into a thriving plant is one of gardening’s greatest rewards. Be patient with your Noaea mucronata cuttings. Celebrate the small victories, learn from any setbacks, and most importantly, enjoy the journey of growing more of this lovely plant. Happy propagating!
Resource: