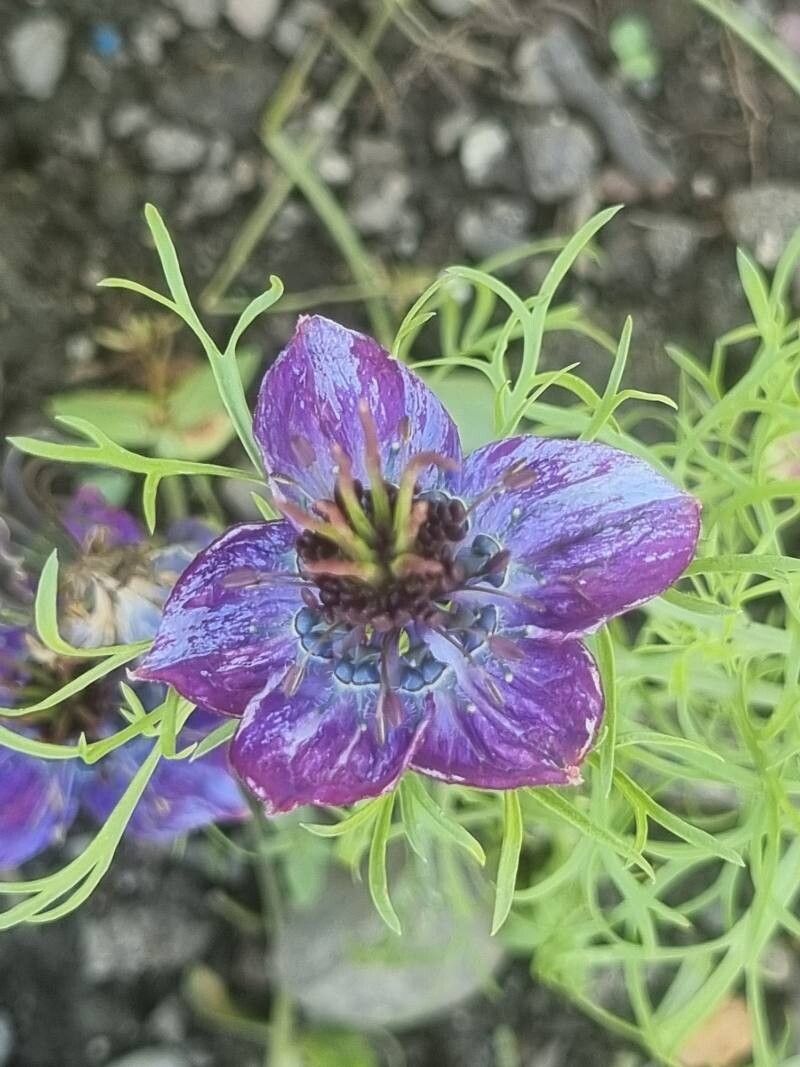
Oh, Nigella papillosa! Isn’t it just a dream? Those delicate, papery blooms, often in the most enchanting shades of blue and purple, swaying gently in the breeze. They bring such an airy, ethereal beauty to any garden. And the best part? They’re surprisingly easy to multiply. If you’re looking to fill your borders with these beauties or share them with fellow garden lovers, propagating Nigella papillosa is a wonderfully rewarding journey. For beginners, I’d say it’s quite achievable – you’ll likely have great success!
The Best Time to Start
For Nigella papillosa, the absolute best time to get your propagation efforts underway is immediately after flowering. You’ll see the plant start to form its seed pods, and that’s your golden ticket. While you can collect seeds from dried pods, starting with fresh ones often gives you a higher germination rate and a stronger start for your new plants. Think late spring to early summer, depending on your climate, when the flowers have faded but the pods are still plump and green.
Supplies You’ll Need
You won’t need a fancy arsenal for this; just a few simple things will do the trick:
- A sharp, clean knife or scissors: For carefully snipping seed pods.
- Small pots or seed trays: Whatever you have on hand will work. Just make sure they have drainage holes.
- Sterile potting mix: A good quality blend for seedlings or a mix of peat moss and perlite works beautifully. Avoid heavy garden soil.
- Watering can or spray bottle: For gentle watering.
- Labels: To keep track of your precious new plants.
- A sunny windowsill or a sheltered spot outdoors: To give your seedlings their best start.
Propagation Methods
Nigella papillosa is primarily propagated by seed. It’s the most straightforward and effective method.
- Harvesting the Seeds: As I mentioned, keep an eye on your spent Nigella flowers. Once the petals have withered and fallen, you’ll notice developing seed pods. When these pods turn from green to a light brown or tan color and begin to dry, they are ready. You can gently cut the entire flower stalk with the pods attached.
- Drying the Pods: Place the harvested stalks upside down in a paper bag or on a clean sheet of paper in a dry, well-ventilated area for a few days. This allows them to fully dry and ensures any remaining moisture evaporates. As they dry, they might even start to split open on their own, releasing the tiny seeds.
- Extracting the Seeds: Once dry, you can gently rub the pods between your fingers or tap them over a container to release the seeds. You’ll get tiny, black or dark brown seeds. Remove any chaff or debris.
- Sowing the Seeds: Fill your pots or seed trays with your sterile potting mix. Moisten the soil lightly. Sprinkle the Nigella seeds thinly over the surface. You can cover them with a very fine layer of grit or sand, or just press them gently into the soil.
- Watering and Placement: Water gently from the bottom if possible, or use a fine spray from your watering can or spray bottle to avoid dislodging the seeds. Place the pots in a bright location, but out of direct, scorching sun. A windowsill that gets morning sun is usually perfect.
The “Secret Sauce” (Pro Tips)
Here are a couple of things I’ve learned over the years that really give you an edge:
- Direct Sowing is Often Best: While starting seeds indoors is common, Nigella papillosa often thrives when sown directly into the garden when the soil warms up in spring. They don’t always love being transplanted, so if you have a suitable spot, sowing directly can save you a step and lead to happier plants.
- Don’t Overcrowd: When you sow your seeds, it’s tempting to put them all together. But remember, these plants will grow! Give them a little breathing room. If you are starting them in trays indoors, be prepared to thin them out once they have a few true leaves, or to prick them out and pot them into individual containers before they get too crowded.
Aftercare & Troubleshooting
Once your seeds have germinated and you see those first tiny seedlings pushing through the soil, it’s time for a little tender loving care.
- Light Watering: Keep the soil consistently moist but not waterlogged. Overwatering is the quickest way to invite trouble. A gentle misting or watering from the bottom is ideal.
- Adequate Light: Ensure they have plenty of bright light. If they start to look leggy and stretched, it means they need more sun.
- Hardening Off: If you’ve started your seeds indoors, it’s crucial to harden them off before planting them outside. This means gradually exposing them to the outdoor elements over a week or two. Start by putting them out in a sheltered spot for a few hours a day, then gradually increase the time and exposure to sun and wind.
If you encounter problems, the most common issue is damping off, a fungal disease that causes seedlings to collapse at the soil line. This is almost always due to overwatering and poor air circulation. Using sterile soil and avoiding waterlogged conditions are your best defenses.
A Encouraging Closing
See? Propagating Nigella papillosa is a joy! Be patient with the process, and don’t be discouraged if a few don’t make it. Gardening is a journey of learning and observation. Enjoy the little green shoots emerging, and look forward to those beautiful blooms gracing your garden. Happy propagating!
Resource:
https://identify.plantnet.org/k-world-flora/species/Nigella%20papillosa%20G.López/data