Hey there, fellow plant enthusiasts!
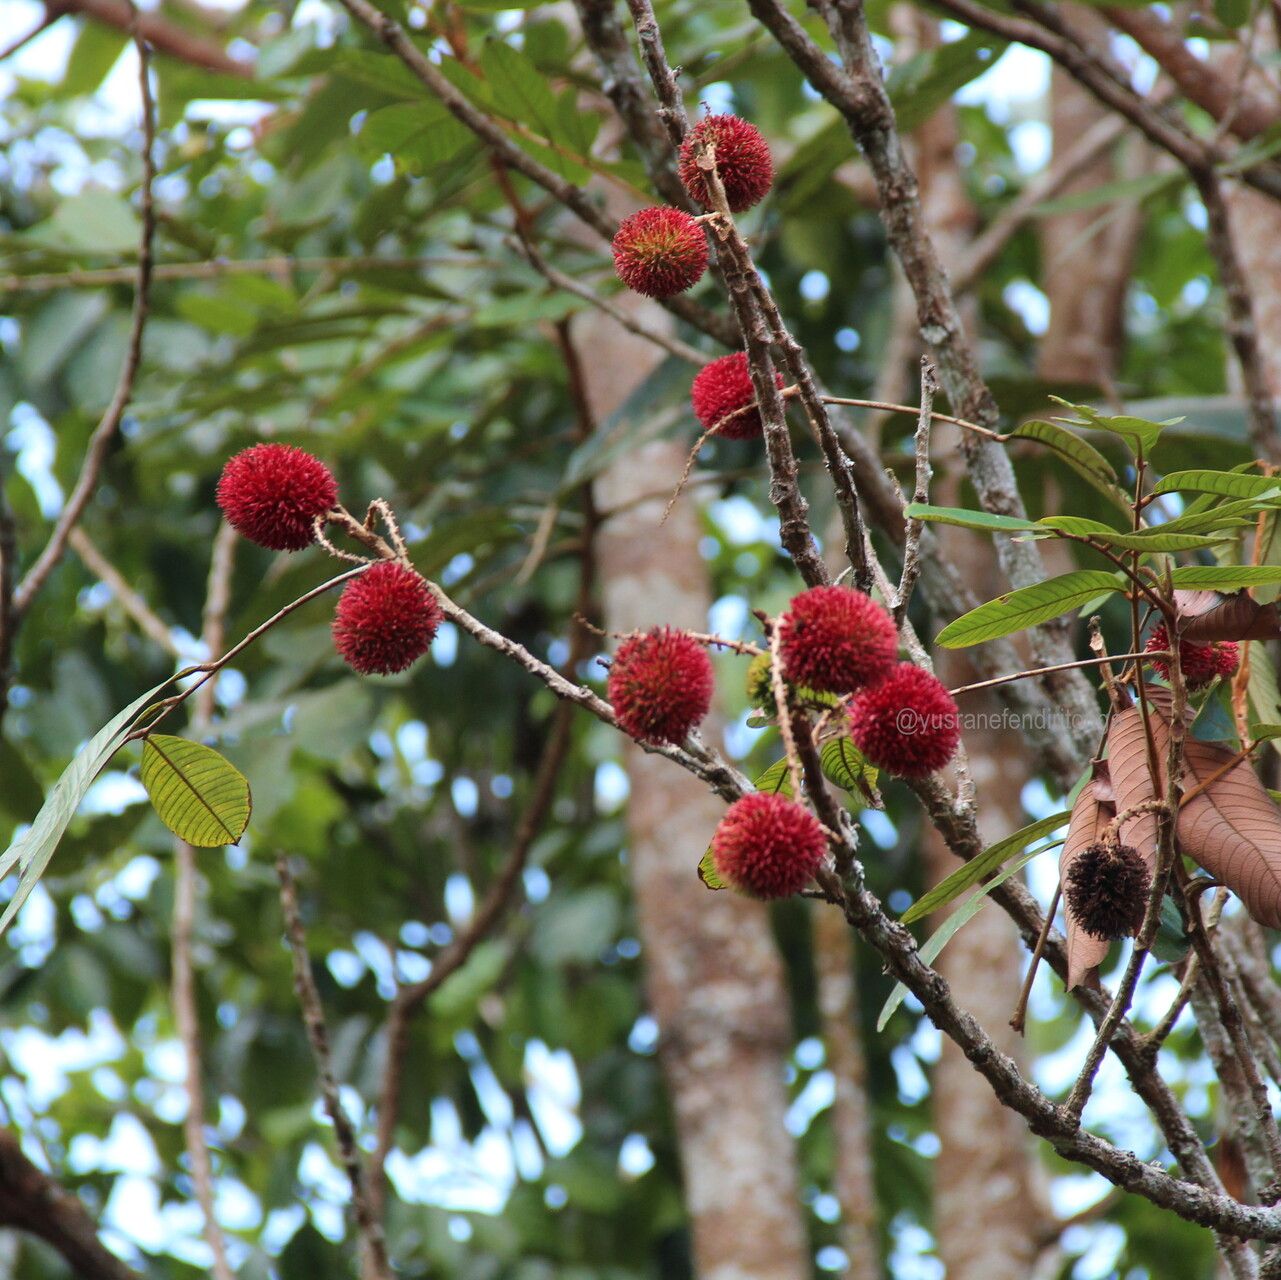
Are you captivated by the idea of growing your very own Nephelium cuspidatum? I know I am. This magnificent tree, often known by its common names like pulasan or, well, its botanical moniker, is a stunner. Its glossy leaves and, for those lucky enough to cultivate it to fruiting, its exotic, sweet-tart fruit are truly a reward. And there’s a special kind of joy that comes from nurturing a new plant from a tiny cutting or seed, watching it grow into something beautiful.
Now, I won’t sugarcoat it. Nephelium cuspidatum isn’t quite a “stick it in the ground and forget it” kind of plant, especially for absolute beginners. It demands a bit more attention and understanding. But with a little patience and these tried-and-true methods, you’ll be well on your way to success. Think of this as us chatting over a steaming mug of coffee, me sharing what I’ve learned over two decades in the garden.
The Best Time to Start
When it comes to Nephelium cuspidatum, spring and early summer are your golden ticket. This is when the plant is in its active growth phase. You’ll find that cuttings taken during this time have the most energy, making them more receptive to rooting. Look for new, semi-hardwood growth – that’s wood that’s firm but still has a little flexibility to it. Avoid very soft, brand-new shoots that will easily wilt, or old, woody stems that are slow to respond.
Supplies You’ll Need
Before we get our hands dirty, let’s gather our tools. Having everything ready makes the process so much smoother.
- Sharp, sterile pruning shears or a sharp knife: Crucial for clean cuts that heal well.
- Rooting hormone powder: This is a game-changer, encouraging faster root development. Get one specifically for woody cuttings.
- Well-draining potting mix: A blend of peat moss, perlite, and a bit of compost is ideal. You want something that holds moisture but doesn’t become waterlogged.
- Small pots or nursery trays: Clean ones, of course!
- Plastic bags or a clear plastic dome: To create a humid environment.
- Watering can with a fine rose: For gentle watering.
- Optional: Bottom heat mat: This can significantly speed up rooting!
Propagation Methods
Let’s dive into the how-to! I find stem cuttings to be the most reliable method for Nephelium cuspidatum.
Stem Cuttings:
- Select your cutting: As mentioned, look for healthy, semi-hardwood stems. Aim for cuttings that are about 6-8 inches long.
- Make the cut: Using your sharp, sterile shears, make a clean cut just below a leaf node. A leaf node is where a leaf attaches to the stem; this is where roots are most likely to form.
- Prepare the cutting: Gently remove any leaves from the bottom half of the cutting. You want to expose those nodes. If the few remaining leaves are very large, you can snip them in half to reduce water loss through transpiration.
- Apply rooting hormone: Dip the bottom cut end of the stem into your rooting hormone powder. Tap off any excess.
- Plant the cutting: Make a small hole in your potting mix with a pencil or your finger. Insert the cutting so that at least one to two leaf nodes are buried in the soil. Firm the soil gently around the stem.
- Water thoroughly: Water the pot until it drains from the bottom. This settles the soil around the cutting.
- Create humidity: Place the pot inside a clear plastic bag, sealing it loosely at the top, or cover it with a clear plastic dome. This traps moisture and creates that greenhouse effect crucial for cuttings. You can also prop up the bag so it doesn’t touch the leaves.
The “Secret Sauce” (Pro Tips)
Okay, here are a couple of things I’ve discovered over the years that really make a difference:
- Subtle bottom heat is your friend. If you can swing it, placing your pots on a heat mat set to a gentle warmth (around 70-75°F or 21-24°C) makes a world of difference. It encourages root development from below, mimicking ideal soil temperatures.
- Don’t let the leaves touch the water. When you’re creating that humid environment with a plastic bag or dome, make sure the leaves aren’t pressed against the plastic. Excess moisture trapped on leaves can lead to fungal issues and rot. A few strategically placed sticks can help keep the bag aloft.
- Patience is paramount. Nephelium cuspidatum can be a slow starter. Don’t be discouraged if you don’t see new growth for weeks, or even a couple of months. The unseen work of root development is happening below the surface. Resist the urge to constantly tug at the cutting to check for roots; that will do more harm than good.
Aftercare & Troubleshooting
Once you start seeing signs of life – new leaf buds or tiny leaves unfurling – it’s time for a slight adjustment. Gradually reduce the humidity by opening the plastic bag a little more each day over a week. This helps the new plant acclimate to drier air. Water sparingly, only when the top inch of soil feels dry to the touch.
The most common pitfall is rot. If your cutting looks black and mushy at the base, or the leaves are turning yellow and dropping off with no sign of new growth, it’s likely rot. This is usually due to overwatering and poor drainage. If you catch it early, you might be able to salvage a healthier section, but often, you’ll need to start again. Always ensure excellent drainage and don’t be tempted to overwater, especially in the early stages.
A Little Encouragement
Taking cuttings might feel a bit nerve-wracking at first, especially with a tropical gem like Nephelium cuspidatum. But remember, every experienced gardener started somewhere. Be patient with your little green babies. Celebrate the small victories – that first tiny leaf, the swelling bud. The journey of propagation is as rewarding as the destination. You’ve got this! Happy gardening!
Resource:
https://identify.plantnet.org/k-world-flora/species/Nephelium%20cuspidatum%20Blume/data