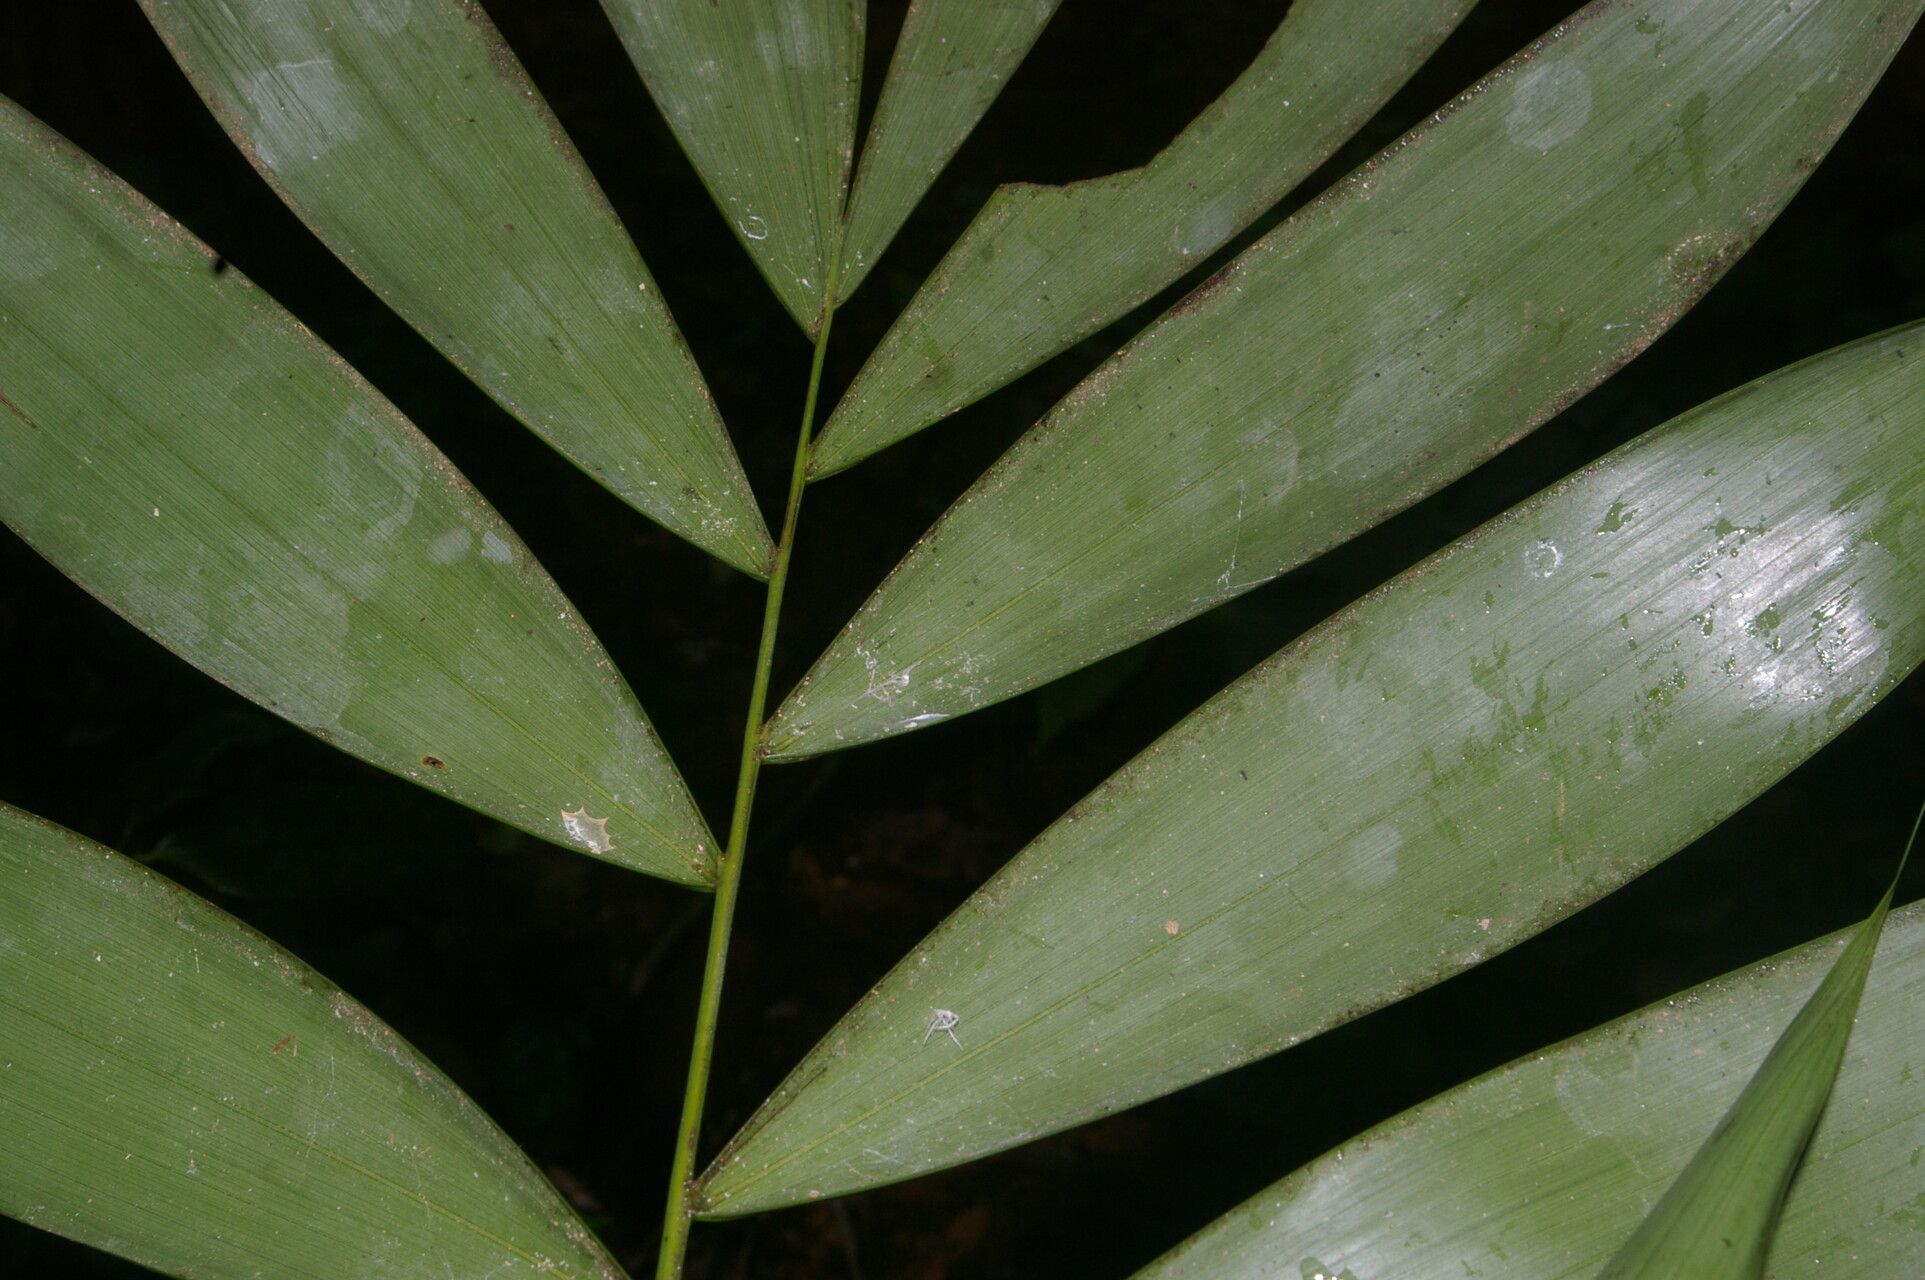
Hello, fellow garden enthusiasts! It’s wonderful to connect with you all again. Today, I want to talk about a palm that’s captured my heart over the years: the Neonicholsonia watsonii. If you’re looking for a touch of tropical elegance without overpowering your space, this slender beauty is an absolute gem. Its delicate fronds and graceful habit make it a fantastic accent plant, and I find its subtle charm endlessly appealing. Getting a new plant, especially one you’ve nurtured from a cutting or pup, is such a rewarding experience. Now, as for propagating, the Neonicholsonia watsonii can be a little fussy, so I wouldn’t necessarily label it a beginner’s first palm to tackle, but with a bit of care and attention, it’s definitely achievable!
The Best Time to Start
When it comes to a jump-start for your Neonicholsonia watsonii, spring is definitely your golden ticket. Think of it as the plant’s natural awakening after a winter rest. The days start getting longer, the temperatures gently warm up, and everything is buzzing with new growth. This energetic phase is when the plant is most receptive to propagating, giving your cuttings or pups the best chance to root and thrive. Aim for early to mid-spring when you see the first signs of active growth.
Supplies You’ll Need
Before we dive in, let’s get our arsenal ready! Having the right tools makes all the difference.
- Sharp, sterile pruning shears or a clean knife: For making clean cuts.
- Rooting hormone (optional, but helpful): I prefer a powder form for this plant.
- Well-draining potting mix: A blend of perlite and peat moss or coco coir works beautifully. You can also find specific palm mixes.
- Small pots or propagation trays: Enough for your cuttings or pups.
- Clear plastic bag or propagation dome: To create a humid environment.
- Watering can with a fine rose: For gentle watering.
- Optional: Heat mat: To provide consistent bottom warmth.
Propagation Methods
There are a couple of ways we can go about this, but my preferred method for Neonicholsonia watsonii involves starting with pups.
Method 1: Propagating from Pups (Offsets)
This is often the most successful route for this particular palm. You’ll notice these smaller plantlets, or pups, growing from the base of a mature plant.
- Gently unpot the mother plant: Carefully remove the entire plant from its container. It’s easier to see and access the pups when the plant is out of its pot.
- Identify a healthy pup: Look for a pup that’s at least a few inches tall and has its own set of leaves. It’s best if the pup has started to develop its own roots, but even without visible roots, it can work.
- Separate the pup: Gently but firmly pull or use your sterile knife to carefully cut the pup away from the mother plant. Try to take as much of its base and any attached roots as possible. If you can, avoid damaging the main plant.
- Pot the pup: Fill a small pot with your well-draining potting mix. Make a small hole in the center and place the pup in it, firming the soil gently around its base. Ensure the soil level is just covering the base of the pup.
- Water lightly: Give the newly potted pup a gentle watering to settle the soil.
- Create humidity: Place the pot inside a clear plastic bag and seal it loosely, or cover it with a propagation dome. This will trap moisture and create a mini-greenhouse.
- Provide bright, indirect light: Place the pot in a location that receives bright, but avoid direct sunlight, which can scorch the delicate leaves.
Method 2: Stem Cuttings (More Challenging)
While less common and a bit trickier for this palm, if you have a very mature specimen you’re willing to experiment with, you can try stem cuttings.
- Select a healthy stem: Choose a vigorous, disease-free stem from the mother plant.
- Make the cut: Using your sterile pruning shears, make a clean cut just below a leaf node. Aim for a cutting that’s about 6-8 inches long.
- Prepare the cutting: Remove any lower leaves, leaving just the top 2-3. This helps prevent rotting.
- Apply rooting hormone: Lightly dip the cut end into rooting hormone, tapping off any excess.
- Plant the cutting: Insert the hormone-coated end into your well-draining potting mix. You can use a sharp stick to make a pilot hole to avoid rubbing off the hormone.
- Water and cover: Water lightly and tent the pot with a clear plastic bag or propagation dome to maintain humidity.
- Bright, indirect light: Place in a spot with bright, indirect light and consider using a heat mat.
The “Secret Sauce” (Pro Tips)
Here are a few things I’ve learned over the years that really make a difference:
- Don’t let the leaves touch the water: If you decide to try water propagation (though I don’t recommend it for Neonicholsonia watsonii as it can lead to rot), it’s crucial that the leaves never sit in the water. Only the cut stem should be submerged. For soil propagation, this means ensuring your soil mix is airy and doesn’t compact.
- Bottom Heat is Your Friend: For those cuttings, especially, providing gentle bottom heat from a seedling heat mat can significantly speed up the rooting process. It mimics the warmth of the soil in a tropical climate and encourages root development.
- Patience, Patience, Patience: Palms, in general, are slow to root. Don’t be disheartened if you don’t see much activity for several weeks, or even a couple of months. Resist the urge to constantly dig them up to check for roots!
Aftercare & Troubleshooting
Once you see signs of new growth – a tiny new leaf unfurling or the pup feeling secure when gently tugged – that’s a good indicator that roots have formed.
- Acclimation: Slowly introduce your new plant to less humid conditions over a week by gradually opening the plastic bag or lifting the dome for longer periods. Once it looks happy outside its humid environment, you can remove it entirely.
- Watering: Water when the top inch of soil feels dry to the touch. Overwatering is the quickest way to kill a new propagation.
- Light: Continue to provide bright, indirect light. As the plant matures, it can handle gradually more light, but always watch for signs of scorching.
Troubleshooting: The most common issue you’ll encounter is rot. This usually happens due to overwatering or poor air circulation. If you see yellowing leaves that quickly turn mushy and brown, or if the base of the cutting or pup feels soft and dark, it’s likely rot. In this case, unfortunately, it’s often difficult to save. My best advice is to try again with a fresh start, ensuring your soil drains exceptionally well and you’re not overdoing the watering.
A Word of Encouragement
Propagating plants, especially those with a bit of a personality like the Neonicholsonia watsonii, is a journey. There will be successes, and there might be a few learning opportunities along the way. Don’t get discouraged! Each attempt teaches you something new about your plant and your gardening rhythm. Enjoy the process of nurturing a new life, and soon you’ll have a beautiful new companion to add to your collection. Happy gardening!
Resource:
https://identify.plantnet.org/k-world-flora/species/Neonicholsonia%20watsonii%20Dammer/data