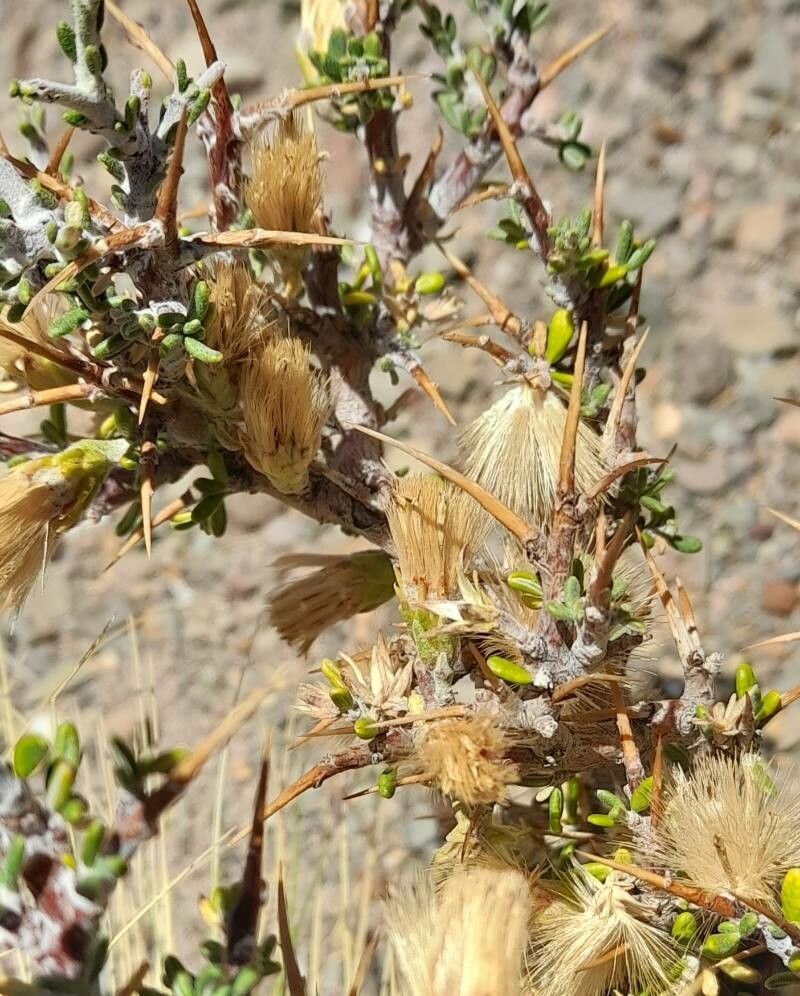
Hello fellow plant lovers! Today, we’re diving into the wonderful world of propagating Nardophyllum armatum. I’ve been fascinated by these lovely plants for years. They have such a unique, almost architectural look with their fuzzy, spiky leaves. Growing more of them feels like a little bit of magic, and having them fill up your space or share with friends is incredibly rewarding. Now, I know some plants can be a bit fussy to propagate, but honestly, Nardophyllum armatum is surprisingly manageable. Even if you’re new to this, you can absolutely have success with it.
The Best Time to Start
The real sweet spot for getting cuttings from your Nardophyllum armatum is when the plant is in a vigorous growth phase. Think late spring or early summer. The stems are developing well, and there’s plenty of energy flowing through the plant to encourage root development. You want to take cuttings from healthy, non-flowering stems if possible; these tend to root the best.
Supplies You’ll Need
Gathering your supplies beforehand makes the whole process so much smoother. Here’s what I always have on hand:
- Sharp pruning shears or a clean knife: For making clean cuts.
- A well-draining potting mix: I usually go for a cactus and succulent mix, or you can make your own with equal parts potting soil, perlite, and coarse sand.
- Small pots or seed trays: Clean ones are a must to prevent disease.
- Rooting hormone (optional but helpful): For an extra boost.
- A spray bottle: For gentle misting.
- A pebble tray or a shallow dish: For creating humidity.
- Labels: So you don’t forget what you’ve planted!
Propagation Methods
For Nardophyllum armatum, I find stem cuttings to be the most straightforward and reliable method. Here’s how I do it:
- Take Your Cutting: Find a healthy stem and make a clean cut, about 3-4 inches long. I like to remove any lower leaves that might rot if they’re buried in the soil.
- Let It Callus: This is a crucial step! Before planting, let your cutting sit in a warm, dry place for 2-5 days. You’ll see the cut end dry and form a callous. This prevents rot.
- Apply Rooting Hormone (Optional): If you’re using rooting hormone, lightly dip the calloused end into the powder, tapping off any excess.
- Plant Your Cutting: Fill your small pot with your well-draining soil mix. Make a hole with your finger or a pencil and gently insert the calloused end of your cutting. Firm the soil around it.
- Water Sparingly: Give the soil a light watering, just enough to settle the soil around the cutting. Avoid overwatering.
The “Secret Sauce” (Pro Tips)
Over the years, I’ve learned a few tricks that really up the success rate.
- Bottom Heat is Your Friend: Placing your pots on a gentle seedling heat mat can make a world of difference. It encourages root growth from below, giving your cuttings a significant advantage.
- Mimic a Greenhouse (Slightly): While you don’t want it too wet, creating a slightly humid microclimate helps. I often pop a clear plastic bag loosely over the pot (making sure it doesn’t touch the leaves), or place the pot on a pebble tray filled with water and a bit of gravel. Just remember to air it out every few days to prevent mold.
- Patience with Water: If you opt for water propagation (which can work, though I prefer soil for Nardophyllum), make sure no leaves are touching the water. Submerged leaves will almost always rot, so trim them off if necessary.
Aftercare & Troubleshooting
Once your cutting looks like it’s settled in, keep the soil lightly moist, but never soggy. I usually check the soil moisture by feeling for dryness a couple of inches down. After a few weeks, you should start to see new growth. That’s your sign that roots are forming! Gently tugbing on the cutting should reveal some resistance.
The most common problem you’ll encounter is rot. If your cutting looks mushy, black, or smelly, it’s a goner. This is usually due to overwatering or lack of callusing. If you see yellowing leaves, it might be a sign it needs a little more light, or conversely, too much direct sun if it’s just starting out. Just pull it out of the soil to inspect the base if you’re unsure.
A Encouraging Closing
Propagating plants is a journey, and Nardophyllum armatum is a lovely companion for it. Be patient, observe your cuttings, and don’t be discouraged if you have a few setbacks. Every attempt teaches you something new. Happy propagating, and enjoy those beautiful new plants!
Resource:
https://identify.plantnet.org/k-world-flora/species/Nardophyllum%20armatum%20(Wedd.)%20Reiche/data