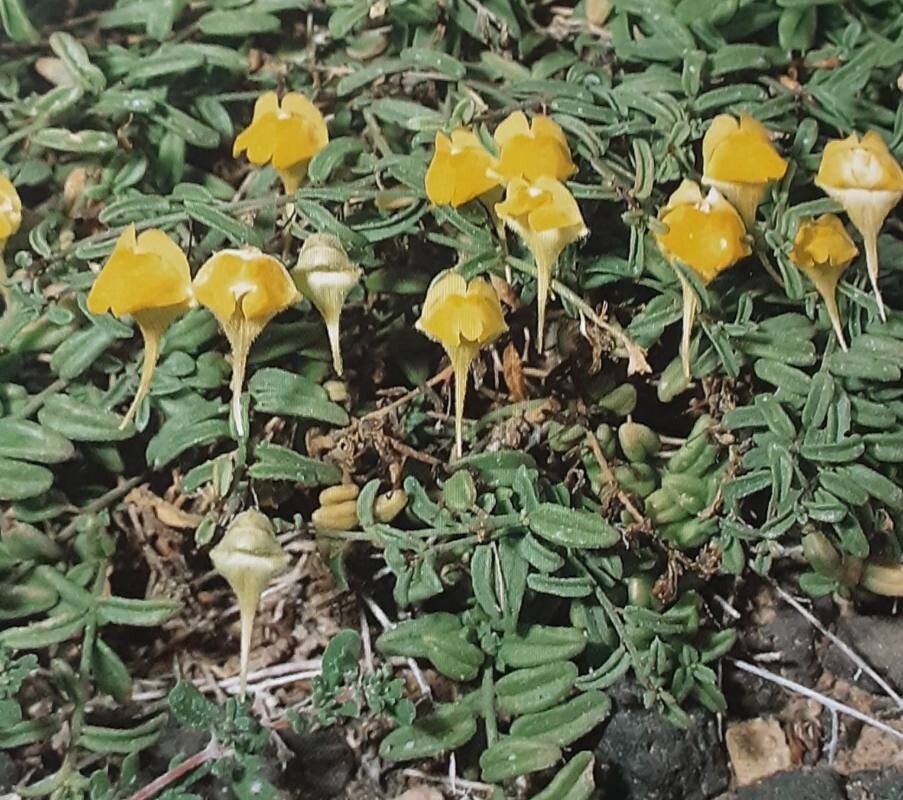
Hey there, fellow plant lovers! I’m so excited to talk to you today about Nanorrhinum heterophyllum. If you haven’t met this beauty yet, imagine a plant with delicate, often wonderfully ruffled foliage, sometimes with a touch of silver or deep burgundy. It’s the kind of plant that adds instant charm and texture to any garden or indoor space. Propagating it myself has been a joy over the years, and I find it incredibly rewarding to share a piece of that beauty with friends, or simply to expand my own collection.
Now, about beginners… I’d say Nanorrhinum heterophyllum falls into the “moderately easy” category. It’s not completely hands-off, but with a little attention and these tips, I’m confident you’ll be successful.
The Best Time to Start
For the highest success rate, aim to take cuttings in late spring or early summer. This is when the plant is actively growing and has plenty of energy to put into rooting. Look for healthy, non-flowering stems. If you’re in a warmer climate, you might get away with early autumn, but spring is generally your safest bet.
Supplies You’ll Need
- Sharp pruning shears or a clean knife: For making clean cuts.
- A rooting hormone powder (optional, but recommended): Helps encourage root development. Willow bark tea can also be used as a natural alternative.
- A well-draining potting mix: I like a blend of peat moss or coco coir, perlite, and a bit of compost. You can also find specialized cutting mixes.
- Small pots or a propagation tray: Anything that can hold your cuttings and a bit of soil. Make sure it has drainage holes!
- A clear plastic bag or humidity dome: To maintain humidity around the cuttings.
- Watering can or spray bottle: For gentle watering.
- Small pebbles or perlite (for water propagation): To support the stems in water.
Propagation Methods
I find that stem cuttings are the most reliable way to go with Nanorrhinum heterophyllum.
- Select and take cuttings: Choose healthy, vigorous stems that are about 4-6 inches long. Using your sharp shears, make a clean cut just below a leaf node. A leaf node is that little bump on the stem where a leaf or a branch grows out. This is where roots will most likely form.
- Prepare the cuttings: Gently remove the lower leaves from your cutting, leaving only a few at the top. This prevents them from rotting in the soil and encourages the plant to focus energy on root growth. If your leaves are quite large, you can even cut them in half to further reduce water loss.
- Apply rooting hormone (if using): Dip the cut end of the stem into your rooting hormone powder. Tap off any excess.
- Plant the cuttings: Fill your small pots or tray with your prepared potting mix. Make a hole in the center with a pencil or your finger, and gently insert the cutting. Firm the soil around the stem to ensure good contact.
- Water and cover: Water gently until the soil is moist but not soggy. Then, place a clear plastic bag over the pot, or cover your tray with a humidity dome. This creates a mini-greenhouse effect, keeping the humidity high, which cuttings love.
I’ve also had some success with water propagation, though it can be a bit trickier for Nanorrhinum.
- Prepare cuttings: Follow steps 1 and 2 above.
- Place in water: Fill a clean jar or glass with lukewarm water. You can add a few small pebbles or perlite to the bottom to help support the stems upright.
- Change water regularly: Change the water every 2-3 days to prevent it from becoming stagnant and developing bacteria. I like to use filtered water if possible.
- Wait for roots: You should start to see tiny roots emerging after a few weeks. Once the roots are about an inch long, you can carefully transplant them into soil.
The “Secret Sauce” (Pro Tips)
Here are a couple of things I’ve learned through trial and error that really make a difference:
- Bottom Heat is Your Friend: If you have a propagation mat or can place your pots on top of a warm, gently heated surface (like a router or a cable box that’s running, but safely!), it can significantly speed up root formation. This mimics the warmth of spring soil.
- Don’t Drown Your Cuttings: While humidity is crucial, waterlogged soil is the quickest way to rot your cuttings. My trick is to water thoroughly once, then poke a few small drainage holes in the sides of the plastic bag or ventilation slits in the dome. This allows for some air circulation while still maintaining humidity.
Aftercare & Troubleshooting
Once you start to see tiny roots pushing out from the drainage holes or notice new growth on your cutting, it’s time to gradually transition it out of its humid environment. Remove the plastic bag or dome for a few hours each day, slowly increasing the time over a week.
Common signs of failure to watch out for:
- Wilting and blackening stems: This is usually a sign of rot caused by too much moisture or poor air circulation. Discard these.
- Yellowing leaves: This can be a sign of too much direct sun, or sometimes a nutrient deficiency once it’s established, but for cuttings, it’s more likely environmental.
If your cutting looks healthy but isn’t rooting after several weeks, don’t give up just yet! Sometimes they just take their sweet time. You can gently tug on it – if there’s resistance, you’ve got roots!
A Encouraging Closing
Propagating plants is a journey, a beautiful dance with nature. Be patient with your Nanorrhinum heterophyllum cuttings. Some will flourish, and some might not make it, and that’s perfectly okay. Each attempt is a learning experience. So, gather your supplies, get your hands dirty, and enjoy the incredible satisfaction of watching new life emerge. Happy propagating!
Resource: