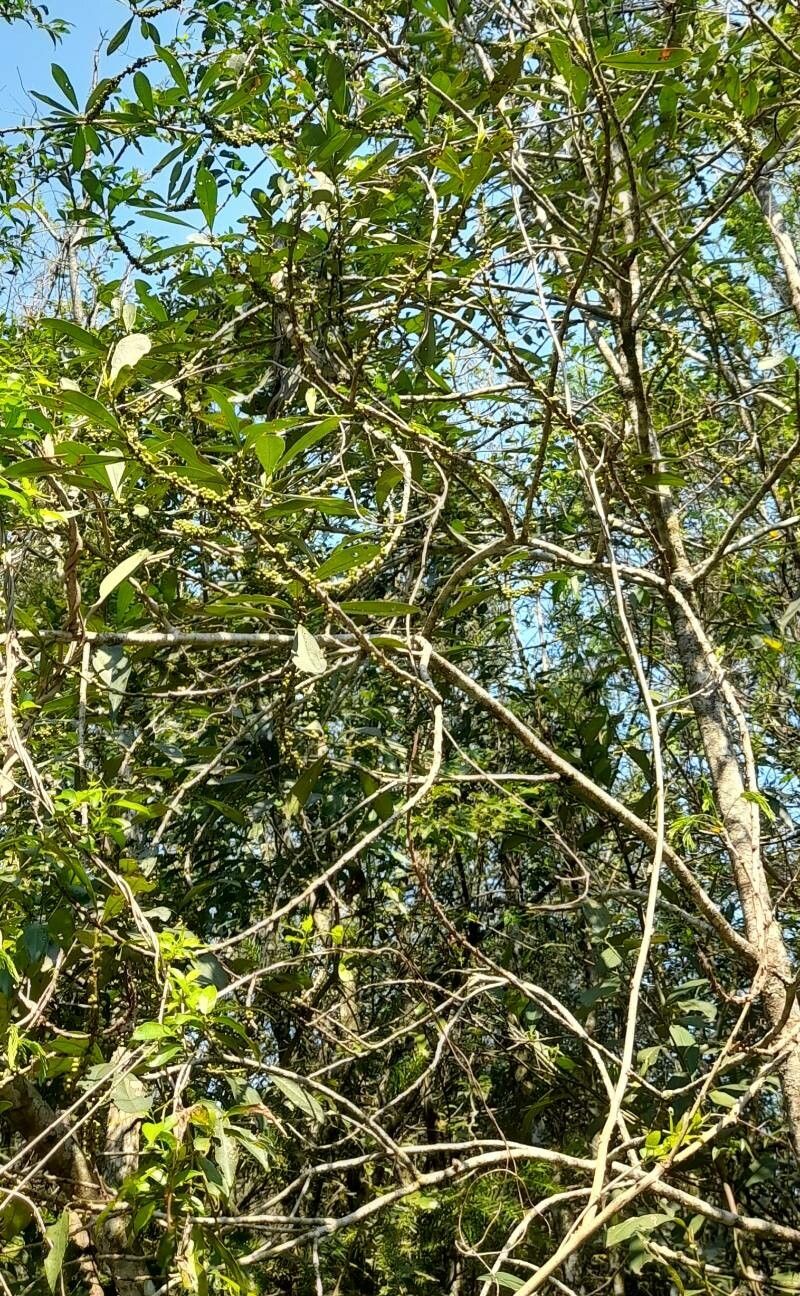
Oh, hello there! Pull up a chair and let’s chat about one of my absolute favorite shrubs: Myrsine coriacea. You might know it better by its common names, like Cape myrtle or African holly. This beauty boasts glossy, dark green leaves and a generally tidy growth habit, making it a fantastic addition to many gardens. Plus, those little berries it puts out? Adorable!
And the best part? It’s quite satisfying to replicate this lovely plant yourself. If you’re new to the gardening game, don’t you worry. Myrsine coriacea is a pretty forgiving plant when it comes to propagation, so it’s a wonderful way to build your confidence and fill your garden without breaking the bank.
When to Get Your Hands Dirty
For the highest chance of success, I always recommend starting your Myrsine coriacea propagation during the active growing season. This usually means late spring through early summer. The plant is full of energy then, and the cuttings have a better shot at rooting. You want to take cuttings from healthy, non-flowering stems.
What You’ll Need for Your Propagation Station
Gathering your supplies beforehand makes the whole process so much smoother. Here’s a little list to get you started:
- Sharp Pruning Shears or a Hobby Knife: Cleanliness is key here to prevent disease.
- Rooting Hormone (Optional but Recommended): This comes in powder or gel form and really gives your cuttings a boost.
- Well-Draining Potting Mix: A mix of peat moss, perlite, and a bit of coarse sand works wonderfully. You can also buy a good quality seed-starting or succulent mix.
- Small Pots or Trays: Clean nursery pots with drainage holes are perfect.
- Plastic Bags or a Clear Dome: To create a humid environment.
- Watering Can or Spray Bottle: For gentle watering.
Let’s Get Propagating!
There are a couple of ways to go about this, but stem cuttings are my go-to for Myrsine coriacea.
Method: Stem Cuttings
- Take Your Cuttings: Select healthy, semi-hardwood stems from your parent plant. These are stems that are no longer fully soft and green but haven’t turned woody yet. Aim for cuttings that are about 4-6 inches long. Look for stems with some new growth at the tip.
- Prepare the Cuttings: Using your clean shears, snip the cutting just below a leaf node (where a leaf attaches to the stem). Remove the lower leaves, leaving only a few at the very top. This prevents them from rotting once planted. If your cutting has any flower buds, nip them off too – we want the plant’s energy focused on roots, not flowers.
- Apply Rooting Hormone (If Using): Dip the cut end of the stem into your rooting hormone, tapping off any excess.
- Plant Your Cuttings: Fill your small pots with your prepared potting mix. Make a small hole in the center of the soil with your finger or a pencil. Gently insert the prepared cutting into the hole, ensuring the leaf nodes are buried. Firm the soil gently around the base of the cutting.
- Create Humidity: Water the soil lightly. Then, pop a plastic bag over the pot, securing it loosely around the rim, or place the pots under a clear propagation dome. This traps moisture and keeps your cuttings from drying out.
The “Secret Sauce” from My Garden
Over the years, I’ve picked up a few little tricks that seem to make a world of difference.
- Bottom Heat is Your Friend: If you can, place your pots on a heating mat specifically designed for propagation. This gentle warmth from below encourages root development much faster than room temperature alone. It’s a game-changer!
- Don’t Drown Them! While humidity is crucial, you don’t want waterlogged soil. Water sparingly and only when the top inch of the soil feels dry. Soggy conditions are the quickest way to invite fungal rot, which is the enemy of any new cutting.
- Air Circulation Matters: While you want to trap humidity, don’t seal them up completely. Open the plastic bag or dome for a few minutes every day or two to allow for some air exchange. This also helps prevent mold.
Nurturing Your Little Sprouts
Once your cuttings have started rooting (you might see new growth or feel a gentle tug when you lightly pull on a cutting), it’s time to move them out of their humid haven. Gradually reduce the humidity over a few days by opening the bag more each time.
Continue to water them consistently, allowing the soil to dry slightly between waterings. Keep them in a bright spot, but out of direct, scorching sunlight, which can scorch those tender new leaves. You’ll know they’re truly established when they’re putting on new leaf growth.
Troubleshooting? If your cuttings start to wilt, turn black, or become mushy at the base, it’s likely rot. Sadly, this often means the cutting is lost, but don’t despair! Just clean out the pot, start fresh with a new cutting, and apply these tips. Sometimes, it just takes a few tries.
Keep Planting, Keep Growing!
Propagating plants like Myrsine coriacea is such a rewarding journey. It teaches you patience and gives you a deeper appreciation for the life cycle of our green friends. Don’t be discouraged if your first batch doesn’t take. Keep experimenting, keep learning, and most importantly, enjoy the process of coaxing new life from a few simple cuttings. Happy gardening!
Resource: