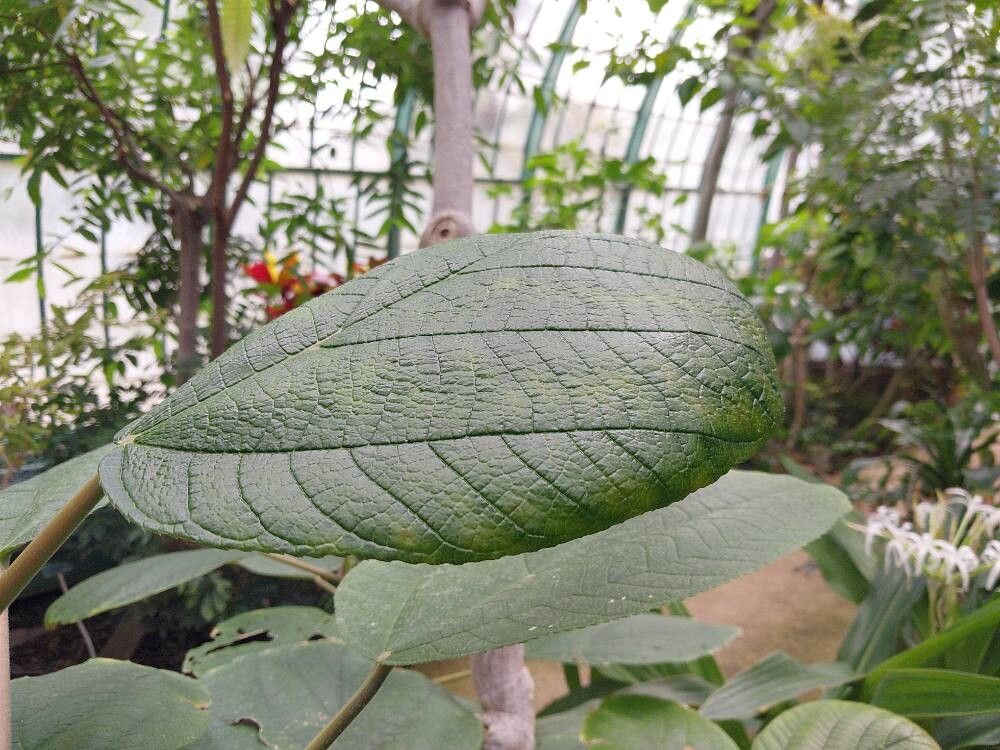
Ah, Myriocarpa cordifolia! What a beauty. If you’ve ever admired its heart-shaped leaves, often with stunning variegated patterns, you know exactly why I’m so excited to talk about propagating it. Growing new plants from an existing one is one of the most satisfying parts of gardening for me. It feels like magic, and with Myriocarpa cordifolia, it’s a particularly rewarding endeavor. Now, I won’t lie to you – it’s not always the easiest plant to propagate, especially if you’re just starting out. But with a little patience and the right approach, you’ll be well on your way to success.
The Best Time to Start
My experience tells me that late spring through early summer is your golden window for propagating Myriocarpa cordifolia. This is when the plant is actively growing, sending out plenty of fresh, healthy stems. It’s also when temperatures are generally warm and consistent, which is crucial for root development. Think about it: the plant is full of energy, and you’re giving it the best conditions to channel that energy into creating new roots.
Supplies You’ll Need
Gathering your supplies beforehand makes the whole process so much smoother. Here’s what I always have on hand:
- Sharp Pruning Shears or a Clean Knife: For making clean cuts. Disinfect them before you start!
- Rooting Hormone: Not strictly mandatory, but it really does give your cuttings a boost. Look for one specific for stem cuttings.
- Well-Draining Potting Mix: A mix of peat moss, perlite, and a bit of compost works wonderfully. You can also buy a specialized houseplant or seed-starting mix.
- Small Pots or Trays: Clean, with drainage holes, of course.
- Clear Plastic Bag or Dome: To create a humid environment for your cuttings.
- Water: Preferably filtered or rainwater.
Propagation Methods
For Myriocarpa cordifolia, stem cuttings are usually your best bet.
Stem Cuttings
- Select Your Cuttings: Look for healthy stems that are not too woody, but have just finished flowering or are actively growing. You want stems that have at least two to three sets of leaves.
- Make the Cut: Using your sharp shears or knife, make a clean cut just below a leaf node. A leaf node is where a leaf attaches to the stem. This is where new roots are most likely to form. Aim for cuttings that are about 4-6 inches long.
- Prepare the Cutting: Gently remove the lower leaves from the cutting. You want to keep the top couple of leaves, but make sure none of them will be submerged in water or soil later. If the remaining leaves are very large, you can even cut them in half to reduce water loss.
- Apply Rooting Hormone: Dip the cut end of your stem into your rooting hormone, tapping off any excess.
- Plant Your Cuttings: Fill your small pots with your well-draining potting mix. Make a small hole in the center with your finger or a pencil. Gently insert the cut end of your cutting into the hole, ensuring the root node is buried in the soil. Firm the soil gently around the stem.
- Water and Cover: Water the soil thoroughly until it’s evenly moist but not waterlogged. Then, cover the pot with a clear plastic bag or place it under a clear dome. This creates a mini-greenhouse effect, keeping the humidity high, which is vital for cuttings. You can use stakes to keep the bag from touching the leaves.
The “Secret Sauce” (Pro Tips)
Here are a couple of things I’ve learned over the years that make a real difference:
- Bottom Heat is Your Friend: If you can, place your pots on a heat mat. This warm soil encourages root development much faster and more reliably than just ambient room temperature. It’s a game-changer for trickier propagations.
- Don’t Let Those Leaves Drip: When misting or watering your cuttings, or if you’re doing water propagation (which I’d probably avoid for Myriocarpa cordifolia unless you’re very careful), ensure no leaves are touching the water or water-logged soil. Rot is the enemy, and wet leaves are a fast track to it.
Aftercare & Troubleshooting
Once your cuttings are planted, find a spot with bright, indirect light. Avoid direct sun, as this can scorch the young leaves. Keep the soil consistently moist but not soggy. You can gently tug on a cutting after a few weeks; if there’s resistance, you’ve got roots!
The most common issue you’ll encounter is rot. If you see mushy stems or leaves that look dark and slimy, it’s usually rot. This usually means too much moisture and not enough air circulation. If you catch it early, you might be able to save the cutting by trimming away the rotten part and replanting it in fresh, drier soil, ensuring better airflow. Sometimes, no matter what you do, a cutting just won’t take. It happens! Don’t get discouraged.
A Encouraging Closing
Propagating Myriocarpa cordifolia is a journey, and like any good garden project, it requires patience. Enjoy the process of nurturing these new plants. Watch them closely, learn from any hiccups, and celebrate every tiny root. You’ve got this!
Resource:
https://identify.plantnet.org/k-world-flora/species/Myriocarpa%20cordifolia%20Liebm./data