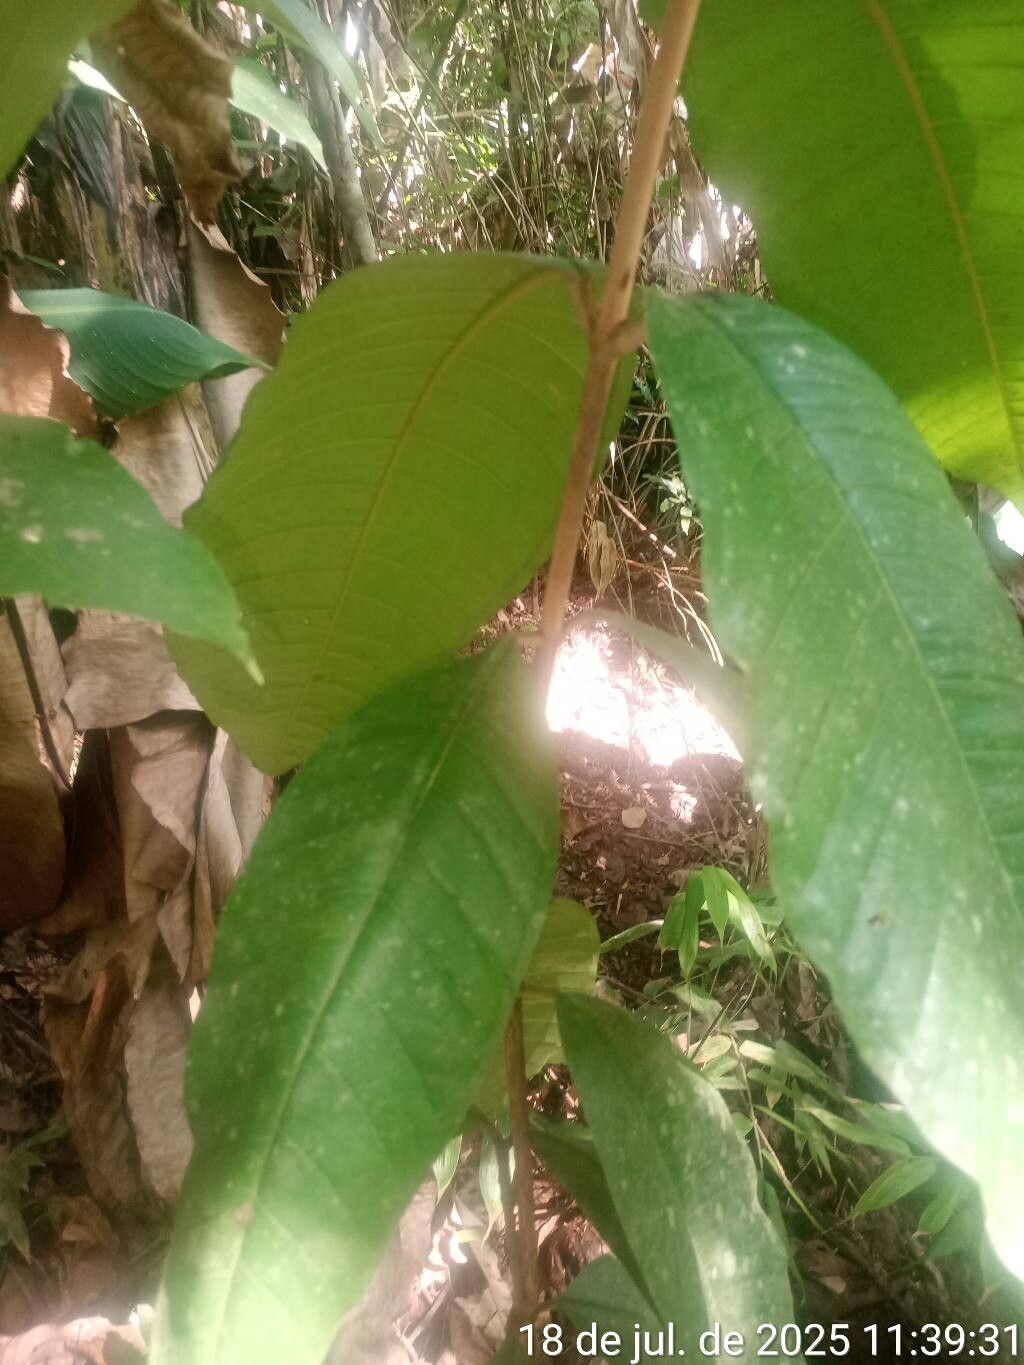
Hello fellow plant lovers! Today, we’re going to dive into a really special plant that I absolutely adore: Myrcia strigipes. You might know it by its common name, the Brazilian Guava or Brazilian Myrtle, and oh, what a charmer it is! Its glossy foliage and the whisper of exotic fragrance it carries make it a stand-out. But the real joy? Being able to share that beauty by propagating your own. It feels like a little bit of magic, watching a tiny cutting transform into a thriving new plant.
Now, is Myrcia strigipes a walk in the park for propagation newbies? I’d say it’s moderately easy. It doesn’t demand the absolute fussiness of some tropicals, but a little understanding of its needs goes a long way. Don’t let that deter you, though! With a few key steps, you’ll be well on your way to success.
The Best Time to Start
For the sweetest success, aim to propagate Myrcia strigipes in late spring or early summer. This is when the plant is in its active growth phase, meaning it’s brimming with energy and hormones that encourage roots to form. You’re looking for plump, healthy stems from current or previous season’s growth. Avoid anything that looks weak, old, or is blooming.
Supplies You’ll Need
Gathering your tools beforehand makes the whole process so much smoother. Here’s what I recommend:
- Sharp Pruning Shears or a Very Sharp Knife: Clean cuts are crucial to prevent disease.
- Rooting Hormone (Powder or Gel): This is like a little nudge for your cuttings, encouraging faster and stronger root development.
- Well-Draining Potting Mix: A good blend of peat moss, perlite, and a bit of coco coir works wonders. You want something that holds moisture but doesn’t become waterlogged.
- Small Pots or Propagation Trays: Cleanliness is key here!
- Plastic Bags or a Clear Dome Lid: To create a mini-greenhouse effect.
- Spray Bottle: For gentle misting.
- Optional: Bottom Heat Mat: If your home tends to be on the cooler side.
Propagation Methods
Let’s get our hands dirty! Stem cuttings are generally the most effective for Myrcia strigipes.
Stem Cuttings:
- Take Your Cuttings: Select healthy, non-flowering stems that snap cleanly when bent. Aim for cuttings about 4-6 inches long. Make your cut just below a leaf node (where a leaf attaches to the stem).
- Prepare the Cuttings: Gently remove the lower leaves, leaving just a few at the top. This prevents them from rotting when buried in the soil. If you have larger leaves at the top, you can even cut them in half horizontally to reduce water loss through transpiration.
- Apply Rooting Hormone: Dip the cut end of each stem into your rooting hormone, tapping off any excess.
- Plant Your Cuttings: Fill your pots with your prepared potting mix and moisten it well. Create a small hole in the center of the soil with your finger or a pencil. Insert the cutting into the hole, ensuring the leaf nodes are buried as this is where roots will emerge. Gently firm the soil around the stem.
- Create a Humid Environment: Water the soil lightly. Then, cover the pot with a clear plastic bag or a propagator lid, ensuring the leaves don’t touch the plastic. Stake up the bag if needed. Place the pot in a bright spot but out of direct sunlight.
The “Secret Sauce” (Pro Tips)
Here are a few things I’ve learned over the years that can really boost your success:
- Don’t Drown Your Dreams (or Cuttings!): While humidity is vital, avoid letting the leaves sit in water, whether it’s condensation in the bag or accidental overwatering. This is a fast track to rot. Your soil should be consistently moist, not soaking wet.
- The Power of Bottom Heat: If you have a propagation mat or can place your pots near a warm appliance (away from direct heat, of course!), gentle bottom heat can significantly speed up root formation. It mimics the warmth of spring soil, which your cuttings absolutely love.
- The Patience Test: Don’t be tempted to pull up your cuttings too early to look for roots. Give them at least 4-6 weeks. The best indicator that they’ve rooted is when you see new leaf growth at the top.
Aftercare & Troubleshooting
Once you see those promising new leaves, it’s time for the next stage!
- Acclimatize Slowly: Gradually remove the plastic bag or lid over a week or two, allowing the new plant to adjust to normal humidity levels.
- Keep it Moist: Continue to water when the top inch of soil feels dry.
- Bright, Indirect Light: Keep your new Myrcia in a spot with plenty of bright, filtered light.
- Troubleshooting – Rot: The most common enemy is rot. If your cuttings turn mushy, brown, or black, they’ve likely succumbed to too much moisture or a fungal infection. This is where clean tools and a well-draining mix are your best friends. If you see rot, remove the affected cutting immediately to prevent it from spreading.
- Troubleshooting – No Roots: If after several weeks you see no signs of life, it could be that the cuttings weren’t viable, the conditions weren’t quite right, or they simply need more time. Don’t despair; try again!
A Little Patience, A Lot of Joy
Propagating plants like Myrcia strigipes is such a rewarding journey, and it’s all about learning and observing. There will be times when things don’t work out as planned, and that’s perfectly okay. Every gardener has their “failures” – they’re just stepping stones to new knowledge. So, be patient, enjoy the process of nurturing these little ones, and soon you’ll have a whole family of your very own Brazilian Guavas! Happy gardening!
Resource:
https://identify.plantnet.org/k-world-flora/species/Myrcia%20strigipes%20Mart./data