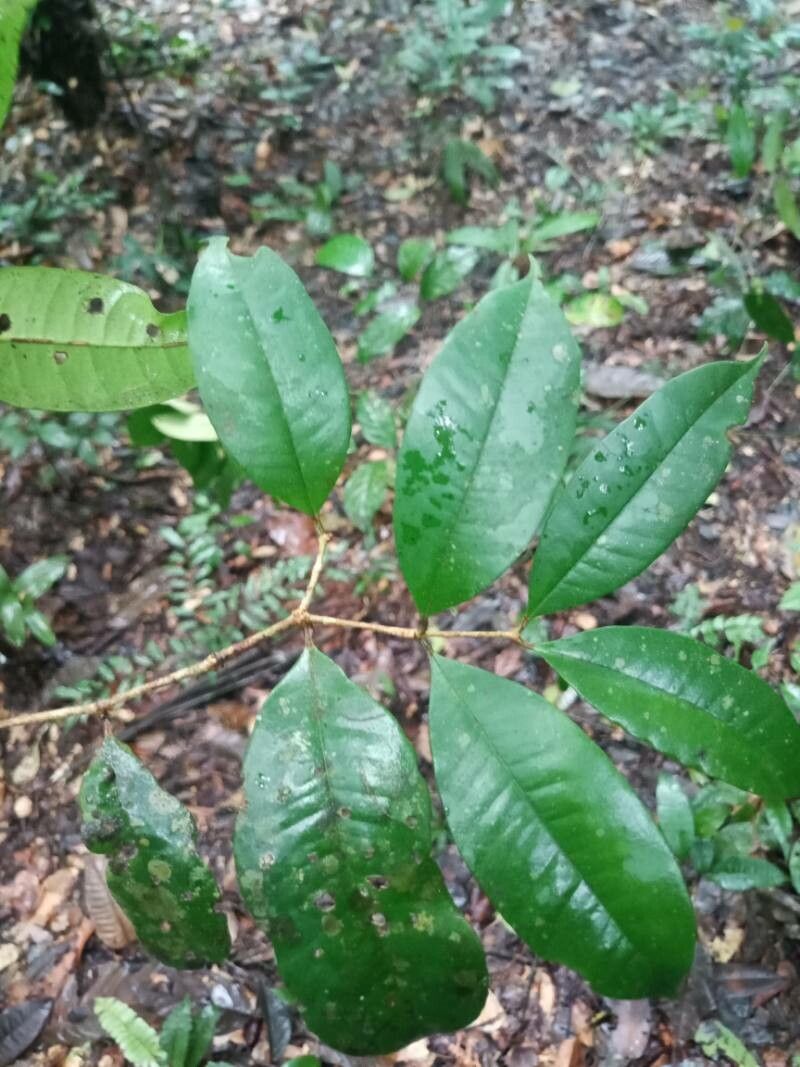
Hello fellow plant lovers! It’s so good to be back with you. Today, we’re diving into the wonderfully rewarding world of propagating Myrcia decorticans, also known as “Gabiroba” or “Murta.” If you’ve ever admired its elegant foliage and delicate white flowers, you know how special this plant is. And the good news? You can bring that beauty into your own home, or share it with friends, by growing new plants from cuttings.
Now, let’s be honest. Myrcia decorticans isn’t always a walk in the park for absolute beginners, but with a little patience and the right approach, it’s definitely achievable. Don’t let that deter you! The satisfaction of seeing your own little Gabiroba sprout roots is an experience like no other.
The Best Time to Start
For the highest chances of success with Myrcia decorticans, I always recommend propagating in late spring or early summer. This is when the plant is actively growing, flush with new, semi-hardwood stems. These stems have the right balance of flexibility and sturdiness, making them ideal for rooting. Aim for stems that have recently finished their most vigorous upward growth but are still a bit bendy. Avoid those really soft, brand-new shoots or old, woody stems.
Supplies You’ll Need
Gathering your supplies beforehand makes the whole process smoother. Here’s what I like to have on hand:
- Clean, sharp pruning shears or a craft knife: For making precise cuts.
- Rooting hormone powder (optional, but recommended): This gives your cuttings a helpful boost. Look for one with IBA.
- Small pots or seedling trays: Clean ones are essential to prevent disease.
- Well-draining potting mix: A good blend of peat moss or coir, perlite, and a little coarse sand works wonders. You want it to hold moisture without becoming waterlogged. I often use a mix specifically for cuttings or seed starting.
- Clear plastic bags or a propagation dome: To create a humid environment.
- Labels and a marker: For remembering what you’ve planted and when.
Propagation Methods: Stem Cuttings
This is by far the most reliable method for Myrcia decorticans. Here’s how I do it:
- Select your parent plant: Choose a healthy, vigorous Myrcia decorticans with no signs of pests or diseases.
- Take the cuttings: Using your clean shears, cut portions of stem that are about 4-6 inches long. Make the cut just below a leaf node (where a leaf attaches to the stem). This node is where new roots are most likely to form.
- Prepare the cuttings: Gently remove the lower leaves from the bottom half of each cutting. You can leave the top 2-3 sets of leaves, but if they are very large, you might want to trim them in half horizontally to reduce water loss through transpiration. This is crucial!
- Apply rooting hormone (if using): Dip the cut end of each stem into the rooting hormone, ensuring it’s coated evenly. Tap off any excess.
- Plant the cuttings: Fill your clean pots or trays with your prepared potting mix. Make a small hole in the center of the mix with your finger or a pencil. Insert the cutting into the hole, ensuring the nodes where you removed the leaves are buried. Gently firm the soil around the base of the cutting.
- Water them in: Water thoroughly until you see water draining from the bottom of the pot.
- Create humidity: Cover the pots loosely with a clear plastic bag or place them under a propagation dome. This traps moisture around the cuttings, mimicking their natural environment. Ensure the leaves don’t touch the plastic if possible, as this can encourage rot.
The “Secret Sauce” (Pro Tips)
Here are a couple of things I’ve learned over the years that can really make a difference:
- Bottom Heat is Your Friend: If you can, place your pots on a seedling heat mat. Myrcia decorticans absolutely loves warmth at its roots, which encourages faster and stronger root development. It’s a game-changer!
- Air Circulation is Key: While you want humidity, you don’t want stagnant air, which breeds fungal diseases. Lift the plastic bag or open vents on your propagation dome for an hour each day to allow for fresh air exchange. This “breathing” is vital.
- Don’t Be Afraid to “Clean Up”: If you see any yellowing or dying leaves on your cuttings, gently remove them. A cutting needs to focus its energy on rooting, not on supporting declining foliage.
Aftercare & Troubleshooting
Once your cuttings have been planted, find them a bright spot that receives indirect light. Direct sun will scorch them. Keep the soil consistently moist but not soggy. Patience is key here, as rooting can take anywhere from 4 to 8 weeks, sometimes longer.
You’ll know your cuttings have rooted when you see new growth appearing at the tips, or when you gently tug on a cutting and feel some resistance from developing roots. At this point, you can gradually acclimate them to lower humidity by slowly opening the plastic bag or vents over a week or two.
The biggest challenge is rot. If you see your cuttings turning mushy or black, it’s a sign of too much moisture and not enough air circulation. In this case, sadly, it’s best to discard them and try again with fresh cuttings and a slightly drier soil mix. Always use clean tools and materials to minimize this risk.
A Little Patience Goes a Long Way
Growing plants from cuttings is an art, a science, and a whole lot of satisfaction. Don’t get discouraged if your first attempt isn’t perfect. Keep observing, keep learning, and most importantly, enjoy the journey of nurturing new life. Happy propagating!
Resource:
https://identify.plantnet.org/k-world-flora/species/Myrcia%20decorticans%20DC./data