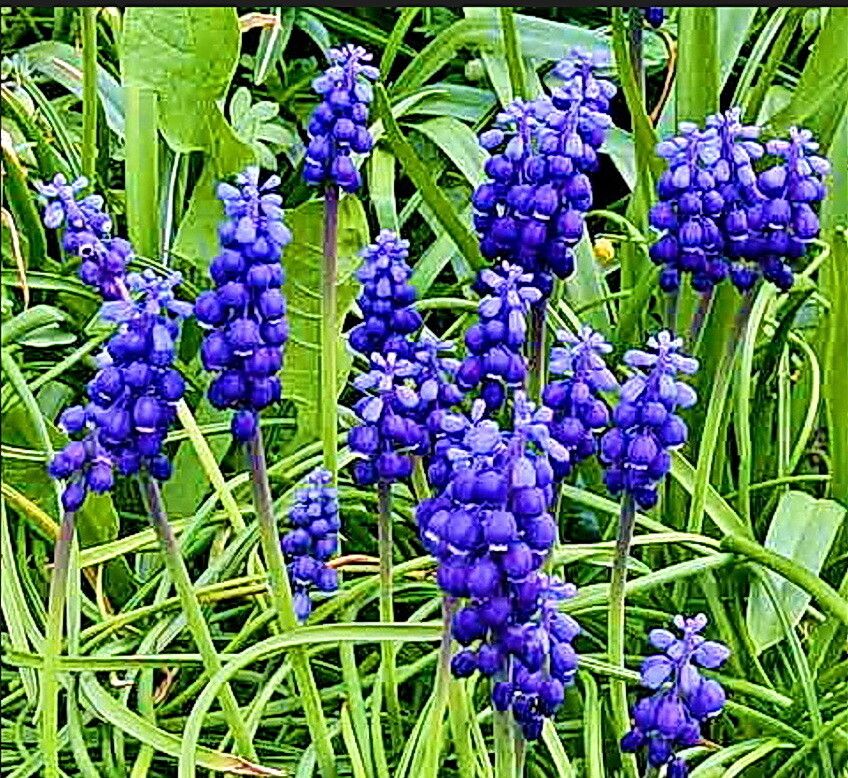
Oh, Muscarimia muscari! Those darling little grape hyacinths, aren’t they just a breath of spring? I remember the first time I saw them blanketing a hillside – pure magic. Their vibrant blue, or sometimes pink or white, little blooms are such a cheerful harbinger of warmer days. And the best part? They’re genuinely a joy to multiply! If you’ve ever admired a patch and thought, “I wish I had more of that,” then you’re in for a treat. For beginners, I’d say Muscari are quite forgiving. A little patience and the right approach, and you’ll be gifting little clusters of blooms in no time.
The Best Time to Start
Honestly, the most straightforward time to propagate Muscari is by dividing their bulbs. You want to catch them after they’ve finished flowering and their foliage has started to yellow and die back. This is usually late spring or early summer. The plant has put all its energy into blooming and is now storing it back in the bulb for the next season. That’s when you know they’re ready to be fussed with and are less likely to be stressed.
Supplies You’ll Need
Here’s what I always have on hand when I’m getting ready to divide Muscari:
- A trowel or small spade: For gently lifting the bulbs.
- Sharp pruning shears or a clean knife: For separating bulb clusters if needed.
- Sterilized gloves: To keep things clean and protect your hands.
- A well-draining potting mix: I like a blend of regular potting soil with a good amount of sharp sand or perlite for drainage. Muscari hate soggy feet.
- Small pots or seedling trays: For replanting the divisions.
- A watering can with a fine rose: To water gently without disturbing the bulbs.
Propagation Methods: Division is Key!
For Muscari, division is really the most practical and effective method. They naturally form clumps of bulbs as they grow and multiply underground.
- Gently Excavate: When you see that foliage yellowing, carefully dig around the base of the plant with your trowel. Aim to lift the entire clump, trying to keep as much soil around the root ball as possible. Be gentle – these are delicate bulbs!
- Shake Off Excess Soil: Once you have the clump out, gently shake off some of the looser soil. You’ll start to see individual bulbs clustered together.
- Separate the Bulbs: You can usually gently pull the larger bulbs apart with your hands. If they’re really stuck, use your clean knife or pruning shears to carefully cut between them. The goal is to get good-sized bulbs, ideally with some root nubs still attached. Don’t worry if you can’t get them all perfectly separated; even small offsets will grow.
- Inspect and Discard: Take a moment to look at your bulbs. Discard any that look mushy, diseased, or have signs of rot. Healthy bulbs should feel firm.
- Replant Immediately: This is crucial. Muscari bulbs don’t like to be out of the ground for long. Plant your divisions in your prepared pots or in a new garden bed. They should be planted about 2-3 inches deep, with the pointed end facing upwards. Give them a little space – about 3-4 inches apart.
- Water Gently: Water them in well after planting. You want the soil to be moist but not waterlogged.
The “Secret Sauce” (Pro Tips)
Here are a couple of things I’ve learned over the years that make a big difference:
- Don’t wait too long: As I mentioned, waiting for the foliage to die back is key, but even then, get them replanted fairly soon. They’re happiest in the soil and not sitting around drying out.
- Think about future placement: When you’re dividing, consider where you want these beauties to grow next year. They look wonderful massed together, so plant your divisions in clusters for that impactful visual.
Aftercare & Troubleshooting
Once your Muscari divisions are in their new homes, give them a good drink of water. Keep the soil consistently moist but not soggy, especially during dry spells, as they establish. You might not see much happening above ground for a little while, and that’s perfectly normal. The plant is busy setting down roots.
The most common sign of trouble is often rot. If you notice bulbs turning mushy or developing a foul smell, it usually means they’re getting too much moisture and not enough drainage. If this happens, try to lift the affected bulbs, discard any that are too far gone, and replant the healthier ones in a grittier, better-draining soil mix.
A Encouraging Closing
Propagating Muscari is such a rewarding way to fill your garden with those stunning pops of blue. Be patient with your new plantings; they might not be as spectacular in their first year as the established clumps, but trust me, they’ll put on a wonderful show. Enjoy the process, and soon you’ll have more of these charming little flowers than you know what to do with! Happy gardening!
Resource:
https://identify.plantnet.org/k-world-flora/species/Muscarimia%20muscari%20(L.)%20Losinsk./data