Well hello there, fellow plant enthusiast! It’s so lovely to have you join me today. We’re going to dive into the wonderful world of Musa balbisiana, or as some of us affectionately call it, the wild banana. If you’ve ever admired those lush, architectural leaves and dreamt of bringing that tropical vibe into your own space, you’re in for a treat. Propagating these beauties is incredibly rewarding, sort of like nurturing a little piece of paradise. And guess what? It’s not as daunting as you might think! For beginners, it’s a wonderfully accessible way to get your hands dirty and grow something truly special.
The Best Time to Start
When it comes to Musa balbisiana, timing is everything. The sweet spot for propagation is during its most active growth phase. Think late spring through summer. This is when the plant is buzzing with energy, ready to put down roots and forge ahead. You’ll have the best luck if you start with a healthy, well-established parent plant that’s actively putting out new shoots. Avoid propagating during its dormant period in cooler months; that’s like asking a hibernating bear to run a marathon!
Supplies You’ll Need
Gathering your tools before you begin makes the whole process much smoother. Here’s what I recommend having on hand:
- Sharp pruning shears or a clean, sharp knife: For making tidy cuts. Sterilize them with rubbing alcohol between uses to prevent disease.
- Well-draining potting mix: A good blend for this would be about 2 parts peat moss or coconut coir, 1 part perlite or coarse sand, and 1 part compost. You want something that holds moisture but doesn’t become soggy.
- Small pots or propagation trays: With drainage holes, of course!
- Rooting hormone (optional but recommended): This powder or gel can give your cuttings a helpful boost.
- Clear plastic bags or a propagation dome: To create a humid environment.
- Spray bottle: For misting.
- Labels and a marker: To keep track of your projects.
Propagation Methods
Musa balbisiana is readily propagated through division, which is my go-to method. It’s straightforward and very successful.
Division: The Most Reliable Way
This is where we gently separate the new plantlets, called “pups,” from the mother plant.
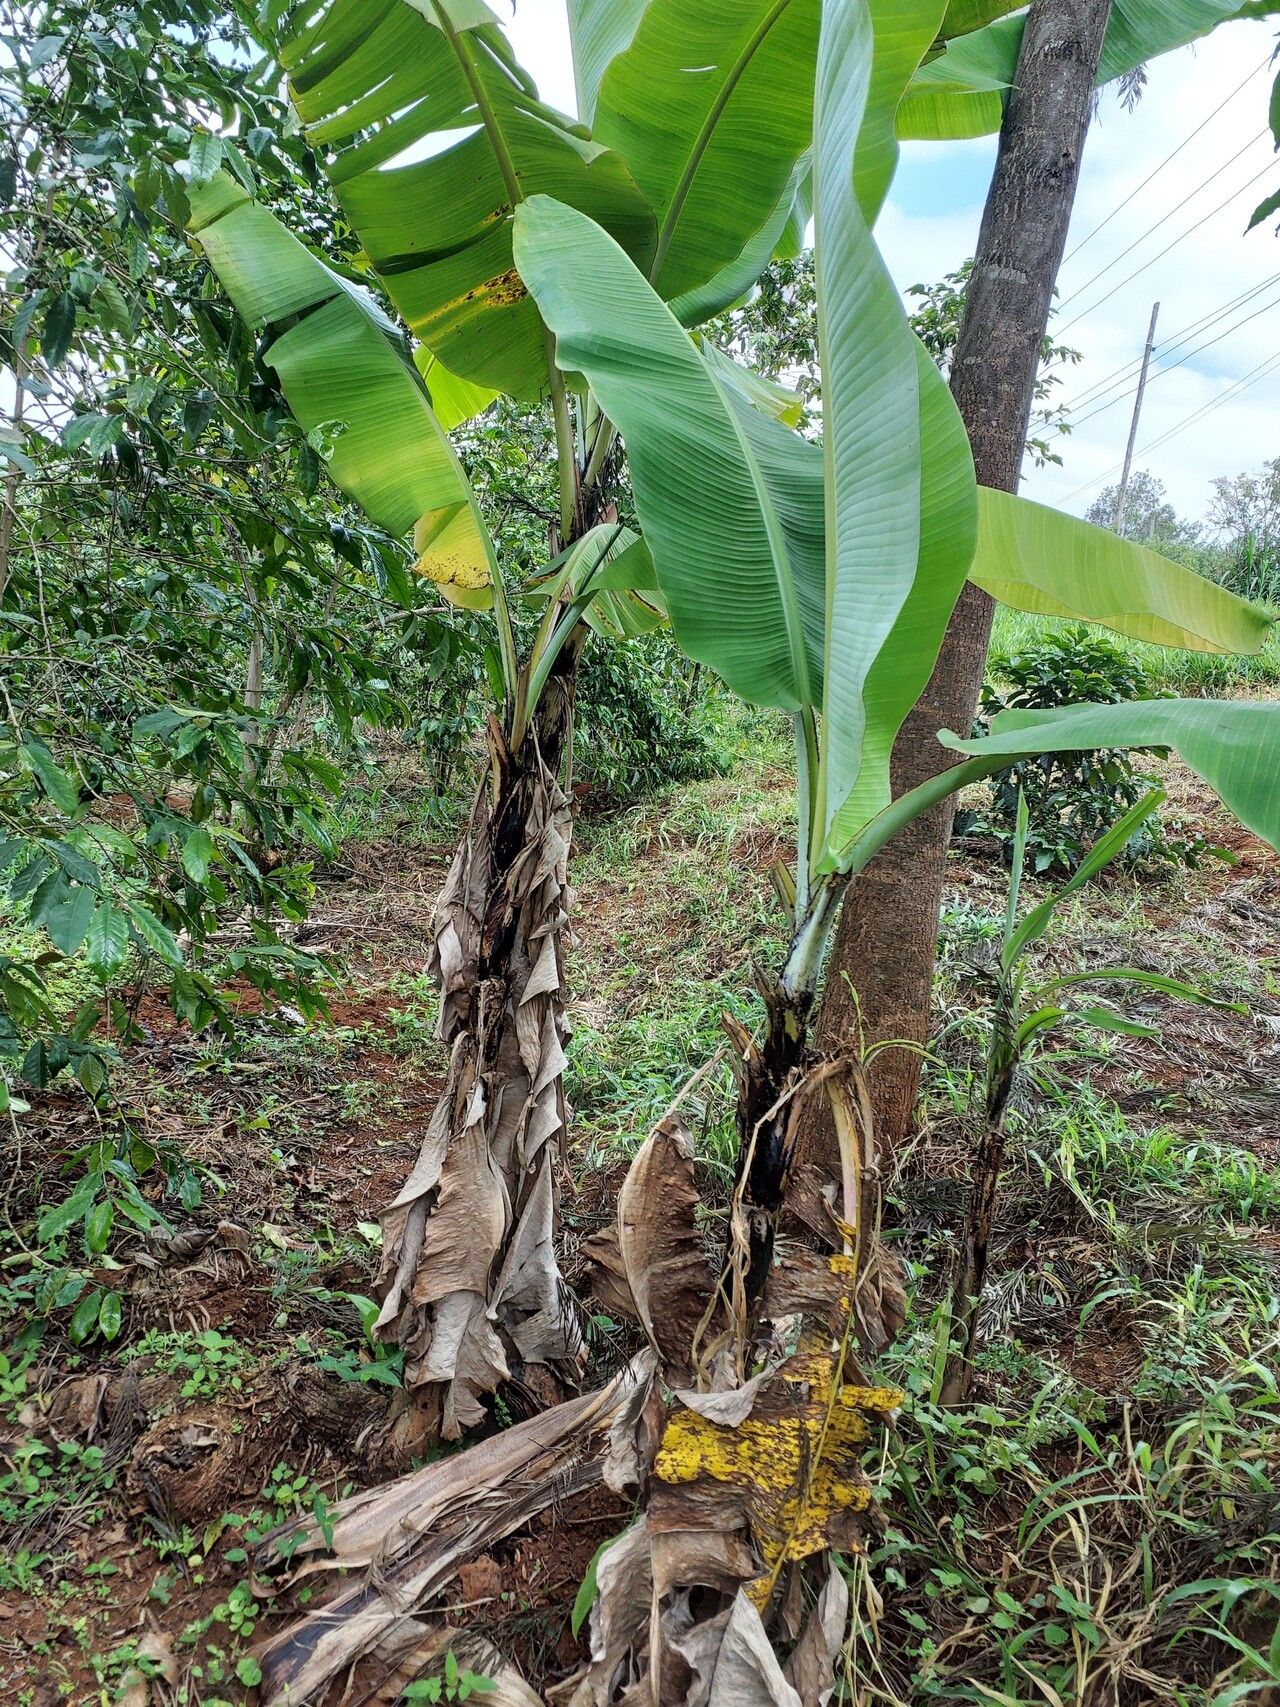
- Prepare the Parent Plant: If your Musa balbisiana is in a pot, gently tip it out. If it’s in the ground, carefully dig around the base. You want to expose the root system where you can see the pups.
- Identify the Pups: Look for new shoots emerging from the base of the main plant. These pups will have their own pseudostems (the rolled-up leaf bases that form the “trunk”) and a developing root system. Aim for pups that are at least a few inches tall and have a few leaves.
- Make the Cut: Using your sterilized pruning shears or knife, carefully cut the pup away from the mother plant. Try to get as much of the pup’s root system attached as possible. If the pup is still attached by a thick rhizome, make a clean slice through it.
- Trim Excess Leaves: Gently remove any lower leaves from the pup that might rot if buried. You can also trim back any large leaves by about a third to reduce moisture loss.
- Let it Callus (Optional but good practice): For really plump pups, letting the cut end air dry for a few hours to a day can help prevent rot.
- Potting Up: Fill your small pots with your prepared potting mix. Make a small well in the center and place the pup in it. Gently backfill with soil, ensuring the base of the pup is snug.
- Water Gently: Water the pot thoroughly until you see water draining from the bottom.
The “Secret Sauce” (Pro Tips)
Over the years, I’ve learned a few tricks that really make a difference:
- Embrace the Humidity: Musa balbisiana loves humidity. After potting your pup, cover the pot with a clear plastic bag or pop it under a propagation dome. This traps moisture and creates a mini-greenhouse effect, encouraging roots to form faster. Just make sure the leaves aren’t touching the plastic directly if possible, as this can promote fungal issues. Open it for a few minutes each day to let in fresh air.
- The Gentle Heat Boost: If you have one, placing your pots on a heat mat designed for propagation can significantly speed up root development. Warm soil encourages roots to grow. Just make sure the mat isn’t too hot; you want warmth, not a bake.
- Don’t Be Afraid of a Little Wound: Sometimes, the rhizome where you separated the pup might be quite thick. Don’t panic if it looks like a bit of a mess. As long as you’ve got a clean cut and a healthy pup, it will heal and grow.
Aftercare & Troubleshooting
Once your Musa balbisiana pups are potted, keep the soil consistently moist but not waterlogged. That’s the golden rule. As new leaves start to unfurl, you know roots are forming! Gradually introduce your new plants to brighter light over a couple of weeks, but avoid direct, harsh sun initially.
The most common issue you might encounter is root rot. If you see the leaves yellowing and wilting, and the soil feels constantly soggy, rot is a likely culprit. If you suspect rot, gently ease the pup out of the soil and check the roots. Trim away any black, mushy roots with your sterilized tools and repot in fresh, well-draining soil. Then, dial back the watering a bit.
A Little Patience Goes a Long Way
Propagating Musa balbisiana is a journey, and like all good things in the garden, it requires a touch of patience. Celebrate the small wins – that first tiny new leaf is a triumph! Enjoy the process of nurturing these tropical beauties, and soon you’ll have a whole clan of your own “wild bananas” to admire. Happy gardening!
Resource:
https://identify.plantnet.org/k-world-flora/species/Musa%20balbisiana%20Colla/data