Oh, hello there! Come on in, grab a mug, and let’s chat about Mulguraea scoparia. You know, that lovely, wispy shrub that brings such a delicate charm to the garden? We’ll get to the nitty-gritty of growing more of them in a moment, but first, let me tell you why I adore this plant.
Why Grow More Mulguraea Scoparia?
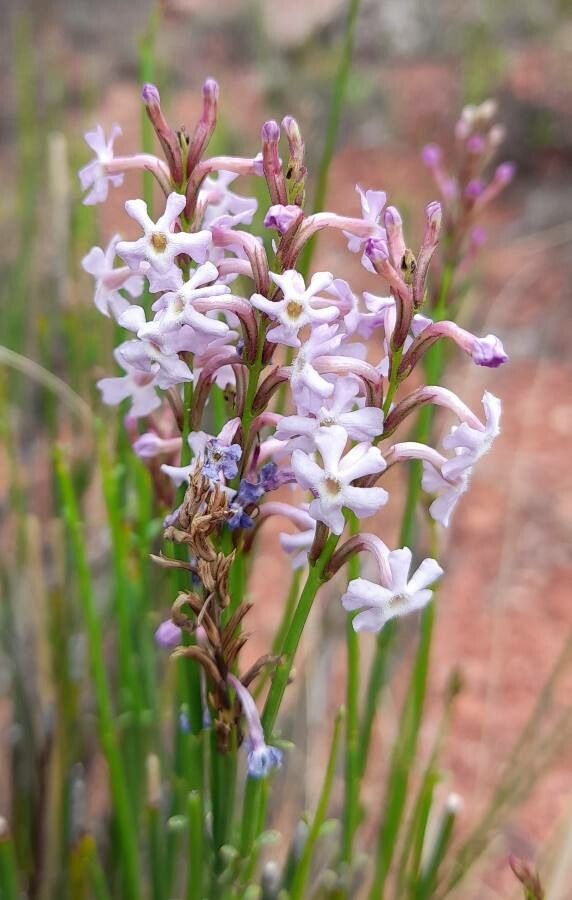
Mulguraea scoparia – sometimes called Dwarf Broom or Rock Rose – is just a delight. Its fine, almost grassy foliage and those sweet, papery little flowers are just perfect for adding texture and a touch of whimsy. And getting more of them from cuttings or seeds? Well, that’s a truly rewarding feeling. You’re basically making little miracles happen right in your own backyard! Now, for beginners, I’d say propagating Mulguraea scoparia is moderately easy. It’s not a “set it and forget it” kind of plant when it comes to propagation, but with a little attention, you can absolutely be successful.
When is the Best Time to Start?
My go-to time for propagating Mulguraea scoparia is late spring to early summer. Think about when the plant is actively growing, but before the really intense heat of midsummer sets in. This is when the new growth is pliable and full of life, making it most receptive to rooting. You’re looking for stems that are semi-hardwood – not brand new and floppy, but not old and woody either. They should be bendy enough to snap cleanly if you try to break them.
What You’ll Need
Gathering your supplies beforehand makes the whole process much smoother. Here’s what I usually have on hand:
- Sharp Pruning Shears or a Craft Knife: For clean cuts. Dull tools can crush stems, hindering rooting.
- Small Pots or Seed Trays: Clean ones are key to preventing disease.
- Potting Mix: A good, well-draining mix is essential. I like to use a blend of perlite, peat moss, and sand. A standard seedling mix is also fine.
- Rooting Hormone: This is a helpful addition, especially for beginners. Gel or powder forms work well.
- Plastic Bags or a Propagator: To create a humid environment.
- Watering Can with a Fine Rose: For gentle watering.
- Labels and a Pen: To keep track of your cuttings!
How to Propagate: Stem Cuttings
This is my favorite and most reliable method for Mulguraea scoparia.
- Take Your Cuttings: Select healthy shoots from your mature plant. Using your sharp clean pruning shears, cut sections about 4-6 inches long. Make your cut just below a leaf node (where the leaves attach to the stem).
- Prepare the Cuttings: Gently remove the lower leaves from your cuttings, leaving just a few at the top. This prevents them from rotting when they’re in the soil. If your cuttings have any flowers or flower buds, pinch those off. They redirect energy away from root development.
- Apply Rooting Hormone: Dip the cut end of each stem into water, then into your rooting hormone. Tap off any excess. This helps the hormone adhere.
- Pot Them Up: Fill your small pots with your moistened potting mix. Make a hole in the center of the soil with a pencil or your finger.
- Insert the Cuttings: Carefully insert the prepared cuttings into the holes, pushing the soil gently around them to ensure good contact. You can fit several cuttings into one pot, but give them a little space.
- Water Gently: Water thoroughly to settle the soil around the cuttings.
- Create Humidity: This is crucial! Cover the pots with a clear plastic bag or place them in a propagator. Make sure the bag doesn’t touch the leaves! You can use stakes to prop it up. Place in a bright spot, but out of direct, harsh sunlight.
The “Secret Sauce” (My Insider Tips)
A few little tricks can make a big difference!
- Mist, Don’t Drench: While humidity is key, don’t let the soil become waterlogged. I like to lightly mist the leaves of the cuttings every couple of days, especially if they’re in a propagator. Just a gentle spray!
- Bottom Heat is Your Friend: If you have a heat mat or propagator with a heating element, use it! Mulguraea scoparia cuttings absolutely love a bit of warmth from below. It really encourages those roots to start forming.
- Patience, Grasshopper! Don’t be tempted to pull your cuttings up to check for roots too early. It can take 4-8 weeks, sometimes even longer, for roots to develop. Trust the process.
Aftercare & What to Look For
Once you start seeing tiny roots peeking out from the drainage holes, or new leafy growth appearing, it’s a good sign!
- Acclimate Them: Slowly reduce the humidity by opening the plastic bag or propagator a little each day over a week. This helps your new babies adjust to normal conditions.
- Transplant Carefully: When your cuttings have a good root system, you can carefully transplant them into individual pots with regular potting mix. Water them in well.
- Watch for Rot: The biggest enemy here is overwatering leading to rot. If you see stems turning black and mushy, or the leaves wilting dramatically, it’s usually a sign of too much moisture and not enough air circulation. Sadly, a rotten cutting is usually a lost cause, but it’s a lesson learned!
Happy Propagating!
So there you have it – a little guide to growing more of that beautiful Mulguraea scoparia you love. Remember to be patient with yourself and your plants. Every gardener has had failures, myself included! But the joy of successfully propagating a plant is truly something special. Enjoy the process, and happy gardening!
Resource: