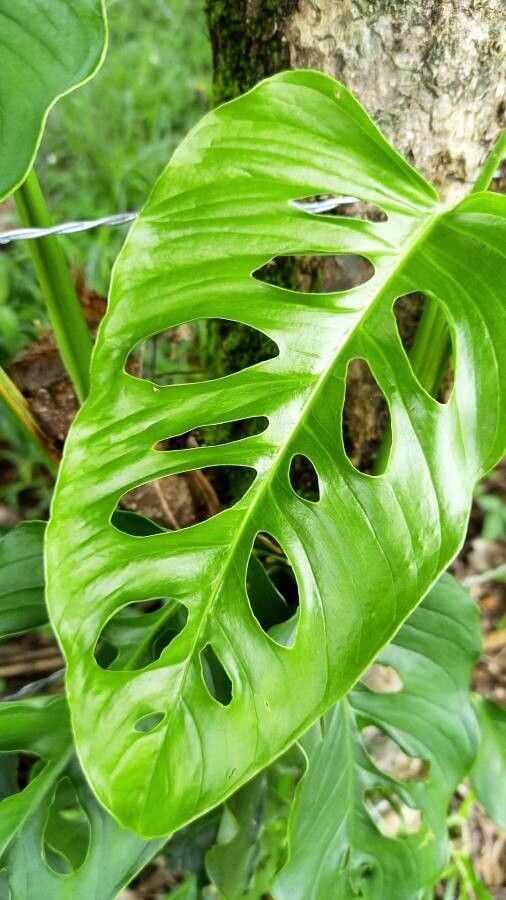
Oh, Monstera adansonii! That’s one of my absolute favorites. Seeing those delicate, lacy leaves unfurl with those signature holes is just pure joy. It’s also a plant that gives back so much, and propagating it to share or just to fill your home with more of that jungle vibe is incredibly rewarding. Honestly, if you’ve got a Monstera adansonii, you’re already on the path to successful propagation. It’s one of the more forgiving plants to start with, so don’t be shy!
The Best Time to Start
When is the magic window for propagating your adansonii? You’ll have the greatest success if you start in the spring or early summer. This is when the plant is actively growing and has the energy to push out new roots. Look for healthy, vigorous growth. Avoid propagating from a plant that’s stressed or hasn’t been doing well – it’s just not the right time for them to be putting energy into making babies.
Supplies You’ll Need
You don’t need a whole lot to get started, just a few key things:
- Sharp Pruning Shears or a Clean Knife: This is crucial for making clean cuts.
- Rooting Hormone (Optional but Recommended): This can give your cuttings a helpful boost. Look for one designed for stem cuttings.
- Potting Mix: A well-draining mix is best. I usually use a blend of perlite, coco coir, and a general potting soil.
- Small Pots or Jars: For both water propagation and soil propagation.
- Clean Water: If you’re going the water route.
Propagation Methods
There are a couple of ways to go about this, and both are pretty straightforward.
Stem Cuttings in Water
This is probably the easiest method for beginners, and it’s so satisfying to watch the roots grow!
- Find a Healthy Stem: Look for a stem that has at least one node. A node is that slightly swollen bit on the stem where a leaf or aerial root emerges. This is where the new roots will form. Make sure the stem also has at least one leaf.
- Make Your Cut: Using your sharp pruning shears or knife, cut the stem about an inch below a node.
- Prepare the Cutting: Remove any leaves that will be below the water line. This prevents them from rotting. You can leave one or two leaves at the top.
- Place in Water: Pop your cutting into a clean jar or glass filled with room-temperature water. Make sure the node is submerged.
- Find a Spot: Place the jar in a bright spot that gets indirect light. No direct sun, please!
- Change the Water: Refresh the water every few days to keep it clean and oxygenated.
- Watch and Wait: You should start seeing tiny roots emerge from the node within a few weeks. Once those roots are a couple of inches long, it’s time to move them to soil!
Stem Cuttings in Soil
This method skips the water stage and goes straight to planting.
- Find a Healthy Stem: Just like with water propagation, look for a stem with at least one node and a leaf.
- Make Your Cut: Cut about an inch below the node.
- Prepare the Cutting: You can remove the lower leaves if they might end up buried in the soil.
- Dip in Rooting Hormone (Optional): If you’re using rooting hormone, lightly dip the cut end into the powder. Tap off any excess.
- Plant It: Fill a small pot with your well-draining potting mix. Make a small hole with your finger or a pencil and gently insert the cutting, ensuring the node is buried in the soil.
- Water Thoroughly: Water the soil well until it’s nicely moist.
- Create a Humid Environment: This is key! You can cover the pot with a clear plastic bag (make sure it doesn’t touch the leaves) or place it in a small greenhouse. This traps moisture, which is exactly what the cutting needs to root.
- Place in Bright, Indirect Light: Find a warm spot with plenty of indirect light.
- Check for Roots: After a few weeks, you can gently tug on the cutting. If you feel resistance, it means roots have formed. You can also look for a new leaf starting to unfurl as a good sign.
The “Secret Sauce” (Pro Tips)
Here are a couple of things I’ve learned over the years that make a difference:
- Don’t Let Leaves Touch the Water: When propagating in water, it’s vital that the leaves themselves stay above the waterline. If they sit in water, they’ll start to get mushy and rot, and that’s the quickest way to lose your cutting.
- Give Them a Little Warmth: If you can, especially when propagating in soil, using a seedling heat mat can really speed things up. Plant roots love a bit of warmth from below, and it encourages them to grow faster.
Aftercare & Troubleshooting
Once your cuttings have developed a good root system – either in water or soil – it’s time to treat them like a mature plant.
- For Water-Propagated Roots: Gently pot your rooted cutting into your well-draining potting mix. Water it thoroughly and keep the soil consistently moist for the first few weeks as it adjusts.
- For Soil-Propagated Cuttings: Continue to keep the soil consistently moist but not waterlogged. As new growth appears, you can gradually reduce watering frequency to mimic how you’d care for an adult adansonii.
- Watch for Rot: The biggest enemy of propagation is usually root rot. If you see the stem turning black or mushy, or leaves yellowing and falling off rapidly with no new growth, it’s a sign of too much moisture and not enough air circulation. You might need to start again with a fresh cutting and adjust your watering habits. Sometimes, a cutting just won’t take, and that’s okay! Don’t get discouraged.
Go ahead and give it a try! Propagating Monstera adansonii is a really satisfying journey. Be patient, keep an eye on your little green friends, and soon you’ll have more of those beautiful, holey leaves to enjoy. Happy growing!
Resource:
https://identify.plantnet.org/k-world-flora/species/Monstera%20adansonii%20Schott/data