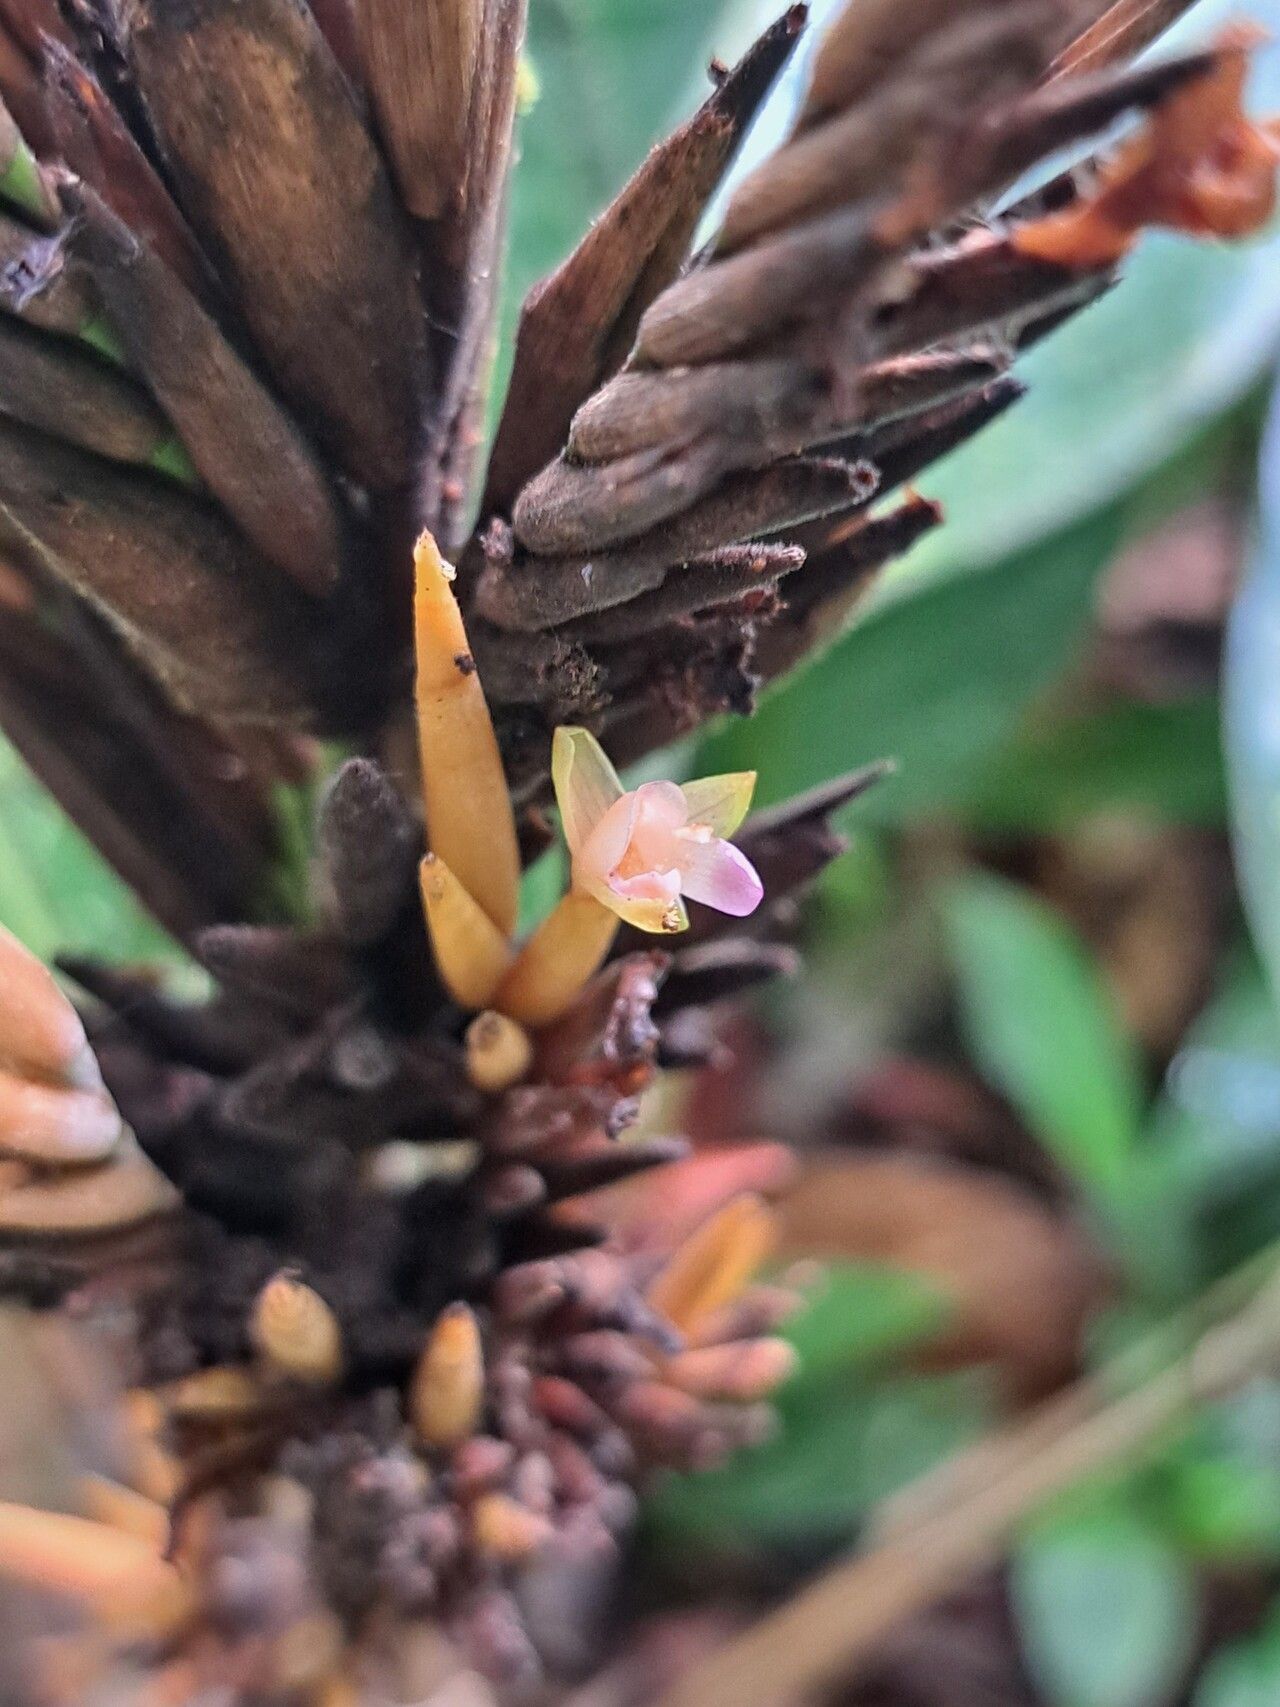
Oh, hello there, fellow plant lover! Pull up a chair and let’s chat about a truly special plant: Monotagma spicatum. If you’re drawn to lush greenery and perhaps a touch of the exotic, you’re going to adore this one. Its elegant, arching stems and vibrant foliage bring such a wonderful energy to any space. And the best part? Sharing its beauty by propagating it is incredibly rewarding. Now, to ease your mind right away, Monotagma spicatum is a mid-level propagator. It’s not quite a “set it and forget it” plant for absolute beginners, but with a little attention and these tips, you’ll be well on your way to success.
The Best Time to Start
When it comes to giving your Monotagma spicatum the best chance at rooting, spring and early summer are your golden season. This is when the plant is actively growing after its winter rest. You’ll find that cuttings taken during this period have a robust energy that translates beautifully into new root development. Look for stems that are already producing new leaves but haven’t yet become woody.
Supplies You’ll Need
Before we dive into the fun part, let’s get our tools ready. It’s always better to be prepared!
- Sharp pruning shears or a clean, sharp knife: For taking clean stem cuttings.
- Rooting hormone (powder or gel): This is your secret weapon for encouraging strong root growth.
- Well-draining potting mix: I like to use a blend of equal parts perlite and peat moss or coco coir. Sometimes, adding a touch of orchid bark helps with aeration too.
- Small pots or containers: Clean, with drainage holes!
- Clear plastic bags or a humidity dome: To create a humid environment for your cuttings.
- Water: For propagation methods and keeping things moist.
- Small pebbles or perlite: For the water propagation method.
Propagation Methods
Let’s get our hands dirty (or rather, our shears sharp!).
Stem Cuttings
This is my go-to method for Monotagma spicatum.
- Select a healthy stem: Find a stem that is at least 4-6 inches long and has several sets of leaves.
- Make your cut: Using your sterilized pruning shears, make a clean cut just below a leaf node. This is the point where a leaf attaches to the stem.
- Prepare the cutting: Gently remove the lower leaves from the stem, leaving just the top 2-3 sets of leaves. This helps prevent them from rotting in the soil.
- Apply rooting hormone: Dip the cut end of the stem into your rooting hormone, ensuring it’s coated evenly. Tap off any excess.
- Plant your cutting: Fill your small pots with your prepared, moistened potting mix. Make a small hole with your finger or a pencil and gently insert the cutting, ensuring the leaf nodes are below the soil surface.
- Water gently: Water the soil lightly to settle it around the cutting.
- Create humidity: Place the pot inside a clear plastic bag, sealing it loosely, or cover it with a humidity dome. This traps moisture and mimics the humid environment cuttings crave.
Water Propagation
If you’re a visual person, this method is for you!
- Follow steps 1-3 above to prepare your stem cuttings.
- Place in water: Find a clean jar or vase and fill it with fresh water. Submerge the lower portion of your cutting, making sure the leaf nodes are just under the water’s surface.
- Avoid leaf contact: Crucially, ensure no leaves are submerged in the water. If they are, they’ll quickly rot and can take your cutting down with them. Trim them if necessary.
- Change the water regularly: Stale water is a root killer. Change the water every 2-3 days, or whenever it starts to look cloudy.
- Find a good spot: Place your water-propagated cuttings in bright, indirect light.
The “Secret Sauce” (Pro Tips)
Alright, time for a couple of my tried-and-true tricks that have saved many a cutting for me!
- The Power of Bottom Heat: If you can, place your pots on a seedling heat mat. This gentle warmth from below encourages root development like nothing else. It’s truly a game-changer for trickier propagations.
- Don’t Rush Perfection: When taking cuttings, resist the urge to take too many leaves off the base. A few lower leaves can actually help sustain the cutting until roots form. Just make sure they aren’t touching the soil or water!
- Airflow is Key (Eventually): While humidity is vital, remember to open the plastic bag or humidity dome for a few minutes each day to allow for some air circulation. This helps prevent fungal issues.
Aftercare & Troubleshooting
Once you see those first tiny roots peeking out (a good sign is resistance when you gently tug the cutting), it’s time to treat your new plant baby with a little extra care.
- Transplanting: If you propagated in water, let the roots get to at least an inch long before carefully transplanting them into your well-draining potting mix. If you propagated in soil, you can gently tug to feel for resistance. If it feels firm, it’s likely rooted.
- Gradual Acclimation: Slowly reduce the humidity over a week or two. Start by opening the bag for longer periods, then remove it entirely. This allows the new plant to adjust to your home’s environment.
- Watering: Keep the soil consistently moist but not waterlogged. Water when the top inch of soil feels dry.
- Common Pitfalls: The most frequent issue is rot. If your cutting turns mushy and black, it’s likely too much moisture and not enough airflow. If a cutting just wilts and never recovers, it may not have rooted or the conditions were too dry. Don’t get discouraged; just grab another stem and try again!
A Encouraging Closing
Propagating Monotagma spicatum is a journey, and like any good journey, it’s about the process as much as the destination. Be patient with your little green charges. Revel in the small victories – that first hint of a root, that new leaf unfurling. With a little practice and these tips, you’ll be gifting friends with beautiful new Monotagma spicatum plants before you know it. Happy propagating!
Resource:
https://identify.plantnet.org/k-world-flora/species/Monotagma%20spicatum%20(Aubl.)%20J.F.Macbr./data