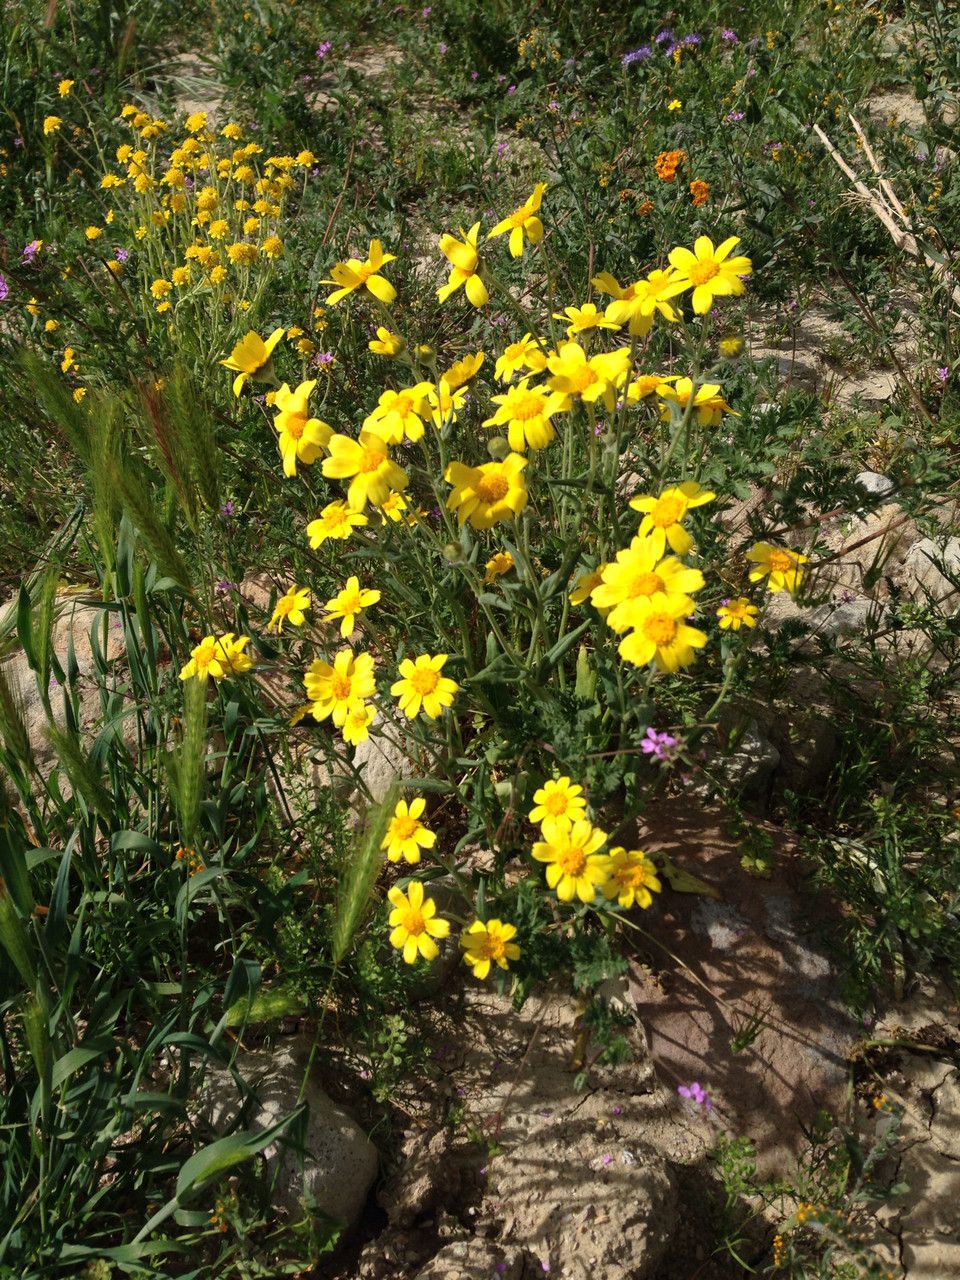
Hello, fellow garden enthusiasts! Today, we’re diving into the wonderful world of propagating Monolopia lanceolata, also known as the California Poppy Daisy. If you’ve ever admired its cheerful, sun-kissed yellow blooms and wondered how you could fill your garden with more of this beauty, you’re in the right place. Propagating Monolopia lanceolata is a truly rewarding experience, giving you a sense of accomplishment and the joy of sharing these lovely plants with friends. For those new to the gardening scene, I’d say this one is moderately easy, definitely within reach with a little patience and care.
The Best Time to Start
Timing is everything in the garden, and for Monolopia lanceolata, you’ll find the most success by working with its natural life cycle. The late spring or early summer is generally your prime window. This is when the plant is actively growing and has plenty of energy to put into developing new roots. You’re looking for healthy, vigorous stems that haven’t yet started to flower or are just beginning to bud. If you’re starting from seed, sowing them in the early spring is ideal.
Supplies You’ll Need
Before we get our hands dirty, let’s gather our toolkit. Having everything ready makes the process so much smoother.
- Sharp Pruning Shears or a Sharp Knife: For clean cuts that heal well. Cleanliness is key here!
- Rooting Hormone (Optional but Recommended): This can give cuttings a helpful boost.
- Well-Draining Potting Mix: A good blend is crucial. I like a mix of equal parts perlite, peat moss, and a bit of compost. You can also buy specific seed-starting mixes.
- Small Pots or Seed Trays: Clean and with drainage holes.
- Watering Can with a Fine Rose: For gentle watering.
- Labels and a Permanent Marker: Don’t forget to label what you’ve propagated!
- (For Seed Sowing): A clear plastic bag or dome to maintain humidity.
Propagation Methods
There are a couple of ways we can coax new Monolopia lanceolata plants into existence. My personal favorite for getting a quick return is from stem cuttings, but starting from seed is also very effective.
Stem Cuttings:
- Select Your Cuttings: On a healthy parent plant, choose stems that are about 4-6 inches long and not flowering. Look for stems that are somewhat firm but still flexible – not woody.
- Make the Cut: Using your clean, sharp pruning shears or knife, make a cut just below a leaf node (where a leaf attaches to the stem).
- Prepare the Cutting: Gently strip off the lower leaves, leaving just a few at the top. This helps the cutting conserve energy and reduces the risk of rot.
- Apply Rooting Hormone (Optional): Dip the cut end into your rooting hormone. You don’t need to soak it, just a light coating is fine.
- Plant Your Cuttings: Fill your small pots with your well-draining potting mix. Make a small hole in the center with your finger or a pencil. Insert the cut end of the stem into the hole, making sure at least one leaf node is buried. Gently firm the soil around the stem.
- Water Gently: Water thoroughly but gently until water drains from the bottom of the pot.
Seed Sowing:
- Prepare Your Trays: Fill your seed trays or small pots with your seed-starting mix.
- Sow the Seeds: Monolopia lanceolata seeds can be surface-sown or lightly covered. I usually just press them gently onto the surface of the soil and then lightly dust with a very fine layer of mix.
- Water: Mist the surface with water until the soil is moist.
- Create Humidity: Cover the tray or pots with a clear plastic bag or a humidity dome. This is essential for germination.
- Provide Light and Warmth: Place the tray in a bright location but out of direct, hot sun. They appreciate warmth, so a sunny windowsill is usually perfect.
The “Secret Sauce” (Pro Tips)
Here are a few little tricks I’ve learned over the years that can make all the difference:
- For Cuttings: “No Soggy Leaves!” This is critical with any cutting. If the leaves are touching the soil or each other in a very humid environment, they are much more prone to rot. Ensure good air circulation around each cutting.
- For Both Methods: Bottom Heat is Your Friend. If you’re struggling with stubborn stem cuttings or slow germination from seed, a gentle heat mat placed under your pots or trays can significantly speed things up. It mimics the warmth from the sun on the soil and encourages root development.
- Be Patient with Seed Germination: Monolopia lanceolata seeds can sometimes be a bit slow to get going. Don’t be discouraged if they don’t pop up immediately. Keep them consistently moist and warm, and they’ll usually surprise you when you least expect it!
Aftercare & Troubleshooting
Once your cuttings have sprouted roots (you can gently tug on them to feel resistance, or if they’re in clear pots, you’ll see them), or your seeds have germinated, it’s time for the next phase.
- Watering: Continue to water gently and consistently, allowing the top inch of soil to dry out slightly between waterings. Avoid letting them sit in soggy soil, as this is the quickest way to invite root rot, which is usually a brown, mushy mess. If you see signs of this, try to dry them out a bit and ensure good drainage.
- Light: Gradually acclimate your new plants to brighter light. If they were under a humidity dome, remove it for increasing periods each day. Move them from indirect light to a spot that gets morning sun.
- Transplanting: Once your seedlings are a few inches tall and have a good root system, you can transplant them into slightly larger pots or directly into your garden if the danger of frost has passed. Handle them carefully by their leaves, not their delicate stems.
A Encouraging Closing
There you have it! Propagating Monolopia lanceolata is a journey of patience and observation. Don’t be discouraged if your first few attempts aren’t perfect; every gardener has had their trials and triumphs. The key is to keep learning and enjoying the process. Soon, your garden will be alight with the sunshine of these cheerful blooms, all thanks to your own nurturing hands. Happy growing!
Resource:
https://identify.plantnet.org/k-world-flora/species/Monolopia%20lanceolata%20Nutt./data