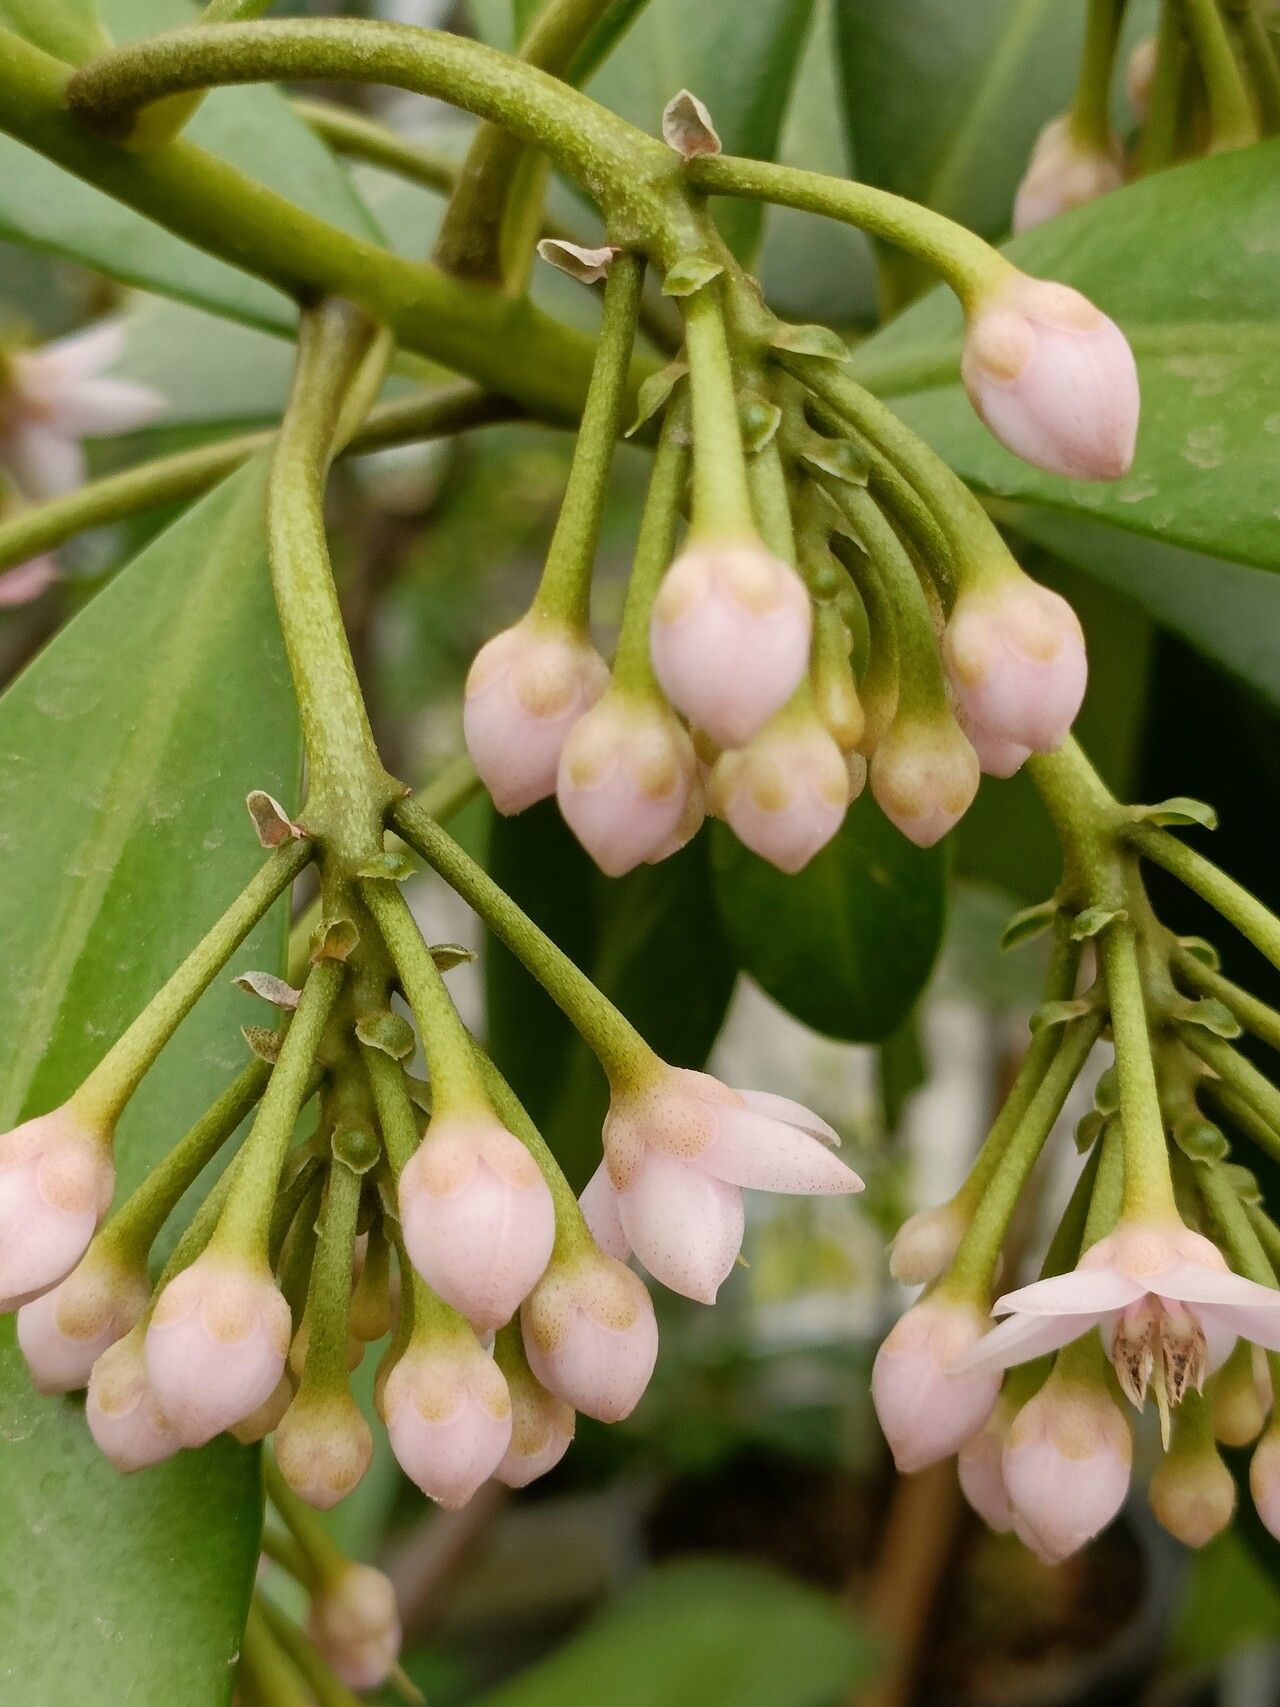
Hello, fellow plant enthusiasts! Today, we’re diving into the wonderfully fragrant world of Monodora crispata, also known as the African Nutmeg. If you haven’t had the pleasure yet, imagine a plant that offers beautifully intricate flowers and foliage, often with a delightful spicy scent. Growing these beauties from scratch is incredibly satisfying, and while Monodora crispata can be a tad trickier than your average pothos, it’s absolutely achievable with a little know-how. I find the patience it requires is part of what makes it so rewarding in the end!
The Best Time to Start
For Monodora crispata, the sweet spot for propagating is during its active growing season. Think late spring through early summer. This is when the plant is full of energy and has the best chance of establishing new roots. Waiting until after the main flush of blooming is also a good idea, as you want a healthy, vigorous parent plant to work with.
Supplies You’ll Need
Here’s a handy list of what you’ll want to have on hand:
- Sharp pruning shears or a clean knife: For making clean cuts.
- Rooting hormone powder/gel: This is a game-changer for encouraging root development.
- Well-draining potting mix: A blend of perlite, peat moss, and coco coir works wonderfully. You can also use a commercial propagation mix.
- Small pots or propagation trays: With drainage holes, of course!
- Plastic bags or a humidity dome: To maintain moisture.
- Dibbler or pencil: To make planting holes.
- Watering can with a fine rose: For gentle watering.
Propagation Methods
We’ll focus on stem cuttings, which is generally the most straightforward method for introducing new Monodora crispata plants into your collection.
- Select Your Cuttings: Look for healthy, non-flowering stems that are about 4-6 inches long. Ideally, these stems should have at least a couple of sets of leaves. Make sure the stem is somewhat firm, not overly soft and floppy.
- Make the Cut: Using your sharp pruning shears or knife, make a clean cut just below a leaf node. A leaf node is a small bump on the stem where a leaf grows. This is where roots are most likely to form.
- Prepare the Cuttings: Gently remove the lower leaves from the cutting, leaving just the top two or three leaves. If a leaf is particularly large, I like to cut it in half. This reduces water loss from the surface area.
- Apply Rooting Hormone: Dip the cut end of the stem into your rooting hormone powder or gel. Make sure it’s coated evenly. Tap off any excess.
- Plant Your Cuttings: Fill your small pots or propagation tray with your prepared potting mix. Use your dibbler or pencil to make a hole in the center of the soil. Carefully insert the cutting into the hole, ensuring the rooting hormone-coated end is submerged. Gently firm the soil around the base of the cutting.
- Water and Cover: Water the soil gently until it’s evenly moist but not waterlogged. Then, cover the pot or tray with a plastic bag or a humidity dome to create a mini-greenhouse environment. This is crucial for preventing the cuttings from drying out.
The “Secret Sauce” (Pro Tips)
Here are a couple of things I’ve learned over the years that really boost success:
- Bottom Heat is Your Friend: Monodora crispata loves a bit of warmth from below. Placing your propagation tray on a heat mat specifically designed for plants can significantly speed up root formation. It mimics the warm soil they’d naturally find.
- Don’t Drown Your Leaves: When you water, make sure none of the leaves are sitting in standing water inside the plastic bag or dome. This can easily lead to fungal diseases and rot. If you see condensation pooling excessively, gently wipe it away.
Aftercare & Troubleshooting
Once your cuttings are planted, place them in a warm spot with bright, indirect light. Avoid direct sun, as it can scorch the tender new growth. Keep the soil consistently moist.
You’ll know your cuttings are rooting when you start to see new leaf growth or feel a gentle tug when you lightly pull on the stem. This can take anywhere from 4 to 8 weeks, sometimes longer. Don’t be discouraged if it takes a while!
The most common sign of failure is rot, where the cutting turns black and mushy. This is usually due to overwatering or poor air circulation. If you see this, it’s best to discard the affected cutting and start again, perhaps with less water or by improving ventilation. Another sign is wilting that doesn’t recover – this points to dehydration or lack of root development. Make sure that humidity level stays high!
A Little Patience Goes a Long Way
Propagating plants is an act of faith and a wonderful way to connect with nature. Be patient with your Monodora crispata cuttings. Even if your first attempt isn’t a roaring success, learn from it, adjust your approach, and try again. Before you know it, you’ll be surrounded by the beauty and fragrance of a whole new generation of these stunning plants. Happy propagating!
Resource:
https://identify.plantnet.org/k-world-flora/species/Monodora%20crispata%20Engl./data