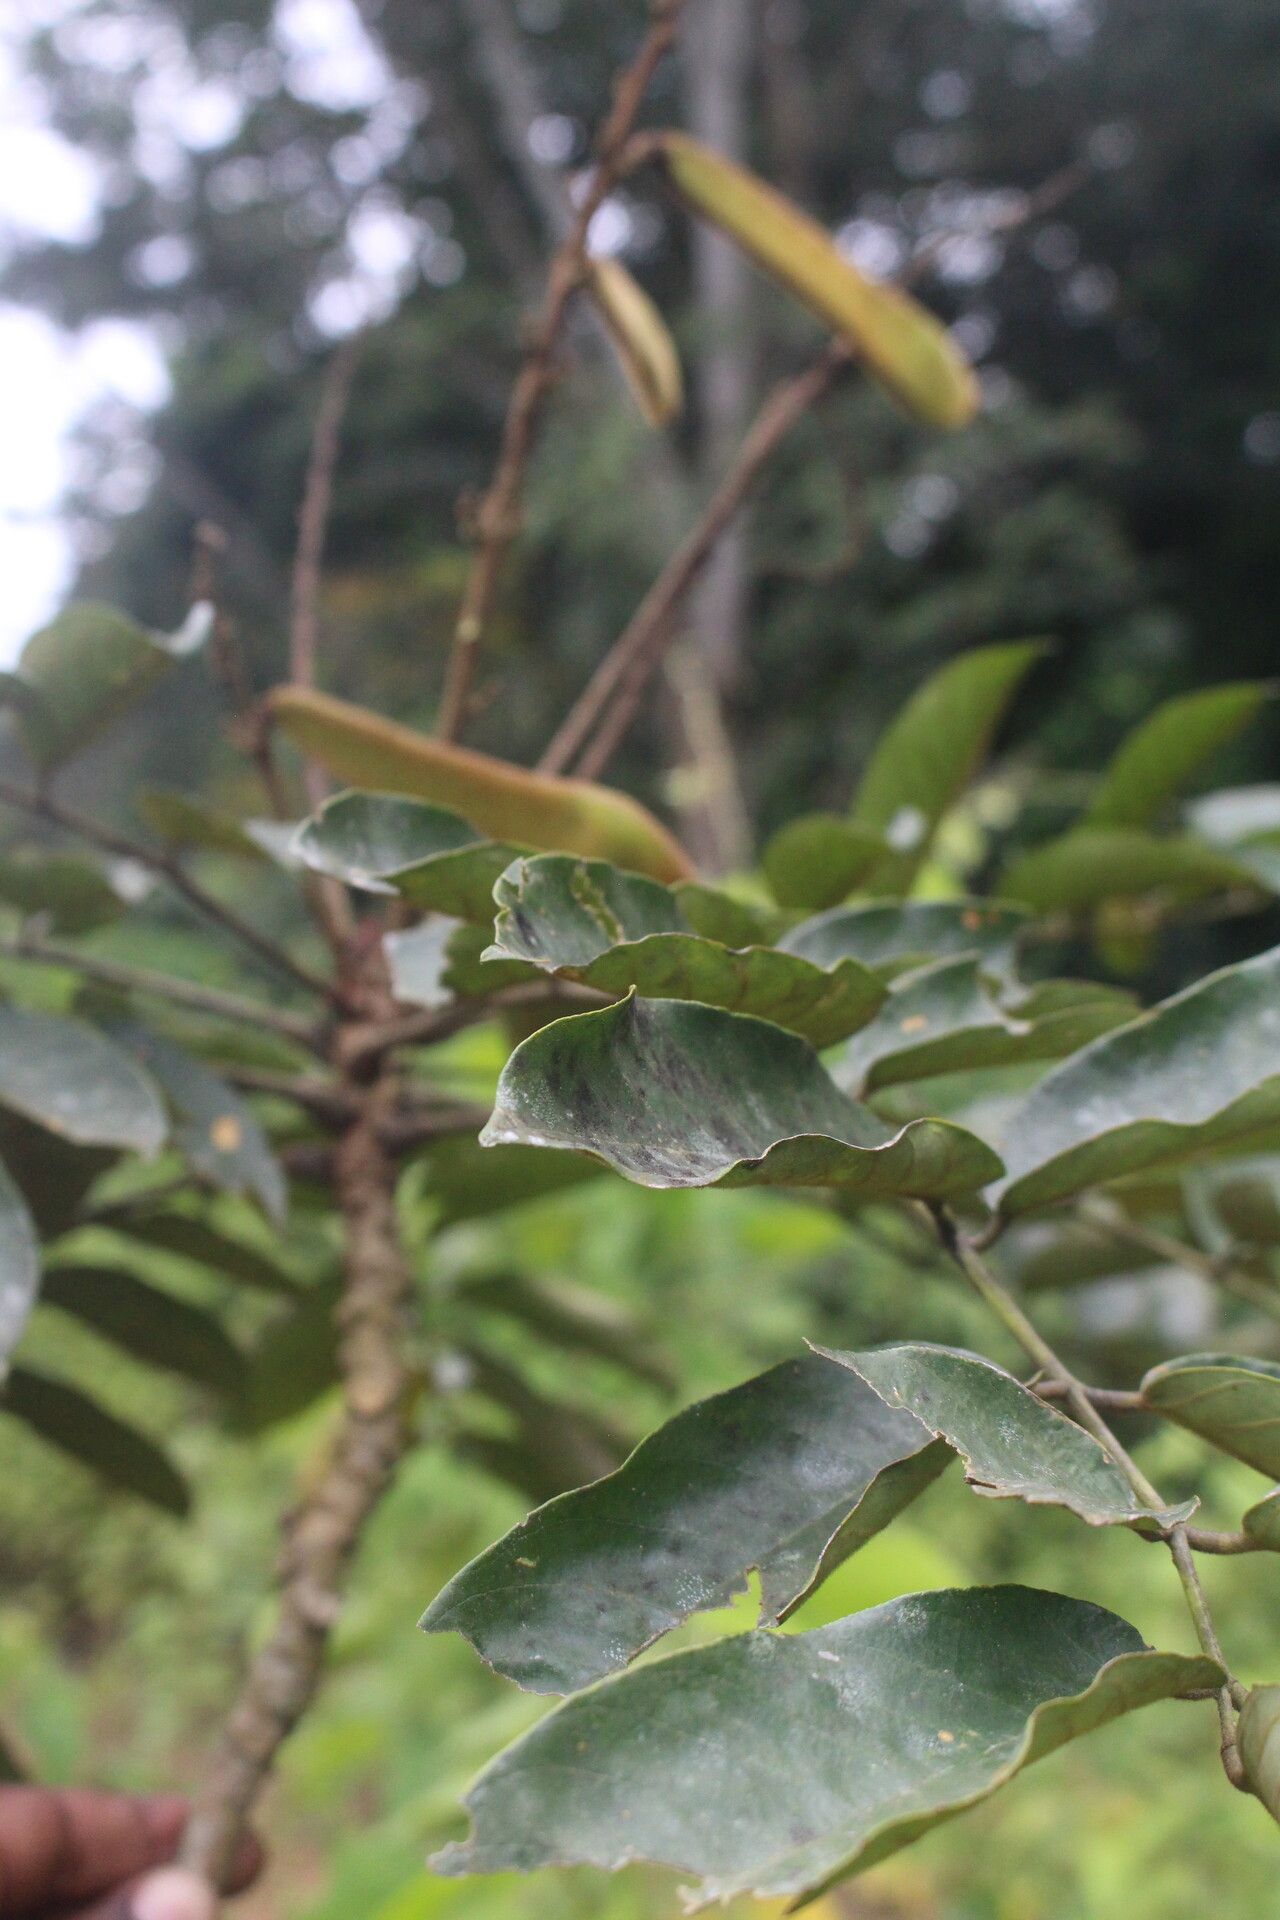
Oh, Millettia aboensis. Isn’t she a beauty? With thoseCascading, pea-like flowers and that lush, tropical vibe, it’s no wonder gardeners fall in love with this specimen. Bringing one into your home or garden is a delightful experience, and the real joy comes from being able to create more of these stunners yourself! Propagating Millettia aboensis can be a little bit of a journey, especially for those just starting out, but with a little patience and the right approach, you’ll be rewarded with a whole new family of these gorgeous plants.
The Best Time to Start
For the highest chance of success with your Millettia aboensis, I’ve found that late spring or early summer is your sweet spot. This is when the plant is actively growing, meaning it has plenty of energy to put into developing new roots. You’ll want to take cuttings from healthy, vigorous stems that are not flowering, as the plant prioritizes blooming over root development at that time.
Supplies You’ll Need
Before we dive in, let’s gather our tools. Think of this as prepping your kitchen before a big bake!
- Sharp, clean pruning shears or a sharp knife: A clean cut is crucial to prevent disease.
- Rooting hormone (powder or gel): This is a big helper for encouraging root growth.
- Well-draining potting mix: I like a mix of peat moss, perlite, and a bit of coarse sand. You want something that won’t hold onto too much moisture.
- Small pots or seed trays: Clean ones, of course!
- Clear plastic bags or a propagator lid: To create a humid environment.
- Watering can with a fine rose or spray bottle: For gentle watering.
- Optional: Small heating mat: This can really speed things up!
Propagation Methods
We’ll focus on the most reliable method for Millettia aboensis: stem cuttings.
Stem Cuttings
- Select your stem: Look for a healthy, semi-hardwood stem that’s about pencil-thick. Avoid old, woody stems or brand new, soft growth.
- Make the cut: Using your clean shears, take a cutting that’s 6-8 inches long. Make the cut just below a leaf node (where a leaf attaches to the stem).
- Prepare the cutting: Gently remove the lower leaves from the cutting, leaving just a couple of leaves at the very tip. This reduces water loss. If the remaining leaves are large, you can prune them in half horizontally – this still allows for photosynthesis but again, reduces water stress.
- Apply rooting hormone: Dip the cut end of the stem into your rooting hormone, tapping off any excess.
- Pot it up: Fill your small pots with your well-draining potting mix. Make a hole in the center with your finger or a pencil.
- Insert the cutting: Place the hormone-coated end of the cutting into the hole and firm the soil gently around it.
- Water and cover: Water the soil thoroughly until you see water drain from the bottom. Then, cover the pot with a clear plastic bag or place it in a propagator, ensuring the leaves don’t touch the plastic. This creates a mini-greenhouse to keep humidity high.
The “Secret Sauce” (Pro Tips)
Here are a couple of things I’ve learned over the years that make a real difference:
- Bottom Heat is Your Friend: If you can, place your pots on a heating mat. This gentle warmth encourages root formation from below, mimicking ideal soil temperatures. It’s a game-changer for many difficult-to-root plants!
- Don’t Drown Your Dreams: While humidity is key, overwatering is the enemy. The soil should be consistently moist, but never soggy. If you see water pooling on the surface, you’ve gone too far. Let it dry out slightly between waterings.
Aftercare & Troubleshooting
Once your cuttings are potted, place them in a bright spot with indirect light. Avoid direct sun, which can scorch the delicate leaves. Keep the humidity high and the soil consistently moist. Be patient! Rooting can take anywhere from 4 to 8 weeks, sometimes longer. You’ll know they’ve rooted when you see new growth appearing or feel a slight resistance when you gently tug on the cutting.
The most common issue you might encounter is rot. If your cutting looks mushy or develops black spots, it’s likely due to too much moisture and not enough air circulation. If you see this happening, you might need to discard the affected cutting and start again, ensuring your soil drains better and you’re not overwatering. You can also try increasing ventilation by poking a few extra holes in your plastic bag.
A Little Patience Goes a Long Way
Propagating Millettia aboensis might test your patience at times, but the satisfaction of nurturing a new plant from a tiny cutting is truly unparalleled. Don’t be discouraged if your first attempt isn’t a roaring success. Every gardener has their share of experiments that don’t quite work out! Keep trying, observe your plants, and enjoy the process of learning. Before you know it, you’ll have your very own little grove of these magnificent plants. Happy propagating!
Resource:
https://identify.plantnet.org/k-world-flora/species/Millettia%20aboensis%20(Hook.)%20Baker/data