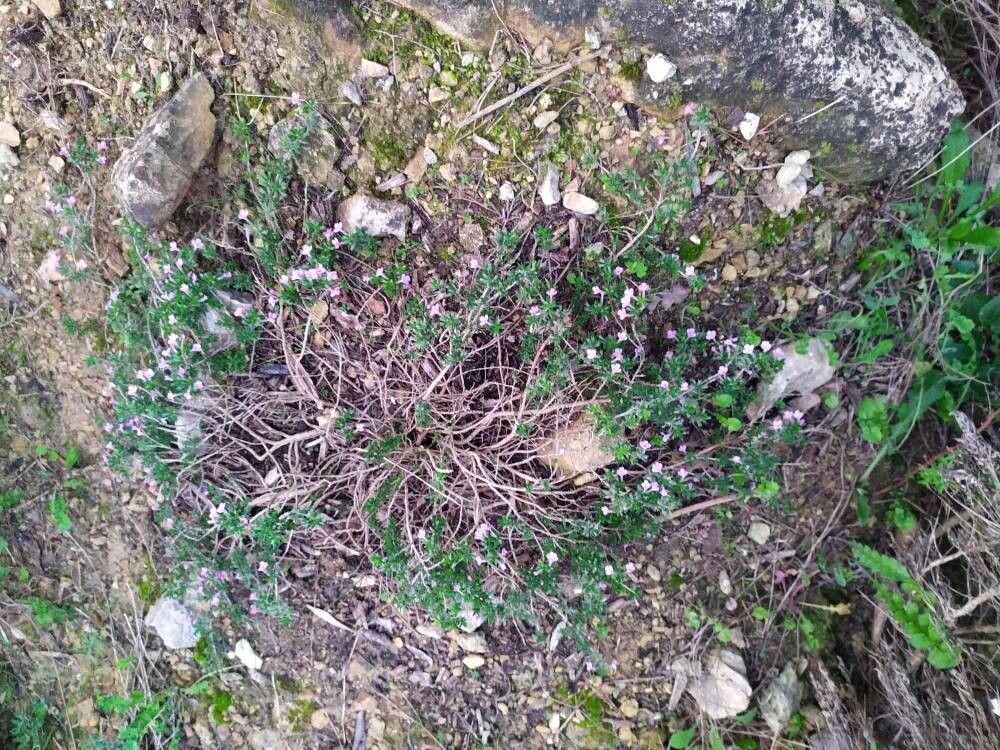
Hello fellow garden enthusiasts! Today, I want to introduce you to a little gem that’s become a personal favorite of mine: Micromeria inodora. If you’re looking for a wonderfully fragrant, low-maintenance herb that smells like thyme but is even more delightful, you’ve found your match! Its tiny, aromatic leaves carpet beautifully, making it perfect for rock gardens, trailing over pots, or even as a fragrant ground cover. And the best part? Propagating it is surprisingly straightforward, even for those just starting their green-thumb journey. Watching these little wonders take root is incredibly satisfying.
When Should You Get Started?
For the best success with Micromeria inodora, I always reach for my secateurs in late spring to early summer. This is when the plant is actively growing and full of energy, meaning those cuttings will have the best chance to establish themselves quickly. You want to select stems that are firm but not woody – think of it as the ‘just right’ stage, not too soft and not too hard.
What You’ll Need
Gathering your supplies makes the whole process smoother. Here’s what I keep on hand:
- Sharp Pruning Shears or Scissors: Clean tools are essential to prevent disease.
- Potting Mix: A well-draining mix is key. I often use a blend of equal parts potting soil and perlite or coarse sand. Sometimes, I’ll add a bit of compost for good measure.
- Small Pots or Seed Trays: Clean pots with drainage holes are a must.
- Rooting Hormone (Optional but Recommended): This can give your cuttings a significant boost.
- Watering Can with a Fine Rose: Gentle watering is crucial.
- Plastic Bag or Propagator: To create a humid environment.
Let’s Get Propagating!
I usually opt for stem cuttings for Micromeria inodora. It’s tried and true for me!
- Take Your Cuttings: Using your clean shears, snip off sections of healthy stems, about 3-4 inches long. Make your cuts just below a leaf node (where the leaves attach to the stem).
- Prepare the Cuttings: Gently remove the lower leaves from your cuttings. You want to expose at least two or three leaf nodes. This is where the roots will eventually form.
- Apply Rooting Hormone (if using): Dip the cut end of each stem into your rooting hormone powder. Tap off any excess.
- Pot Them Up: Fill your small pots with your prepared, moistened potting mix. Make a small hole in the center of each pot with your finger or a pencil.
- Insert the Cuttings: Place the prepared cuttings into the holes, ensuring at least one or two leaf nodes are buried in the soil. Gently firm the soil around the base of each cutting.
- Provide Humidity: Water gently to settle the soil. Then, cover the pots loosely with a clear plastic bag or place them in a propagator. You can use small stakes to keep the bag from touching the leaves.
My Little Secrets
Here are a few things I’ve learned that make a big difference:
- Bottom Heat is Your Friend: Even though Micromeria inodora is hardy, providing a bit of gentle bottom heat from a seedling mat can significantly speed up root development. Just a warm soil surface is enough – think of it as a cozy microclimate for your new babies.
- Don’t Drown Them: While humidity is important, avoid soggy soil. Constantly wet conditions are the fastest way to invite rot. I water sparingly, only when the top inch of soil feels dry to the touch, and I’m careful to ensure good air circulation around the cuttings.
Keeping Them Happy and Healthy
Once you see signs of new growth on your cuttings – usually tiny leaves or a bit of upward reach – that’s a good indicator that roots are forming!
- Gradual Acclimation: If you’ve covered your cuttings, gradually remove the plastic over a few days to help them adjust to the drier air.
- Watering: Continue to water them when the topsoil is dry. Don’t overwater!
- Light: Place them in a bright spot with indirect sunlight. Direct sun can scorch young cuttings.
If you notice your cuttings wilting and turning yellow, or if they feel mushy at the base (rot is the usual culprit), unfortunately, they might not have made it. Don’t be discouraged! Sometimes propagation is a bit of trial and error. Try again with fresh cuttings and perhaps adjust your watering or humidity levels.
Propagating Micromeria inodora is a joyful process. Be patient with your little cuttings, offer them a bit of TLC, and before you know it, you’ll have a whole collection of these fragrant wonders to enjoy. Happy gardening!
Resource:
https://identify.plantnet.org/k-world-flora/species/Micromeria%20inodora%20(Desf.)%20Benth./data