Hello there, fellow garden enthusiasts!
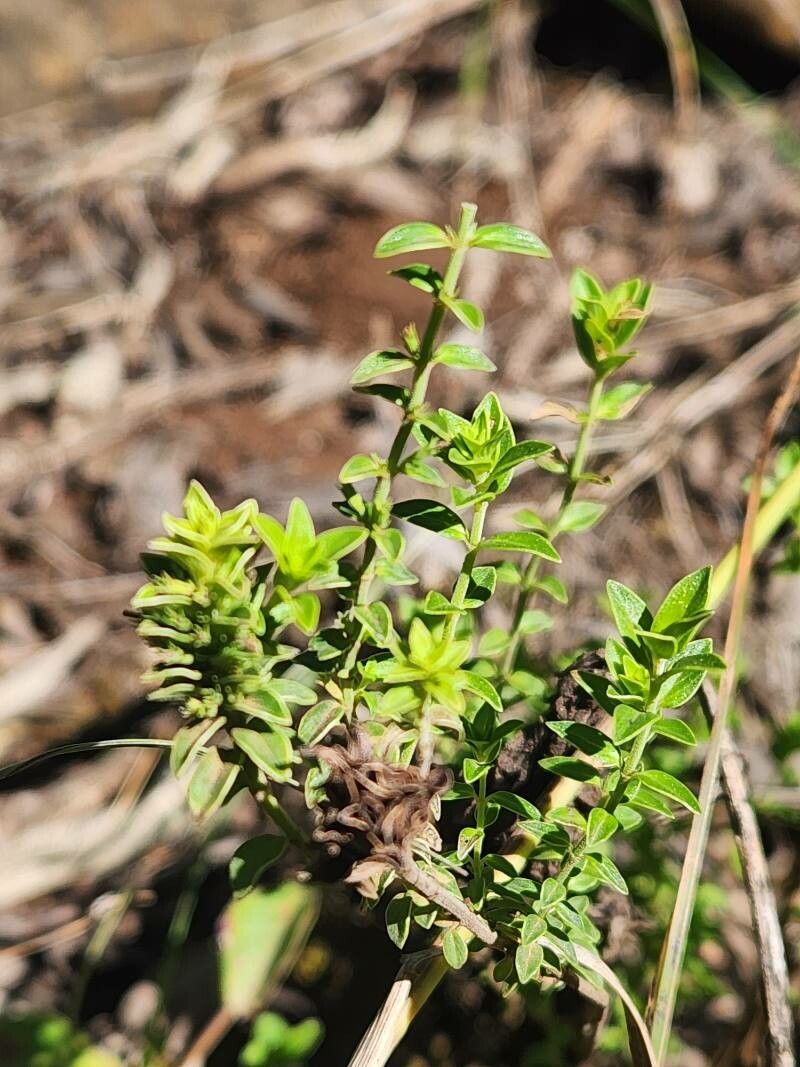
Tucked away in my greenhouse, amongst a sea of green, is a little gem that I absolutely adore: Micromeria imbricata. This delightful herb, with its tiny, fragrant leaves and delicate white flowers, brings a touch of Mediterranean charm right to your doorstep. It smells divine, looks beautiful cascading from pots or edges of borders, and honestly, it’s just a joy to have around. And the best part? You can easily share that joy by propagating it yourself! Don’t let its delicate appearance fool you; Micromeria imbricata is surprisingly forgiving, making it a wonderful plant for those just dipping their toes into the world of propagation.
The Best Time to Start
For the highest chance of success, I always recommend starting your Micromeria imbricata propagation in late spring or early summer. This is when the plant is in its active growth phase, meaning it has plenty of energy to put into developing new roots. You’ll find that the new growth from this period is perfect for taking cuttings – flexible but not overly woody.
Supplies You’ll Need
Gathering your supplies beforehand makes the whole process much smoother. Here’s what I usually have on hand:
- Sharp pruning shears or a clean, sharp knife: For taking clean cuts on your parent plant.
- Rooting hormone (optional but recommended): A little dip can really speed things up. I like the powder kind.
- Small pots or seed trays: Cleaned thoroughly, of course! About 3-4 inches in diameter is ideal.
- A well-draining potting mix: I usually go for a blend of seedling starter mix and perlite, about a 50/50 ratio. This ensures good aeration and prevents waterlogging, which is Micromeria imbricata‘s Achilles’ heel.
- A watering can with a fine rose or a spray bottle: For gentle watering.
- A plastic bag or propagator lid: To create a humid environment for your cuttings.
- Labels and a marker: To keep track of what you’ve planted!
Propagation Methods
Micromeria imbricata is a champion of stem cuttings. It’s straightforward and consistently produces great results.
Stem Cuttings: My Go-To Method
- Select Your Cuttings: Look for healthy, non-flowering stems on your mature plant. You want to take cuttings that are about 4-6 inches long.
- Make the Cut: Using your clean shears or knife, make a clean cut just below a leaf node. A leaf node is where a leaf joins the stem; this is where roots are most likely to form.
- Prepare the Cuttings: Gently strip off the lower leaves from about the bottom two-thirds of the stem. This prevents them from rotting when buried in the soil.
- Apply Rooting Hormone (Optional): If you’re using it, dip the cut end of the stem into the rooting hormone, tapping off any excess.
- Plant Your Cuttings: Fill your clean pots with your well-draining potting mix. Make a small hole in the center using a pencil or your finger. Carefully insert the cuttings into the holes, firming the soil gently around them. You can usually fit 3-4 cuttings per small pot.
- Water Gently: Water the soil thoroughly but gently. You want it moist, not soggy.
The “Secret Sauce” – Pro Tips
Now, here are a couple of little tricks I’ve learned over the years that can make a big difference:
- Don’t let those leaves touch the soil! Seriously, I can’t stress this enough. Any leaves buried in the potting mix are just invitations for rot to set in. Make sure they’re all above the soil line.
- Bottom heat is your friend. If you happen to have a seedling mat or can place your pots in a warm spot (like on top of a router or a gently warm appliance), it provides that extra boost of warmth from below. This encourages root development much faster than cool soil.
Aftercare & Troubleshooting
Once your cuttings are planted, it’s time to create the perfect environment for them to thrive.
- Create Humidity: Cover the pots with a clear plastic bag or a propagator lid. This traps moisture and creates a mini-greenhouse effect, which is crucial for cuttings that haven’t developed roots yet to absorb water. Make sure the plastic/lid isn’t touching the leaves.
- Provide Bright, Indirect Light: Place your pots in a location that receives bright, but not direct, sunlight. A windowsill that gets morning sun is often perfect.
- Monitor Moisture: Check the soil moisture every few days. It should remain consistently moist but never waterlogged. If it feels dry, give it a gentle watering. If you have the plastic cover on, poke a few holes to allow some air circulation.
- Rooting Time: Be patient! It can take anywhere from 3-6 weeks for Micromeria imbricata cuttings to develop a good root system. You’ll know they’re ready when you see new leaf growth and they resist gently when tugged.
Troubleshooting: The most common issue is rot. If you see stems turning black and mushy, it’s a sign of too much moisture and not enough airflow. Unfortunately, rotted cuttings usually can’t be saved, so it’s best to discard them and try again, focusing on that well-draining mix and not overwatering.
A Little Bit of Patience Goes a Long Way
Watching those tiny roots emerge and new leaves unfurl is one of the most rewarding parts of gardening. Don’t get discouraged if your first few attempts aren’t perfect. Every gardener has their wilting moments and their triumphant triumphs. Take these steps, be patient with your little cuttings, and enjoy the process of bringing more of this fragrant beauty into your life. Happy propagating!
Resource:
https://identify.plantnet.org/k-world-flora/species/Micromeria%20imbricata%20(Forssk.)%20C.Chr./data