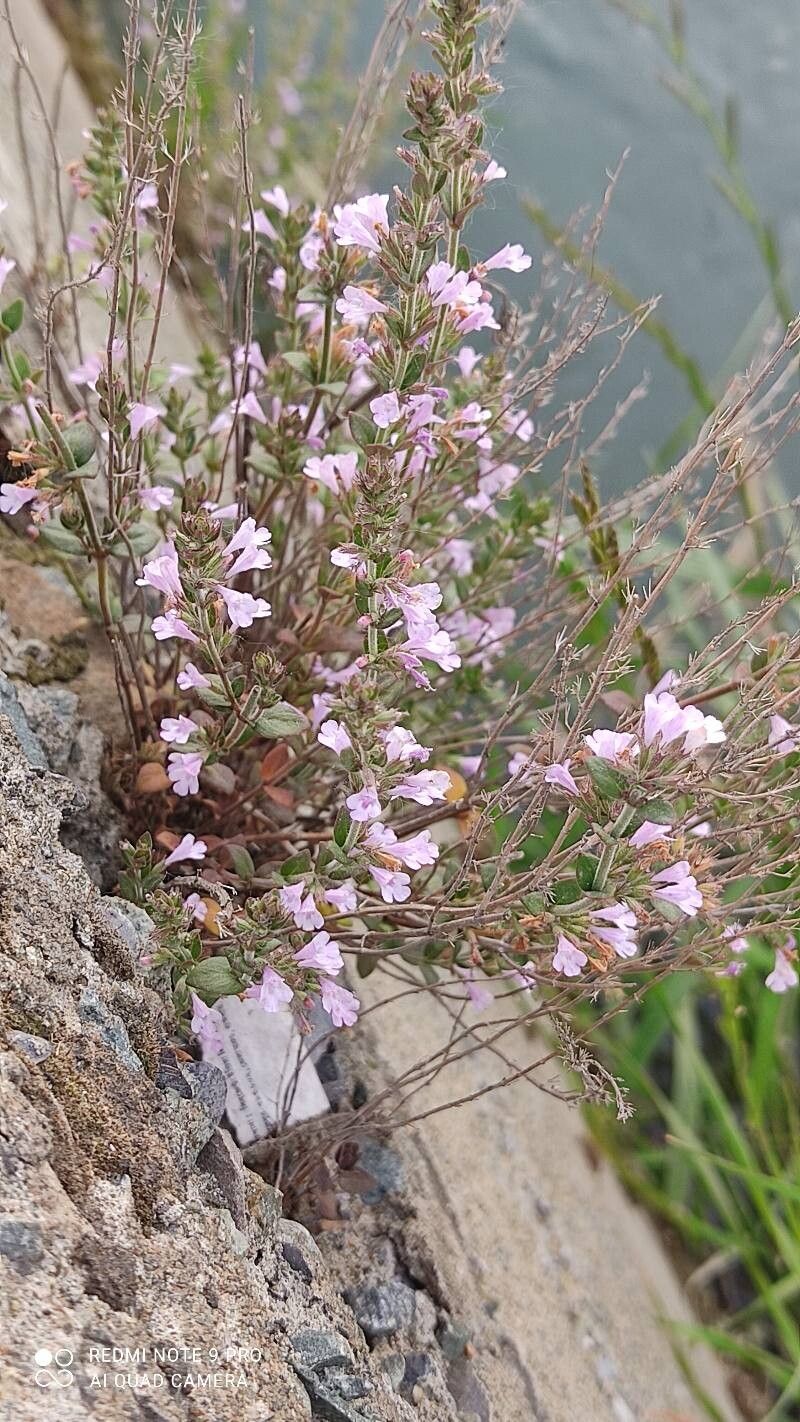
Oh, hello there! Pull up a chair, grab a cuppa, and let’s chat about one of my absolute garden delights: Micromeria graeca. If you haven’t met this little gem yet, you’re in for a treat. It’s a delightful little Mediterranean shrub, often called Greek Savory, with tiny, aromatic leaves and a cascade of delicate white or pink flowers. It smells absolutely divine, like a walk through a sun-drenched herb garden, and its tidy growth habit makes it perfect for borders, rock gardens, or even a pot on your patio.
Now, I know what you might be thinking: is this one of those fussy plants that only the most seasoned gardeners can handle? I’m happy to tell you, no! Propagating Micromeria graeca is genuinely a joy, and I’d say it’s a very rewarding project for beginners. You get to witness that magic of creating something new from a tiny piece of existing life, and it’s a fantastic way to expand your collection without breaking the bank.
The Best Time to Start
For the highest success rate with Micromeria graeca, I always recommend working with softwood or semi-hardwood cuttings during its active growing season. This means late spring and early summer are your golden windows. The plant is buzzing with energy, and the new growth is pliable and eager to root. You’ll find it much more cooperative than trying to coax life from dormant wood.
Supplies You’ll Need
Gathering your supplies beforehand makes the whole process go so much smoother. Here’s what I like to have on hand:
- Clean, sharp pruning shears or a sharp knife: For taking clean cuts, which is crucial for preventing disease.
- Rooting hormone (optional but recommended): A powder or gel can give your cuttings a helpful boost.
- Small pots or seed trays: With good drainage holes, of course!
- A well-draining potting mix: I usually go for a 50/50 blend of perlite and good quality seedling compost, or a dedicated succulent/cactus mix works wonderfully too.
- Spray bottle: For misting.
- Clear plastic bag or a propagator lid: To create a humid environment.
- A tray of water: For bottom watering, if you choose that method.
Propagation Methods
There are a couple of ways we can coax new plants from our beloved Micromeria graeca. Stem cuttings are my absolute favorite because they’re so straightforward.
Stem Cuttings: My Go-To Method
- Select your cutting: Look for healthy, non-flowering shoots from your Micromeria graeca plant. You want a piece that feels slightly firm but is still flexible – that’s your “semi-hardwood.” Aim for cuttings about 4-6 inches long.
- Take the cutting: Using your sharp shears, make a clean cut just below a leaf node (where the leaves attach to the stem). This is where the plant’s rooting hormones are most concentrated.
- Prepare the cutting: Gently remove the lower leaves from the bottom half of the cutting. This prevents them from rotting when you bury them in the soil. You can leave the top few leaves intact.
- Dip in rooting hormone (optional): If you’re using rooting hormone, dip the cut end into the powder or gel. Tap off any excess.
- Potting up: Fill your small pots or trays with your prepared potting mix. Make small holes in the center of the soil with a pencil or your finger.
- Insert the cutting: Gently place the cut end of the Micromeria graeca cutting into the hole, firming the soil around it to ensure good contact.
- Water gently: Water the soil thoroughly but gently, making sure not to dislodge the cutting.
- Create humidity: This is key! Place the potted cuttings into a clear plastic bag and seal it, or cover them with a propagator lid. You want to create a mini-greenhouse.
Water Propagation: A Visible Progress
While I prefer soil for Micromeria graeca, you can try water propagation, especially for those curious souls.
- Follow steps 1-3 above for selecting and preparing your cuttings.
- Place in water: Stick the cut ends of your cuttings into a clean jar or glass filled with fresh water.
- Important: Ensure that no leaves are submerged in the water. Submerged leaves will rot and can contaminate the water, hindering root development.
- Location: Place the jar in a bright spot, out of direct sunlight. Change the water every few days to keep it fresh.
- Transplant: Once you see healthy roots forming (usually after a few weeks), you can carefully transplant them into your well-draining potting mix, following the steps for potting up above.
The “Secret Sauce”: Pro Tips
Here are a few little tricks I’ve picked up over the years that really make a difference:
- Bottom heat is your best friend: If you have a greenhouse or a warm windowsill, placing your pots on a gentle heat mat can dramatically speed up root formation. It mimics the warmth of the soil in its natural habitat.
- Don’t overwater after the initial watering: Once your cuttings are potted and you’ve created that humid environment, resist the urge to drench them constantly in the soil. The humidity takes care of a lot of moisture needs. You want the soil to be consistently moist, not soaking wet. A light misting from your spray bottle is usually enough to keep the leaves happy.
- Patience with the base: When you gently tug on a cutting and feel a slight resistance, that’s your sign of roots! Don’t rush to pull them out of the soil too early to check. Trust the process.
Aftercare & Troubleshooting
Once your cuttings have started to show signs of life – new growth appearing at the tips – it’s time to transition them.
- Gradual acclimatization: Slowly start to open the plastic bag or propagator lid a little more each day to let the cuttings get used to drier air. This might take about a week.
- Bright, indirect light: Continue to keep them in a bright spot but away from harsh, direct sun, which can scorch those delicate new leaves.
- Watering: Once they are fully acclimatized, you can begin watering them as you would a mature Micromeria graeca plant – water thoroughly when the top inch of soil feels dry.
Now, what if things go wrong? The most common culprit is rot. You’ll usually see this as the stem turning black and mushy, or the leaves wilting and yellowing. This is almost always a sign of too much moisture and not enough air circulation. If you spot it, unfortunately, that cutting is likely lost. The best thing you can do is dispose of it properly to prevent any potential spread and learn from it. Make sure your soil is always well-draining for your next attempt!
A Encouraging Closing
So there you have it! Propagating Micromeria graeca is a wonderfully accessible and enjoyable way to fill your garden or home with this fragrant beauty. Don’t be discouraged if you lose a few along the way – that’s all part of the learning curve. Just keep trying, observe your plants, and most importantly, enjoy the process of nurturing new life. Happy gardening!
Resource: