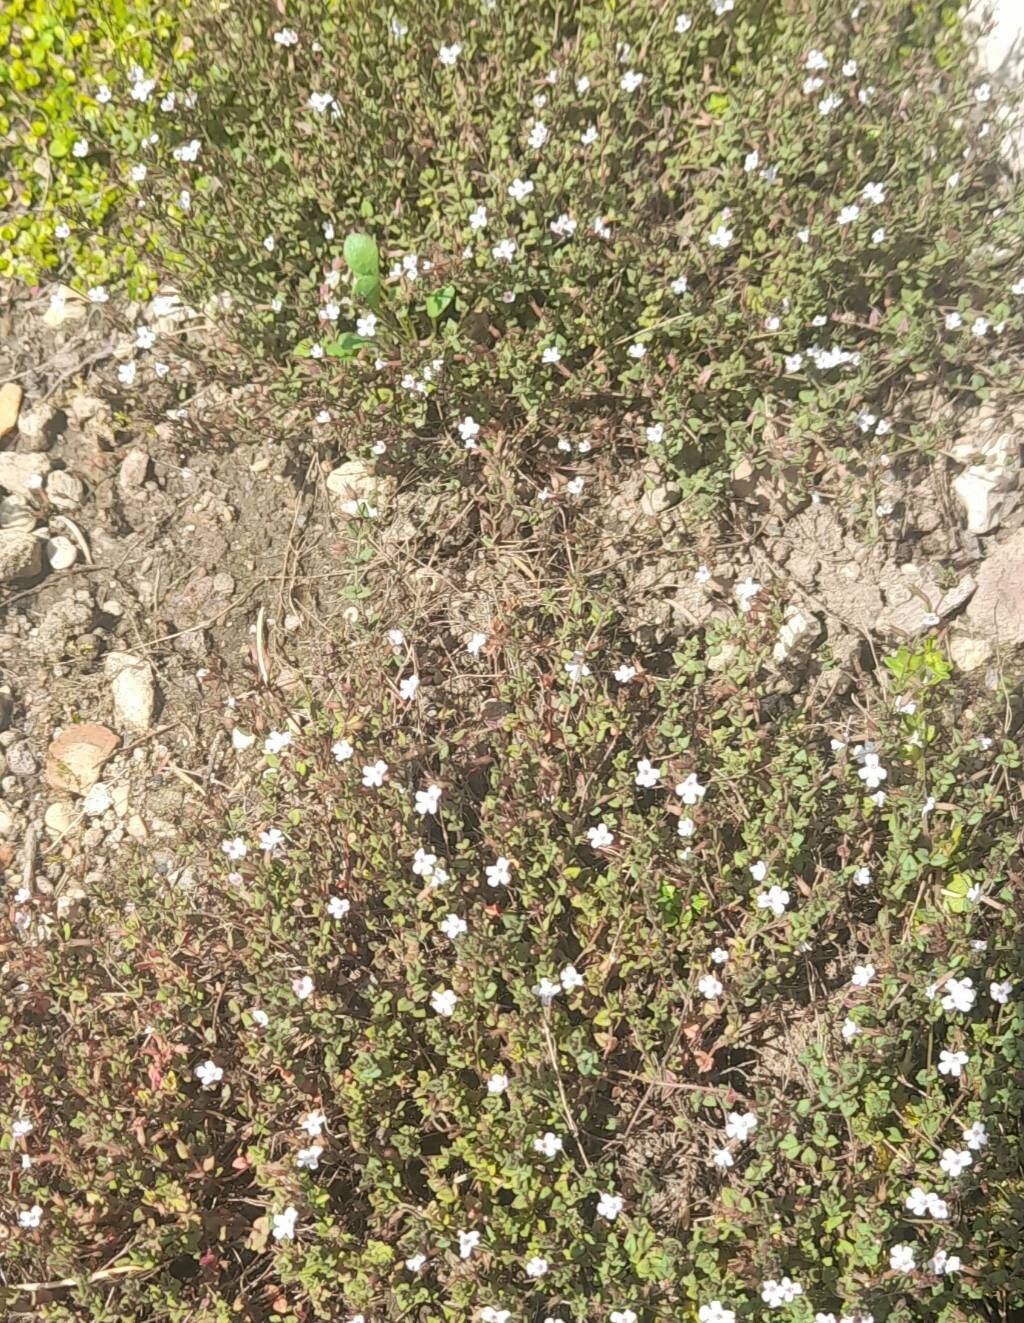
Oh, Micromeria filiformis! If you haven’t encountered this little beauty yet, let me tell you, you’re in for a treat. Imagine a cascade of tiny, fragrant leaves, often with cheerful little white or pink flowers peeking through. It’s just… delightful. And the best part? It smells absolutely divine, like a hint of wild mint and thyme all rolled into one. Growing and propagating it feels like bringing a bit of Mediterranean sunshine right into your home or garden.
For those of you just dipping your toes into the wonderful world of gardening, I think you’ll find Micromeria filiformis to be a pretty forgiving plant to start with. It’s not one of those fussy divas that demand constant attention, which is always a win in my book! Propagating it is a fantastic way to expand your collection or share its charm with friends.
The Best Time to Start
Generally, the best time to get busy with cuttings is in the late spring or early summer. This is when the plant is actively growing, full of vigor, and has plenty of healthy, semi-hardwood stems to work with. You’re essentially tapping into its energy right when it’s ready to make more of itself!
Supplies You’ll Need
- Sharp pruning shears or a clean knife: We want clean cuts to avoid damaging the stems and introducing disease.
- Well-draining potting mix: A good blend of potting soil with perlite or coarse sand works wonders. You can even buy specific seedling or cutting mixes.
- Small pots or trays with drainage holes: For your new little wonders to grow in.
- Rooting hormone (optional but recommended): This little helper, a powder or gel, makes a big difference in encouraging strong root development.
- Clear plastic bag or propagator: To create a humid environment for your cuttings.
- Watering can with a fine rose or spray bottle: For gentle watering.
Propagation Methods
We’ll focus on the most straightforward and successful method for Micromeria filiformis: stem cuttings.
-
Take Your Cuttings: Head out to your healthy plant and select some non-flowering shoots from the current season’s growth. Look for stems that are somewhat firm but still pliable – you don’t want old, woody bits, nor do you want super soft, brand-new growth. Using your sharp shears or knife, snip off pieces that are about 4-6 inches long. Make the cut just below a leaf node (where a leaf attaches to the stem).
-
Prepare the Cuttings: Gently remove the leaves from the lower half of each cutting. This is important! If you leave too many leaves on the lower part, they’ll likely rot when buried in the soil. You can leave a couple of leaves at the very top to help with photosynthesis.
-
Apply Rooting Hormone (Optional): If you’re using rooting hormone, dip the cut end of each stem into the powder or gel. Tap off any excess. This step isn’t strictly necessary for Micromeria filiformis, as it’s quite keen to root, but it can speed things up and give you stronger roots.
-
Plant Your Cuttings: Moisten your well-draining potting mix. Fill your small pots or trays. Make a small hole in the center of each pot with a pencil or your finger. Insert the prepared cuttings into the holes, gently firming the soil around them to ensure good contact. Make sure the end with the removed leaves is buried.
-
Create a Humid Environment: Water the soil very gently. Then, cover the pots with a clear plastic bag or place them in a propagator. This traps moisture and humidity, which is crucial for cuttings while they develop roots. You can prop the bag up with a few small sticks so it doesn’t touch the leaves.
-
Find a Good Spot: Place your pots in a bright location with indirect sunlight. Avoid direct sun, as it can scorch those precious cuttings. A warm spot is ideal!
The “Secret Sauce” (Pro Tips)
Here are a couple of things I’ve learned over the years that just seem to make propagation a little easier:
- Don’t let the leaves touch the water: When I do water propagation (though I prefer soil for this plant), or even in soil cuttings, I always ensure that any leaves left on the stem don’t dip below the soil line or into the water. Any submerged foliage is an invitation for rot.
- Bottom heat is your friend: If you have a propagation mat or can place your pots on a gentle heat source (like near a warm appliance, but not touching!), this can significantly speed up root formation. It mimics the warmth of the soil in summer.
- Mist, don’t drown: While humidity is king, you don’t want to waterlog the soil. If your cuttings are in a bagged environment, you might only need to water very sparingly. Check the soil moisture; it should be consistently moist but not soggy. If using a spray bottle, a gentle mist is often all that’s needed.
Aftercare & Troubleshooting
Once your cuttings look like they’re putting out new growth – usually tiny leaves or buds – that’s a good sign they’re rooting! You can gently tug on a cutting. If you feel resistance, roots are forming.
-
Acclimatize: Once you see the new growth, start to gradually acclimatize your cuttings to normal room humidity. Poke a few holes in the plastic bag or lift the lid of the propagator for a few hours each day, slowly increasing the time until the bag/lid is removed entirely over a week or so.
-
Watering: Continue to keep the soil consistently moist but not waterlogged. As the plant gets bigger and is growing in its own pot, you can let the top inch of soil dry out between waterings.
-
Moving Up: When your cuttings have a decent root system and look robust (you might see roots appearing through the drainage holes), it’s time to pot them up into slightly larger individual pots.
Troubleshooting: The most common issue you’ll encounter is rot. If your stems turn black and mushy, or start to fall apart, it’s usually a sign of too much moisture and not enough air circulation. Make sure you’re using well-draining soil and not overwatering. Discard any rotten cuttings and try again, ensuring better drainage and air flow. Another sign of trouble is if cuttings simply shrivel and die. This can happen if they dry out too much, or if they’re receiving too much direct sun.
A Warm Embrace
Propagating plants is such a rewarding journey, and Micromeria filiformis is a lovely companion along the way. Be patient with your new little babies; they take their own time to establish. Don’t get discouraged if a few don’t make it – it happens to all of us! Just enjoy the process, learn from each attempt, and soon you’ll have a cheerful, fragrant collection to love. Happy propagating!
Resource:
https://identify.plantnet.org/k-world-flora/species/Micromeria%20filiformis%20(Aiton)%20Benth./data