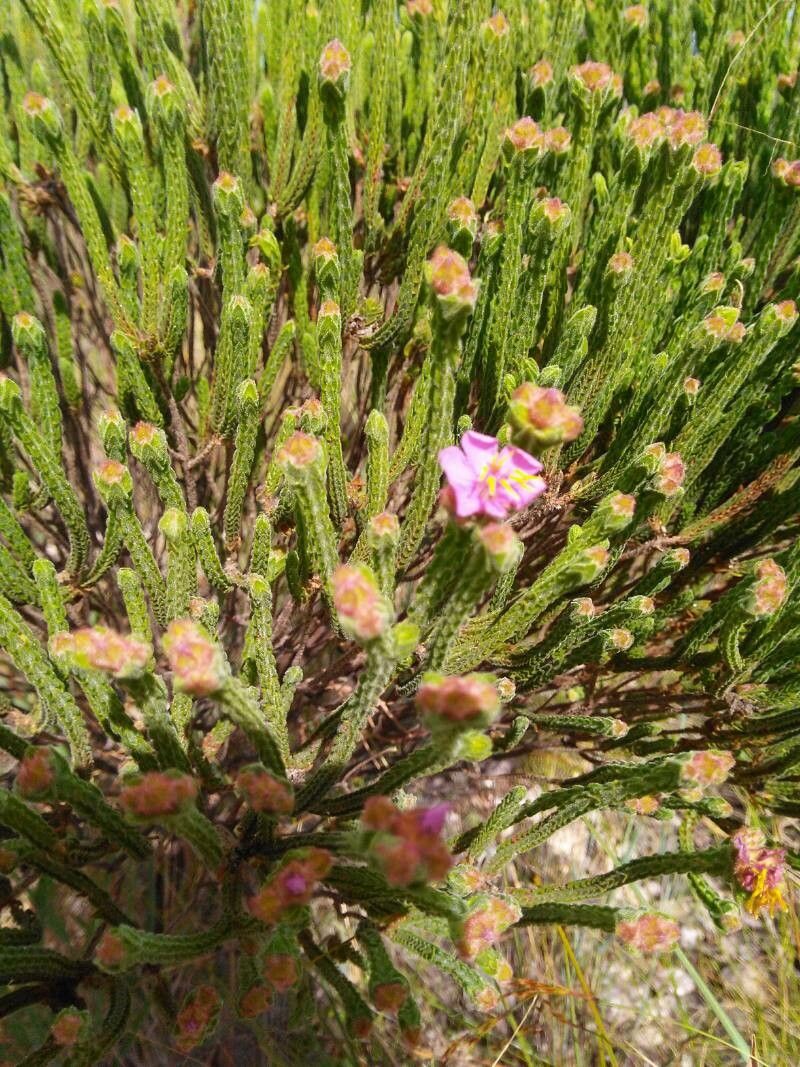
Hello fellow plant enthusiasts! I’m so delighted to share with you a little bit about a gem that’s captured my heart over the years: Microlicia cryptandra. If you’re looking for a plant that offers delicate, charming blooms and a whisper of the wild, this is it. Propagating it is a truly rewarding experience, like nurturing a tiny promise of future beauty. Honestly, while not as straightforward as some common houseplants, I wouldn’t shy away from it even if you’re just starting your plant journey. A little patience goes a long way!
The Best Time to Start
For the absolutely best chance of success with Microlicia cryptandra, I always aim to take cuttings in late spring or early summer. This is when the plant is in its most vigorous growth phase. The stems are firm but still pliable, meaning they have plenty of stored energy to root, and the days are long and bright, providing that essential sunlight.
Supplies You’ll Need
Gathering your tools beforehand makes the whole process smoother. Here’s what I typically have on hand:
- Sharp, clean pruning shears or a sharp knife. Sterilize them with rubbing alcohol, please!
- A well-draining potting mix. I often use a blend of peat moss, perlite, and a bit of coarse sand. About a 1:1:1 ratio works wonders.
- Small pots or trays with drainage holes.
- Rooting hormone (optional, but can give an extra boost). I prefer a powdered form.
- A plastic bag or a clear plastic dome. This helps create a humid environment.
- Watering can or spray bottle. Gentle watering is key.
Propagation Methods
Let’s get our hands dirty! For Microlicia cryptandra, stem cuttings are my go-to method.
- Select your parent plant: Find a healthy, mature Microlicia cryptandra with plenty of new growth.
- Take the cuttings: Using your sharp shears, make a clean cut just below a leaf node (where a leaf joins the stem). You’re looking for cuttings that are 4-6 inches long. Remove any lower leaves, leaving just a few at the top.
- Prepare the cuttings: If you’re using rooting hormone, dip the cut end into the powder. Give any excess a gentle tap.
- Plant the cuttings: Fill your small pots with your prepared potting mix. Make a small hole in the center with your finger or a pencil and gently insert the cutting, ensuring the nodes where you removed leaves are buried. Firm the soil gently around the stem to ensure good contact.
- Water gently: Water the soil thoroughly but be careful not to disturb the cuttings.
The “Secret Sauce” (Pro Tips)
Here are a few little tricks I’ve learned over the years that often make all the difference:
- Don’t let the leaves touch the soil: This is crucial, especially in a humid environment. If lower leaves are in contact with the damp soil, they’re far more likely to rot before the stem can even think about forming roots. Nip them off!
- Bottom heat is your friend: If you have a propagation mat, popping your pots on it can significantly speed up root development. It mimics the warmth of spring soil and encourages those roots to stretch out. Even placing them on top of a gently warm appliance (like a router, if it’s not too hot!) can help in a pinch.
Aftercare & Troubleshooting
Once your cuttings are planted, the next step is to create that cozy environment. Mist the cuttings lightly every day or two, or water gently if the soil surface feels dry to the touch. The key is to keep the soil consistently moist but not waterlogged. Cover the pots with a plastic bag or dome to maintain high humidity. Place them in a bright spot, but out of direct sunlight, as this can scorch the delicate new growth.
You’ll know your cuttings are rooting when you see new leaf growth or feel a slight resistance when you gently tug on the stem. This usually takes a few weeks, sometimes longer.
The biggest challenge you might face is rot. If a cutting turns mushy or black, it’s likely succumbed to rot. This usually happens if the environment is too wet and not well-ventilated, or if the soil mix isn’t draining well enough. Don’t despair! Just remove the rotted cutting and try again, perhaps with a slightly drier soil mix or better air circulation.
Embrace the Journey
Propagating plants is a beautiful dance with nature, and sometimes, things don’t go exactly as planned. That’s perfectly okay. Each small cutting you nurture is a chance to learn, to connect, and to fill your home (and maybe your friends’ homes!) with the joy of Microlicia cryptandra. Be patient, observe your little charges, and celebrate every tiny sign of success. Happy propagating!
Resource:
https://identify.plantnet.org/k-world-flora/species/Microlicia%20cryptandra%20Naudin/data