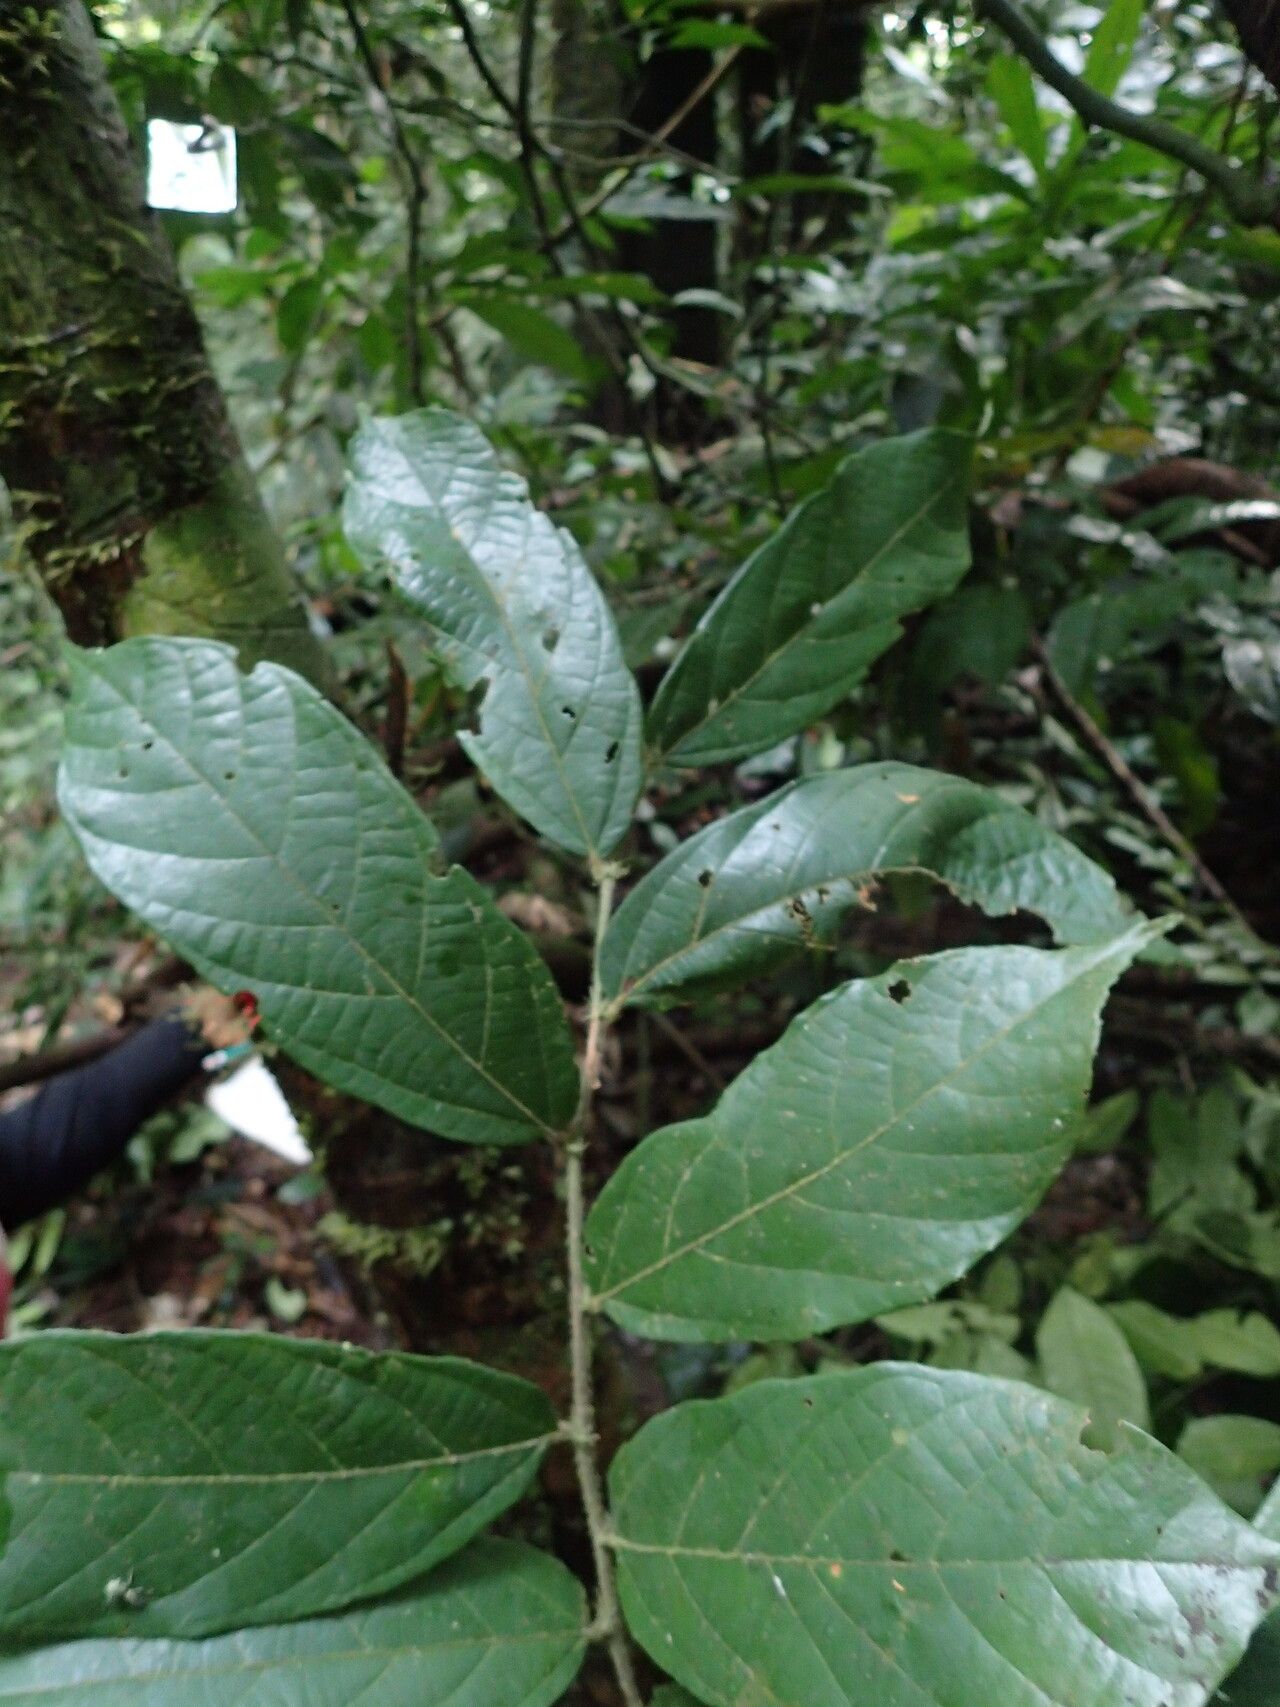
Hello fellow plant enthusiasts! Today, we’re diving into the wonderfully accessible world of propagating Microcos oligoneura. If you’ve ever admired its delicate, almost ethereal foliage and wondered how to bring more of that beauty into your home, you’re in for a treat. Growing these from scratch feels truly special, like unlocking a little bit of plant magic. And the good news? For those of you just dipping your toes into propagation, Microcos oligoneura is a rather forgiving subject, making it a fantastic starting point.
The Best Time to Start
When it comes to our leafy friends, timing is everything. For Microcos oligoneura, you’ll have the most success during its active growing season. Think spring and early summer. This is when the plant is bursting with energy and has the best chance of putting out strong, healthy roots. Trying to propagate when the plant is stressed or resting, like in the heat of mid-summer or the chill of winter, can lead to disappointment.
Supplies You’ll Need
Gathering your tools before you begin makes the whole process much smoother. Here’s what you should have on hand:
- Sharp pruning shears or a clean knife: Essential for taking clean cuts.
- Rooting hormone (optional but recommended): Helps encourage faster and stronger root development. Look for one specifically formulated for stem cuttings.
- Coarse perlite or vermiculite: These help with aeration and drainage in your potting mix.
- Sphagnum moss or coco coir: These retain moisture without becoming waterlogged.
- A well-draining potting mix: I like a blend of about 50% potting soil, 30% perlite, and 20% coco coir for propagation.
- Small pots or propagation trays: Clean containers are key to preventing disease.
- A clear plastic bag or humidity dome: To create a mini greenhouse environment.
- Water: Fresh, room-temperature water.
Propagation Methods
Microcos oligoneura is wonderfully versatile, and you can easily propagate it using a couple of straightforward methods.
Stem Cuttings: My Favorite Approach
This is my go-to method for Microcos oligoneura. It’s efficient and usually yields great results.
- Select a healthy stem: Look for a piece of new growth that’s about 4-6 inches long. It should be firm but not woody.
- Make a clean cut: Just below a leaf node (where a leaf attaches to the stem), make a clean cut with your sharp shears or knife. This is where roots are most likely to form.
- Prepare the cutting: Gently remove the lower leaves, leaving just one or two sets at the very top. This prevents them from rotting in the soil and directs the plant’s energy towards root formation.
- Dip in rooting hormone: If you’re using it, dip the cut end into your rooting hormone, tapping off any excess. This step isn’t always necessary for Microcos oligoneura, but it certainly can speed things up.
- Plant the cutting: Fill your chosen pot with your prepared potting mix. Make a small hole with your finger or a pencil and gently insert the cutting. Firm the soil around it to ensure good contact.
- Water thoroughly: Water the soil well until you see water draining from the bottom of the pot.
- Create a humid environment: Cover the pot with a clear plastic bag, securing it with a rubber band. You can also use a humidity dome. This traps moisture, which is crucial for cuttings to root. Make sure the leaves aren’t touching the plastic, if possible.
Water Propagation (for those who like to watch!)
This method is a bit more visual and satisfying for many.
- Take cuttings as described above. Ensure you have at least a couple of leaf nodes submerged in water.
- Place cuttings in a clear glass or jar filled with water. Crucially, ensure that no leaves are submerged. They will rot if they sit in the water.
- Change the water every few days. This keeps it fresh and prevents bacterial growth.
- Place the container in bright, indirect light.
- Be patient. You should start to see tiny white roots emerging from the nodes within a few weeks. Once the roots are about an inch long, it’s time to transfer them to soil.
The “Secret Sauce” (Pro Tips)
After years of coaxing plants to grow, you pick up a few tricks.
- Bottom heat is your friend: If you’re struggling with slower rooting, try placing your pots on a seedling heat mat. A gentle warmth from below really encourages those roots to get moving. Just ensure the mat is specifically designed for plant propagation and doesn’t get too hot.
- Don’t overwater after planting: While cuttings need moisture, they can drown easily in waterlogged soil. The key is consistently moist, not soggy. You want the soil to feel like a wrung-out sponge.
- Patience with roots: Don’t be tempted to constantly tug at your cuttings to check for roots. You’ll disturb them! Wait until you see new leaf growth, which is a pretty good indicator that roots are forming below.
Aftercare & Troubleshooting
Once you see those beautiful new roots pushing out from the bottom of the pot or peeking through the drainage holes, it’s time to move to the next stage.
- Acclimatize slowly: Gradually remove the plastic bag or humidity dome over a week or so. This allows the new plant to adjust to your home’s humidity.
- Water when the top inch of soil feels dry.
- Provide bright, indirect light. Avoid direct sun, which can scorch young leaves.
- Signs of trouble: The most common issue is rot. If your cuttings turn mushy or black, it’s usually a sign of too much moisture and poor air circulation. If you see this, remove the affected cutting immediately. Yellowing leaves can indicate shock or too little light.
Happy Growing!
Propagating plants like Microcos oligoneura is a wonderfully rewarding journey. It’s a chance to connect with nature on a deeper level and multiply the green beauty in your life. Be patient with yourself and your new plant babies. Some will root faster than others, and that’s perfectly okay. Just enjoy the process, and before you know it, you’ll have a whole jungle of your own!
Resource:
https://identify.plantnet.org/k-world-flora/species/Microcos%20oligoneura%20(Sprague)%20Burret/data