Oh, hello there! Come on in, grab a mug. I want to chat with you today about a truly special orchid: Microcoelia exilis.
Hooked on the Hook-Leaved Orchid
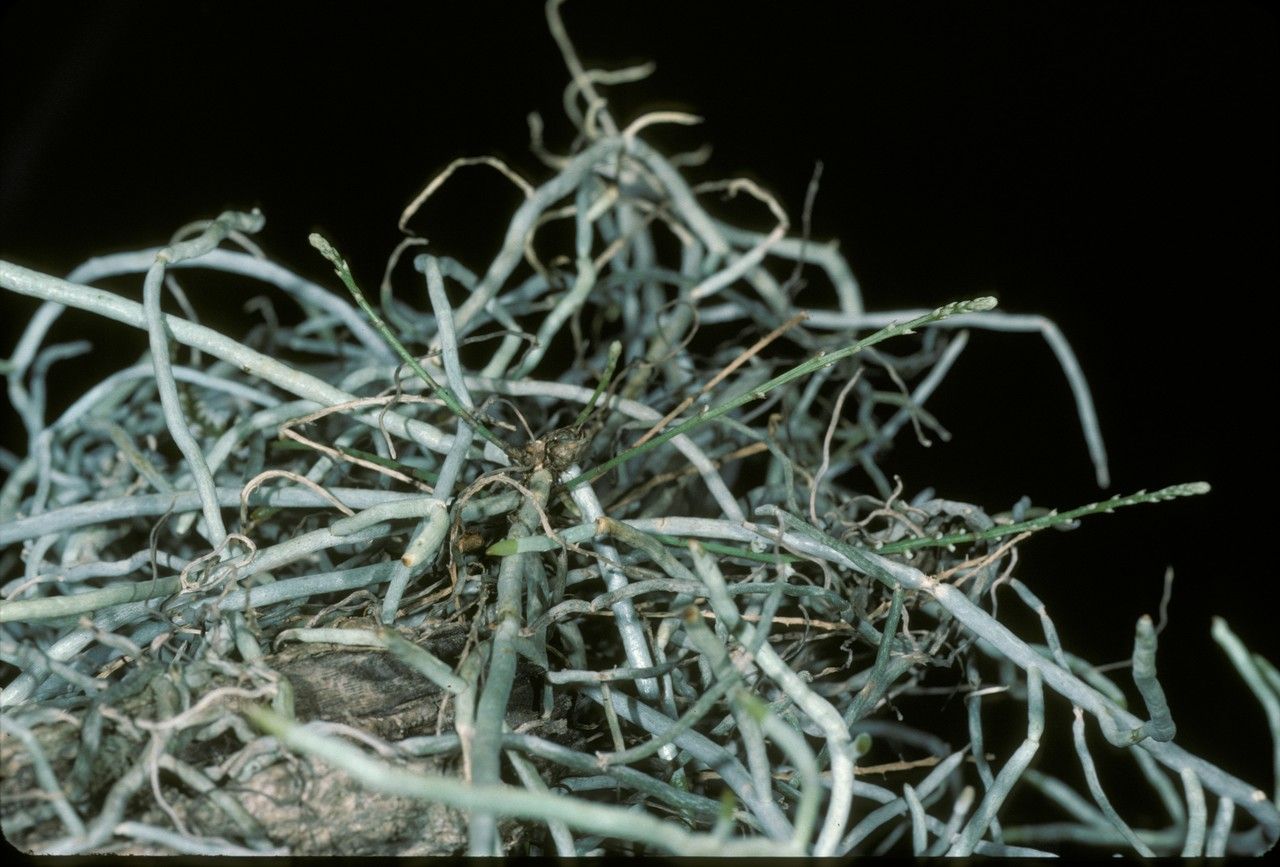
You know, when I first encountered Microcoelia exilis, I was captivated. Its ethereal, delicate blooms, often fragrant and an astounding white, are like tiny stars against its almost leafless stem. It’s not your typical showy orchid, and that’s its charm. It’s a plant that speaks of patience and quiet beauty. Now, for folks asking about propagating it, I’ll be honest: it’s not the easiest plant to get started with for absolute beginners, but with a little focused attention and following these steps, you’ll find it delightfully rewarding. It’s a journey, and one I’m thrilled to share with you.
When Nature Whispers “Now”
Timing is everything in the garden, isn’t it? For Microcoelia exilis, the spring and early summer are your golden ticket for propagation. This is when the plant is actively growing, its sap is flowing freely, and it’s got the energy to dedicate to making new roots. You’ll want to choose a stem or section that looks robust and healthy, ideally with a developing root tip or two already visible. Avoid propagating during the plant’s resting period, which is usually in the cooler, drier months.
Your Propagation Toolkit
Gathering your supplies beforehand makes the whole process so much smoother. Here’s what you’ll want to have ready:
- Sterile pruning shears or a sharp, clean knife: Think of them as your precision tools. We don’t want any nasty surprises introducing themselves to our cuttings.
- A well-draining orchid mix: This is crucial. I like a blend of medium-grade bark, perlite, and a bit of charcoal. It needs to allow for good aeration but also retain just enough moisture.
- Small pots or trays: Whatever you choose, make sure they have drainage holes.
- Cinnamon powder or a fungicide powder: A little sprinkle can help prevent fungal issues, especially at the cut surface.
- Optional: Rooting hormone: While Microcoelia exilis can sometimes be a bit stubborn about rooting, a rooting hormone can certainly give it a nudge in the right direction. Look for one formulated for orchids or general cuttings.
- A spray bottle filled with clean water: For misting.
The Art of Makin’ More
For Microcoelia exilis, the most reliable method is division. Since it tends to grow in clumps and produce new basal growths (little baby plants emerging from the base), this is your sweet spot.
- Gently remove the parent plant from its pot. Be as gentle as you can with those delicate roots. You might need to carefully break away some of the old potting media.
- Inspect the plant closely. Look for sections that have their own established root system and at least one or two healthy growths.
- Using your sterile shears or knife, carefully separate the division. Try to keep as much of the root system intact as possible. If a division has absolutely no roots, it’s a bit more of a gamble, but still possible.
- Treat the cut surface. Dust the cut end of both the parent plant and the division with cinnamon powder or a fungicide. This acts like a little bandage for the plant.
- Pot up your new divisions. Place them in their own pots with fresh, well-draining orchid mix. Make sure the base of the plant is at the surface of the mix, not buried deeply.
- Water lightly. After potting, give them a gentle watering.
A Gardener’s Little Secrets
Now, here are a few things I’ve learned over the years that really make a difference:
- Don’t overwater the cuttings! This is probably the biggest mistake new propagators make. Microcoelia exilis roots prefer to be slightly on the drier side, especially while they’re trying to establish. Stick your finger about an inch into the mix; if it feels dry, then it’s time for a light watering or misting.
- Bottom heat can be a game-changer. If you can, place your pots on a seedling heat mat set to a low temperature (around 70-75°F or 21-24°C). This gentle warmth encourages root development from below.
- Consider a humidity dome, but with ventilation. A clear plastic bag or a mini-greenhouse can help create a humid environment, which is lovely for new cuttings. However, make sure to open it for a short period each day to allow for air circulation and prevent mold.
Nurturing Your New Sprouts
Once you see new roots emerging from your division – and this can take anywhere from a few weeks to a couple of months – you’re on the right track! Continue to treat it with the same gentle care.
Keep an eye out for signs of trouble. The most common culprit is rot. If you see a mushy, black base or leaves that suddenly turn yellow and drop off, it’s usually a sign of too much moisture. If this happens, gently remove the rotting section, dust the remaining healthy part with cinnamon, and let it dry out a bit more before repotting in fresh, dry mix. It’s a tough lesson, but learning to recognize and react to rot is key to success.
Happy Trails!
Propagation is such a wonderful way to connect with your plants and share their beauty. Don’t get discouraged if your first attempt isn’t perfect. Every plant is an individual, and sometimes they just need a little extra time to get going. Be patient, enjoy the process, and celebrate every new little root you discover. You’ve got this!
Resource:
https://identify.plantnet.org/k-world-flora/species/Microcoelia%20exilis%20Lindl./data