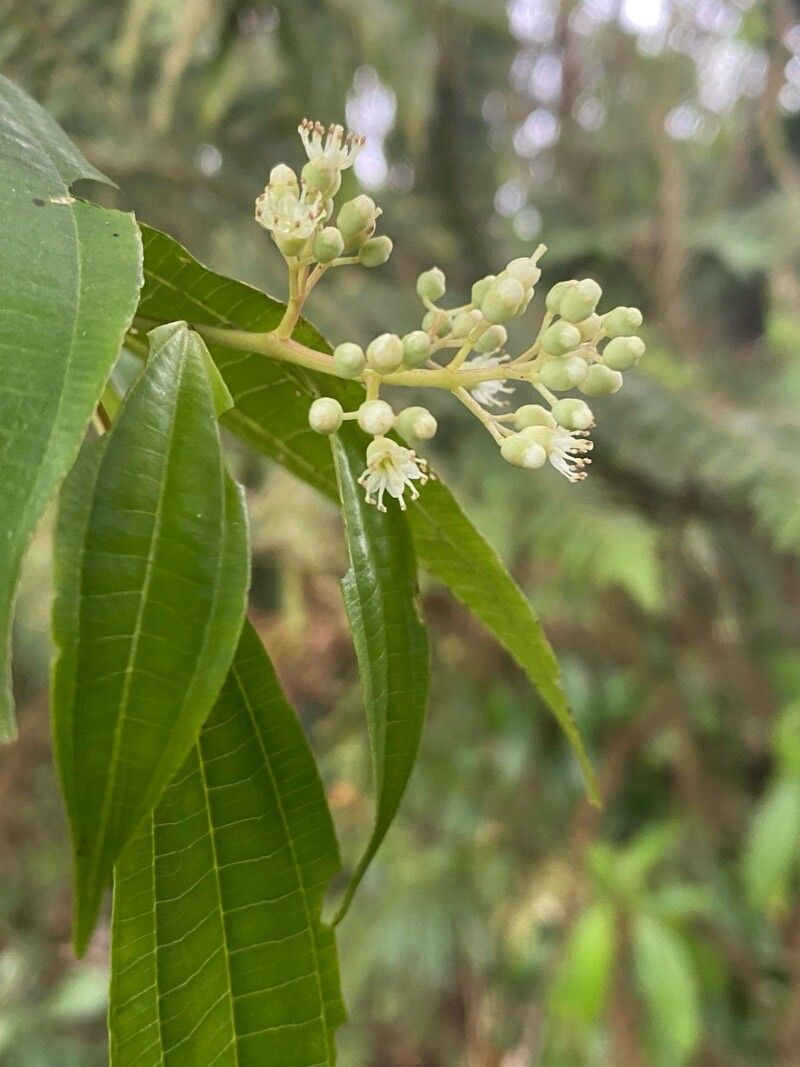
Hello there, fellow plant enthusiasts! If you’ve ever admired the lush, glossy foliage and vibrant flower clusters of Miconia chiriquiensis, you’re not alone. This tropical beauty brings a touch of the exotic to any garden or indoor space. And the joy of seeing a tiny cutting transform into a thriving new plant? It’s truly one of the most rewarding parts of gardening, in my book.
Now, about propagating Miconia chiriquiensis. Is it a walk in the park? For a beginner, it might be a little trickier than, say, a pothos. It requires a bit of patience and observation. But don’t let that deter you! With a few key steps, you can absolutely achieve success and double, triple, or even quadruple your pleasure with this gorgeous plant.
The Best Time to Start
My experience tells me the sweetest spot for propagating Miconia chiriquiensis is during its active growing season. For most of us, this means late spring through early to mid-summer. Look for healthy, non-flowering stems that are firm but not woody. These are typically the youngest, most vigorous shoots, and they are the ones most likely to root vigorously. Avoid taking cuttings from stressed or newly repotted plants.
Supplies You’ll Need
Gathering your tools beforehand makes the whole process so much smoother. Here’s what I always have on hand:
- Sharp, clean pruning shears or a sharp knife: Cleanliness is paramount to prevent disease.
- Rooting hormone (optional but recommended): While Miconia can root without it, a good rooting hormone powder or gel really gives it a boost.
- Well-draining potting mix: I love a blend of equal parts peat moss (or coco coir), perlite, and a bit of compost. A standard seed-starting mix also works well.
- Small pots or propagation trays: Terracotta or plastic pots about 4-6 inches in diameter are perfect. Make sure they have drainage holes!
- Plastic bag or propagation dome: This creates a humid environment, which is crucial for cuttings.
- Watering can with a fine rose or spray bottle: Gentle watering is key.
- Labels and a marker: You’ll thank yourself later for labeling your cuttings!
Propagation Methods
While you might be tempted to try water propagation, I find stem cuttings to be the most reliable method for Miconia chiriquiensis. It gives them a solid start in soil from the get-go.
- Select Your Cuttings: Find a healthy, current-season stem. Using your clean pruning shears, cut a piece about 4-6 inches long. Make the cut just below a leaf node (where a leaf attaches to the stem).
- Prepare the Cuttings: Gently remove the lower leaves. You want to expose at least two leaf nodes to encourage root growth. If any leaves are very large, you can cut them in half horizontally to reduce water loss.
- Apply Rooting Hormone (Optional): Dip the cut end of the stem into your rooting hormone powder or gel, tapping off any excess.
- Plant Your Cuttings: Fill your pots with the well-draining potting mix. Make a small hole in the center with your finger or a pencil. Insert the cut end of the stem into the hole, ensuring at least one leaf node is below the soil surface. Gently firm the soil around the cutting.
- Water Gently: Water the potting mix thoroughly until it’s evenly moist, but not waterlogged.
The “Secret Sauce”
Here are a couple of tricks I’ve picked up over the years that really make a difference:
- Bottom Heat is Your Friend: Miconia absolutely loves a little warmth from below. Placing your pots on a heated propagation mat will significantly speed up root formation. It mimics the warm soil temperatures they experience in their native environment.
- The Humidity Hug: Once your cuttings are planted and watered, pop a clear plastic bag loosely over the pot, or place them under a propagation dome. This creates a humid microclimate, which is vital. Open it for a few minutes each day to allow for air circulation and to prevent fungal issues. Avoid letting the leaves touch the inside of the bag too much.
Aftercare & Troubleshooting
Once your cuttings have been planted, keep them in a bright location out of direct sunlight. The soil should remain consistently lightly moist. Think of it as keeping a damp sponge, not a soggy mess.
You’ll know your cuttings have rooted when you see new leaf growth, or if you gently tug on the cutting and feel a bit of resistance. This can take anywhere from 4 to 8 weeks, sometimes longer. Once roots have formed and they are showing good signs of new growth, you can gradually acclimate them to less humid conditions by opening the bag/dome for longer periods. Eventually, you can remove it entirely. Then, you can treat them like any other young plant.
The biggest pitfall you’ll encounter is rot. If your cuttings turn black and mushy, it’s a sign of too much moisture and not enough air circulation. This is why that well-draining soil and occasional airing out are so important! If you see a cutting looking sad and limp, it’s often too late, but it’s best to remove it to prevent any potential disease from spreading. Don’t get discouraged!
A Encouraging Closing
Propagating Miconia chiriquiensis is a delightful journey. There will be times when perfect cuttings suddenly turn sad, and that’s just part of the learning curve. Be patient, trust your instincts, and celebrate every success, no matter how small. Soon, you’ll have a whole new collection of these stunning plants to enjoy and share. Happy propagating!
Resource:
https://identify.plantnet.org/k-world-flora/species/Miconia%20chiriquiensis%20Almeda/data