Hey there, fellow plant lovers! I’m so excited to chat with you today about a truly special bloom: Meximalva filipes. This beauty, with its delicate, mission-bell-shaped flowers, brings such a whimsical charm to any garden. If you’ve ever admired its graceful presence and thought, “I wish I had more of those!”, then you’re in the right place. Propagating these lovelies is incredibly rewarding, letting you expand your collection or share the joy with friends. Now, I won’t sugarcoat it – Meximalva filipes can be a little bit particular, so while not impossible for a beginner, it leans towards the moderately easy side. A bit of patience and understanding go a long way here.
The Best Time to Start
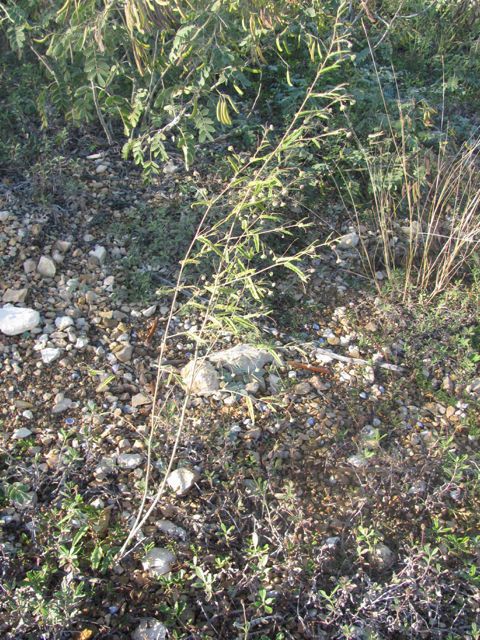
Timing is everything in the garden, right? For Meximalva filipes, you’ll find the highest success rates when you propagate from soft stem cuttings in the late spring or early summer. This is when the plant is in a vigorous growth phase, full of energy and ready to put out new roots. Taking cuttings from developing, but not yet woody, stems will give you the best chance of quick and healthy root development.
Supplies You’ll Need
Gathering your tools beforehand makes the whole process so much smoother. Here’s what I usually have on hand:
- Sharp, clean pruning shears or a craft knife: For making precise cuts.
- Rooting hormone powder or gel: This isn’t strictly essential for every plant, but for Meximalva filipes, it can really give your cuttings a boost.
- Small pots or propagation trays: With drainage holes, of course!
- A good quality potting mix: I like a blend that’s well-draining. A mix of equal parts peat moss or coco coir and perlite or coarse sand works wonders for me.
- A watering can or spray bottle: For gentle hydration.
- Plastic bags or a propagation dome: To create a humid environment.
Propagation Methods
Let’s get our hands dirty! Here’s how I tackle propagating Meximalva filipes, focusing on stem cuttings, which is generally the most successful route for this plant.
-
Take Your Cuttings: Look for healthy, non-flowering stems that are about 4-6 inches long. Using your sharp shears, make a clean cut just below a leaf node (where a leaf attaches to the stem). Remove the lower leaves, leaving just a few at the top. This helps prevent rot and reduces water loss.
-
Apply Rooting Hormone: Dip the cut end of the stem into your rooting hormone, tapping off any excess. This step is like giving your cutting a little encouragement to start building its root system.
-
Plant Your Cuttings: Fill your small pots or trays with your prepared potting mix. Make a small hole in the center with your finger or a pencil. Gently insert the cutting into the hole, firming the soil around it to ensure good contact.
-
Create a Humid Environment: This is crucial! Water the soil lightly until it’s evenly moist but not soggy. Then, cover the pot with a plastic bag or place it under a propagation dome. This traps humidity, which is vital for cuttings to root. Make sure the leaves aren’t touching the plastic if possible.
-
Provide Warmth and Light: Place your potted cuttings in a warm spot with bright, indirect light. Avoid direct, harsh sunlight, which can scorch the delicate leaves.
The “Secret Sauce” (Pro Tips)
Over the years, I’ve learned a few tricks that seem to make all the difference with fussy plants like this one.
- My favorite trick is to always use bottom heat. Placing your propagation tray on a gentle seedling heat mat can dramatically speed up root formation. It mimics the warmth of the soil in warmer climates and really encourages those roots to anchor themselves.
- Don’t be tempted to overwater! It’s a common mistake. Let the top inch of soil dry out slightly between waterings. Overwatering is the quickest way to invite rot, and nobody wants that. A gentle misting every few days can help keep the humidity up without waterlogging the soil.
- When you’re taking your cuttings, look for stems that have a bit of “give” – they should bend rather than snap. These are the best indicators of vigorous, healthy growth that’s most likely to root.
Aftercare & Troubleshooting
Once you start to see signs of roots – usually by gently tugging on the cutting and feeling resistance, or by seeing roots emerge from the drainage holes – it’s time to transition.
Gradually acclimate your new plant to its new environment by removing the plastic cover for increasing periods each day. Continue to water when the top inch of soil feels dry. At this stage, you can move it to a slightly larger pot if needed.
The most common sign of failure is rot. If your cutting turns black and mushy at the base or the leaves wilt dramatically and don’t perk up after watering, it’s likely rotted. This is usually a sign of too much moisture and not enough air circulation. If you see this, it’s best to discard the cutting and start fresh, paying closer attention to watering and humidity levels. Another sign of trouble is a cutting that just sits there, showing no signs of rooting or wilting. This could mean it’s not getting enough warmth or light, or perhaps the rooting hormone wasn’t effective.
A Word of Encouragement
Propagating plants is a beautiful dance with nature, and sometimes, the results aren’t what we hoped for. Don’t get discouraged if your first few attempts don’t take. Every cutting is a learning experience! Be patient, keep observing your plants, and celebrate each tiny root that appears as a victory. There’s so much joy in nurturing a new life from a simple stem. Happy propagating!
Resource:
https://identify.plantnet.org/k-world-flora/species/Meximalva%20filipes%20(A.Gray)%20Fryxell/data