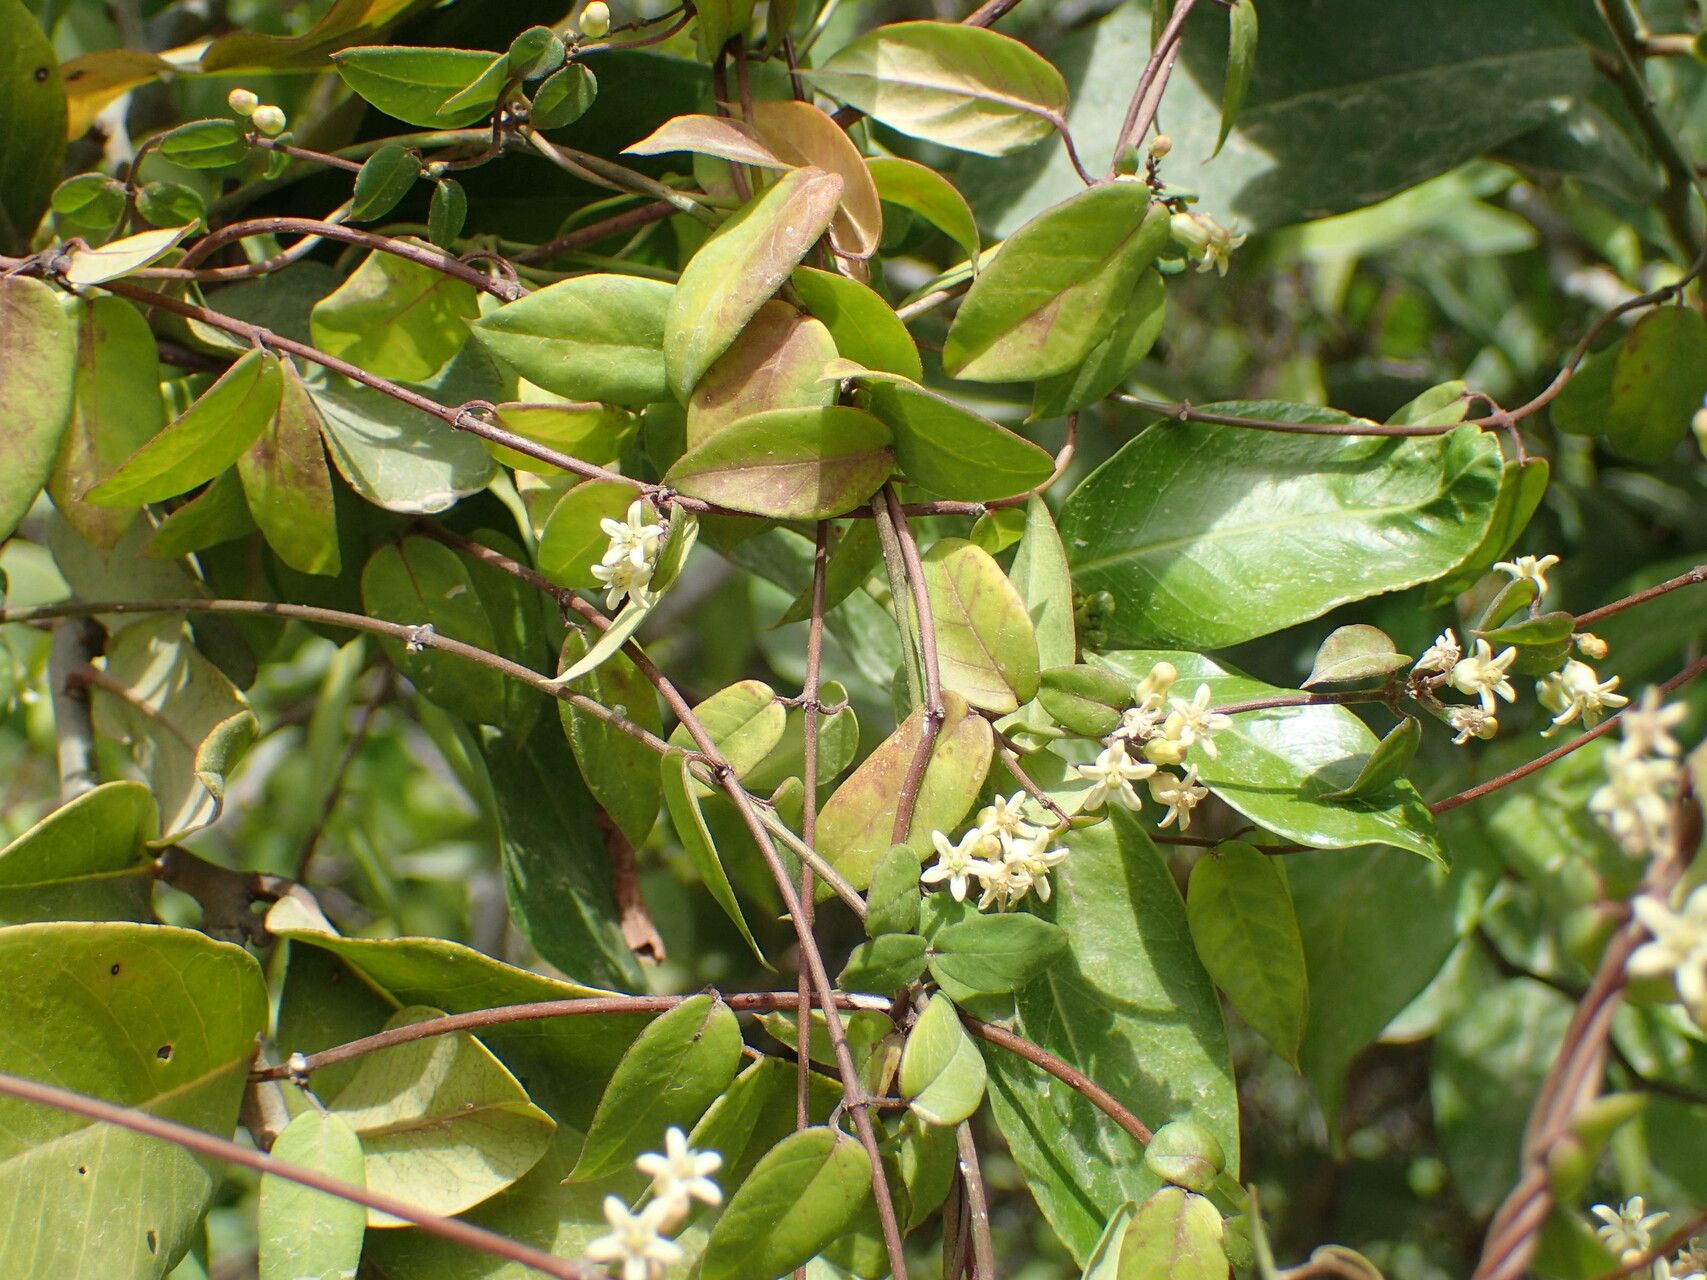
Oh, Metastelma martinicense! You know, I’ve always been a sucker for those delicate, star-shaped blooms and the way their leaves catch the light. It’s a plant that just whispers elegance, and there’s something so satisfying about having more of them gracing your space. Propagating it, though, can feel a bit like coaxing a shy friend to join the party. It’s not the easiest plant for a complete beginner, but with a little patience and these tips, I promise you’ll be rewarded with plenty of new little Metastelmas to share.
The Best Time to Start
My personal favorite time to take cuttings is during the active growing season, which for us usually means late spring through summer. The plant is buzzing with energy then, and your cuttings will have a much better chance of rooting quickly. Avoid trying to propagate when the plant is stressed, like during a heatwave or if it’s just been repotted.
Supplies You’ll Need
To set yourself up for success, gather these handy items:
- Sharp Propagation Knife or Pruning Shears: Cleanliness is key! Make sure they are sterilized.
- Rooting Hormone (Optional, but Recommended): A little powdered magic can really speed things up.
- Well-Draining Potting Mix: I like to use a blend of regular potting soil with perlite or coarse sand for excellent drainage. Think about a cactus or succulent mix.
- Small Pots or Seedling Trays: Whatever you have on hand will work. Just make sure they have drainage holes.
- Plastic Bag or Propagator: To create a humid microclimate.
- Watering Can with a Fine Rose: For gentle watering.
- Small Labels and a Pen: To keep track of what you’ve propagated.
Propagation Methods
I’ve found the most reliable method for Metastelma martinicense is through stem cuttings. It’s straightforward and usually yields great results.
Stem Cuttings:
- Select a Healthy Stem: Look for a stem that is mature but not woody. A good cutting will be about 4-6 inches long and have at least a couple of leaf nodes.
- Make the Cut: Using your clean knife or shears, make a clean cut just below a leaf node. This is where the magic happens; roots are more likely to emerge from these points.
- Prepare the Cutting: Gently remove the lower leaves from the cutting, leaving just a few at the top. This prevents them from rotting when buried.
- Apply Rooting Hormone (Optional): Dip the cut end into rooting hormone, tapping off any excess. It’s not strictly necessary, but it can give your cutting a helpful boost.
- Plant the Cutting: Fill your small pot with your well-draining potting mix. Make a hole with your finger or a pencil, and insert the cut end of the stem into the soil. Gently firm the soil around it.
- Water Gently: Water the soil thoroughly but softly until you see water draining from the bottom of the pot.
- Create Humidity: Cover the entire pot with a clear plastic bag, or place it inside a propagator. This traps moisture around the cutting, mimicking the humid environment it craves. You can use stakes to keep the bag from touching the leaves.
- Find a Warm Spot: Place the pot in a bright spot away from direct, harsh sunlight. A spot with bright, indirect light and consistent warmth is ideal.
The “Secret Sauce” (Pro Tips)
Here are a couple of tricks I’ve learned over the years that can make a real difference:
- Don’t Overwater the Soil: This is probably the most common mistake. You want the soil to be consistently moist, not soggy. Soggy soil is a fast track to rot. I like to check the moisture by gently poking my finger into the soil; if it feels dry an inch down, it’s time for a light watering.
- The Bottom Heat Advantage: If you can, placing your pots on a gentle heating mat designed for seedlings can significantly speed up root development. Metastelma roots love a bit of warmth from below.
Aftercare & Troubleshooting
Once you start to see signs of rooting – usually a gentle tug on the cutting reveals resistance, or you might see new growth emerging – you can gradually introduce it to slightly less humid conditions. Carefully remove the plastic bag for increasingly longer periods over a week or two. Continue to water sparingly and keep it in bright, indirect light.
If your cuttings turn yellow and mushy, or the stem goes black and papery, that’s usually a sign of rot. This almost always comes down to overwatering and poor drainage. Don’t be discouraged; just clean your pot, sterilize your tools, and try again with your next batch!
A Encouraging Closing
Propagating plants is a journey, and sometimes it feels like a bit of a gamble. But with Metastelma martinicense, the rewards are absolutely worth it. Be patient, observe your cuttings closely, and enjoy the process of coaxing new life from your cherished plants. Happy propagating!
Resource:
https://identify.plantnet.org/k-world-flora/species/Metastelma%20martinicense%20Schltr./data