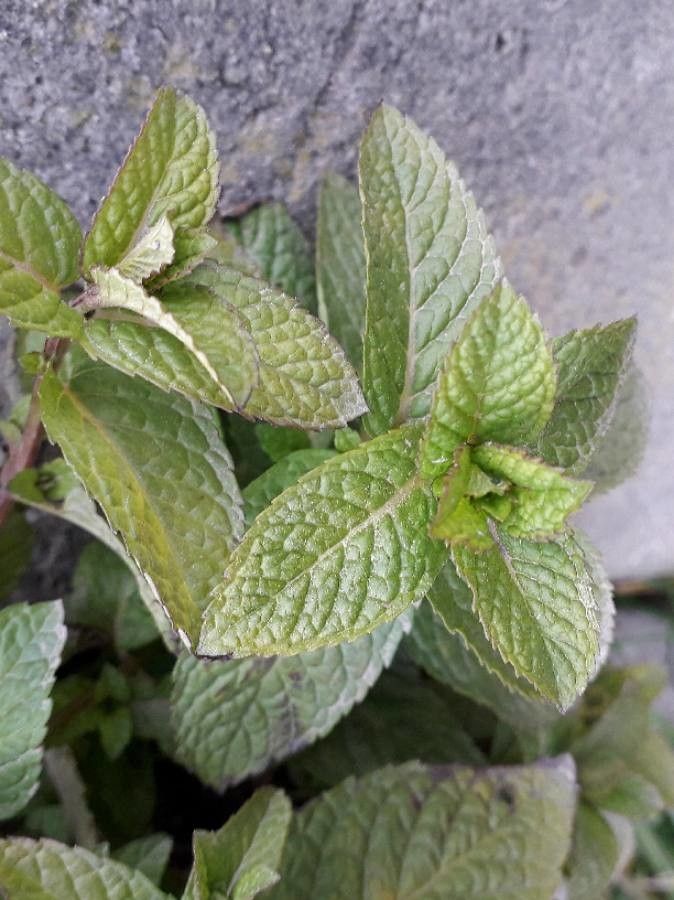
Oh, hello there! Pull up a chair, wouldn’t you? I’ve got a fresh pot of something warm brewing, and I thought we could chat about a plant that brings me so much joy: spearmint, or Mentha spicata as you’ll often see it listed.
There’s something so wonderfully refreshing about spearmint. That bright, clean scent that wafts through the garden, the way those lovely serrated leaves are just begging to be snipped for a cup of tea or a fresh garnish. And the best part? It’s incredibly generous! Propagating spearmint is one of those truly satisfying gardening activities, and I’m thrilled to share how you can do it. Don’t shy away if you’re new to this; spearmint is a fantastic plant to get your hands dirty with when you’re just starting out. It’s remarkably forgiving.
The Best Time to Start
For the absolute highest success rate, I always reach for my pruning shears in the late spring or early summer. This is when the plant is in its most vigorous growth phase. The stems are plump and full of energy, just waiting to sprout new roots. You can also have good luck with softwood cuttings in early autumn, but spring is my go-to for a strong start.
Supplies You’ll Need
Gathering your tools makes the whole process smoother. Here’s what I usually have on hand:
- Clean, sharp pruning shears or scissors: No one likes a smashed stem!
- Small pots or trays: Anything from little plastic ones to terracotta will work. Make sure they have drainage holes.
- A good potting mix: I prefer a light, well-draining potting mix for starting cuttings. You can even mix in some perlite for extra aeration.
- Rooting hormone (optional): While spearmint is happy to root without it, a little dip can speed things up. Choose a powder or gel form.
- Water: For hydrating your cuttings and keeping your soil moist.
- A plastic bag or propagation dome: To create a humid environment.
Propagation Methods
Spearmint is wonderfully adaptable, and you have a couple of excellent ways to multiply your plants.
Stem Cuttings (My Favorite!)
This is my go-to method, and it’s just so straightforward.
- Take Your Cuttings: Look for healthy, non-flowering stems from your mature spearmint plant. Using your clean pruning shears, snip stems that are about 4-6 inches long. Try to take them just below a leaf node (the point where a leaf attaches to the stem).
- Prepare the Cuttings: Gently remove the leaves from the bottom half of each cutting. We want to avoid any leaves being submerged in soil or water later on, as this can lead to rot. You can leave the top couple of leaves intact.
- Add Rooting Hormone (Optional): If you’re using rooting hormone, dip the cut end of each stem into the powder or gel. Tap off any excess.
- Plant Them Up: Fill your small pots with your chosen potting mix. Make a little hole in the center with your finger or a pencil. Insert the prepared cuttings into the holes, burying the leafless part of the stem. Gently firm the soil around each cutting to ensure good contact.
- Water and Cover: Water the soil gently until it’s moist but not soggy. Now, here’s the crucial part for success: cover the pots with a plastic bag or a propagation dome. This traps humidity, which is what your cuttings need to develop roots before they can absorb water through them. You can secure the bag with a rubber band.
Water Propagation
This method is incredibly visual and satisfying to watch!
- Select and Prepare Cuttings: Again, take 4-6 inch stem cuttings from healthy spearmint. Remove the leaves from the bottom two-thirds of the stem.
- Place in Water: Find a clean glass or jar and fill it with fresh water. Place your cuttings in the jar, ensuring that no leaves are below the waterline.
- Find a Good Spot: Place the jar in a bright spot, but out of direct, scorching sunlight. Think of a windowsill that gets bright indirect light.
- Change the Water: This is important! Change the water every few days, or whenever it starts to look cloudy. This keeps it fresh and prevents bacteria from building up.
The “Secret Sauce” (Pro Tips)
After all these years, a few little tricks just make things work better.
- Don’t Overcrowd Your Pots: Give your cuttings a little space. If they’re too close, they can compete for light and air circulation, and it makes them more susceptible to fungal issues. I like to put 3-4 cuttings per small pot, but not pack them in.
- The Power of Bottom Heat: While spearmint is pretty tough, giving your cuttings a little warmth from below can truly work wonders. If you have a seed starting mat, place your pots on it. It mimics the warmth of spring soil and encourages faster root development. You don’t need it to be hot, just pleasantly warm to the touch.
- Be Patient with the “Hair”: When you see tiny white, hair-like structures emerging from the cutting, those are your new roots! Resist the urge to tug or disturb them. They’re delicate, and they’ll strengthen over time.
Aftercare & Troubleshooting
Once you see those little roots forming, you’re on your way!
For Stem Cuttings: Once the cuttings have a good network of roots (you might see them peeking out the drainage holes or gently tugging on them reveals resistance), it’s time to remove the plastic cover. Continue to water them regularly, keeping the soil lightly moist. When they look established and are actively growing new leaves, you can transplant them into slightly larger pots or directly into your garden.
For Water Cuttings: When your water-rooted cuttings have roots that are 1-2 inches long, they are ready to be planted. Gently pot them into your well-draining potting mix, just as you would with the stem cuttings. Water thoroughly and then keep the soil consistently moist for the first week or two.
The most common issue you’ll encounter is rot, especially with water propagation if the water isn’t changed or if leaves are submerged. Cuttings will turn black and mushy. If you see this, sadly, it’s time to discard that cutting and try again, making sure your water is clean and your leaves are high and dry! Yellowing leaves can sometimes indicate too much or too little water, so it’s a balancing act.
A Encouraging Closing
Gardening is wonderfully about patience and learning. You’ll get a feel for what your little spearmint cuttings need. Don’t be discouraged if a few don’t make it – that’s part of the journey! Enjoy the process, the connection to nature, and soon you’ll have a whole patch of this delightful spearmint to enjoy. Happy propagating!
Resource:
https://identify.plantnet.org/k-world-flora/species/Mentha%20spicata%20L./data