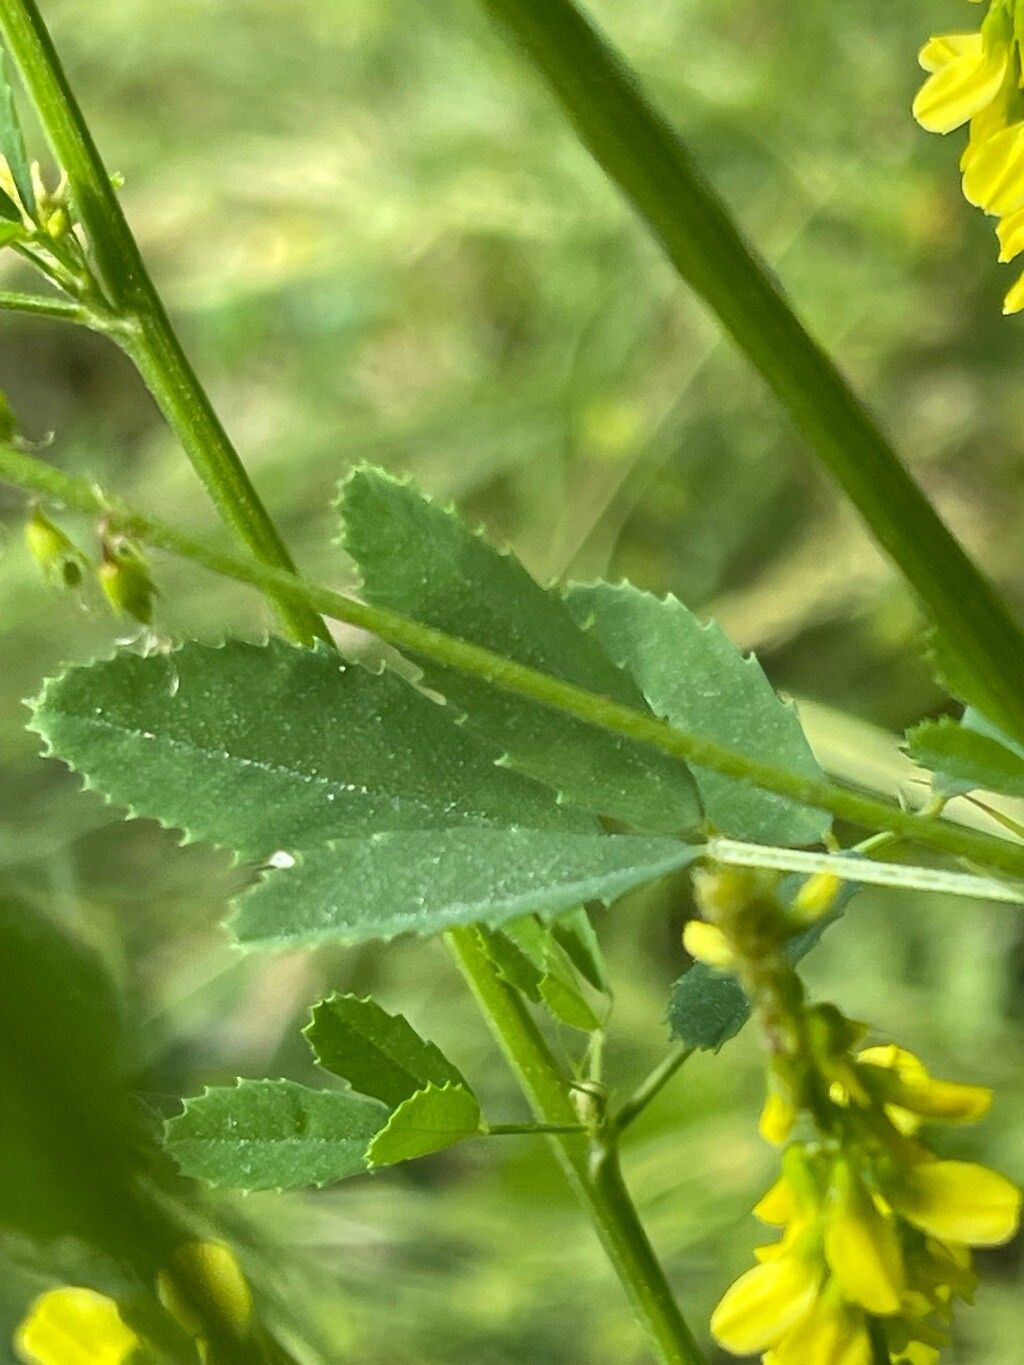
Hello fellow garden enthusiasts! It’s so wonderful to have you here. Today, we’re diving into the world of Melilotus altissimus, also known as Tall Yellow Sweet Clover. If you’ve ever admired its tall, elegant spires of fragrant yellow flowers that seem to hum with pollinators, you know why it’s so special. It brings a wonderful, almost wild charm to any garden space and is a real magnet for bees and butterflies. Propagating it yourself can be incredibly rewarding – it’s like bottling sunshine! And for those of you just starting out on your gardening journey, you’ll be happy to know that Melilotus altissimus is generally quite forgiving and a joy to propagate.
The Best Time to Start
When it comes to getting the most bang for your buck with propagation, late spring or early summer is your golden window. This is when the plant is actively growing and has plenty of energy reserves to put into developing new roots. You’ll want to look for stems that are firm and developing, but not yet woody. Think of it as picking a healthy young branch, rather than a brittle old twig.
Supplies You’ll Need
Here’s what you’ll want to have on hand before you get started:
- Sharp pruning shears or a clean, sharp knife: Essential for making clean cuts that heal well.
- A well-draining potting mix: I like to use a 50/50 blend of peat moss and perlite, or a good quality seedling starter mix.
- Small pots or seed trays: Clean containers are a must to prevent disease.
- Rooting hormone powder or gel (optional but recommended): This really gives your cuttings a boost.
- Plastic bags or a propagation dome: To create a humid environment.
- Watering can with a fine rose: For gentle watering.
- Gloves: To keep your hands clean and protect them from any sap.
Propagation Methods
For Melilotus altissimus, I find stem cuttings to be the most reliable and straightforward method. It’s how I’ve had the best success year after year.
Here’s how we’ll do it:
- Take Your Cuttings: On your chosen day (remember, late spring/early summer!), select healthy stems from your mature plant. Using your clean shears, cut sections that are about 4-6 inches long. Make your cut just below a leaf node – that little bump on the stem where the leaves grow from. This is where roots love to emerge.
- Prepare the Cuttings: Gently remove the leaves from the bottom half of each cutting. You want one or two sets of leaves left at the top to help with photosynthesis. If the remaining leaves are very large, you can even cut them in half horizontally to reduce water loss.
- Apply Rooting Hormone (Optional): Dip the cut end of each stem into your rooting hormone, tapping off any excess. This step can significantly speed up rooting and improve your success rate, especially for tougher-to-root plants.
- Plant Your Cuttings: Fill your clean pots with your well-draining potting mix. Make a small hole in the center with your finger or a pencil. Insert the prepared cutting into the hole, ensuring the rooting hormone (if used) doesn’t get rubbed off. Gently firm the soil around the stem. You can put several cuttings in one pot, as long as they aren’t touching each other.
- Create a Humid Environment: Water the soil gently until it’s evenly moist but not soggy. Then, cover the pots with a clear plastic bag, forming a mini-greenhouse. You can use a propagation dome if you have one. The goal is to trap humidity around the cuttings.
The “Secret Sauce” (Pro Tips)
Now, for a little something extra to help you shine:
- The “Heel” Trick: Sometimes, if you can carefully take a cutting that includes a tiny sliver of the old wood from the parent plant, it can give it an extra advantage. Think of it like a little starter pack of energy.
- Bottom Heat is Your Friend: If you have it, placing your pots on a gentle heat mat can really speed up root development. It mimics the warmth of the soil in spring and encourages those roots to grow with enthusiasm.
- Don’t Crowd Your Cuttings: While it’s tempting to pack a pot full, giving them a little space prevents disease from spreading too quickly if one cuttings starts to struggle.
Aftercare & Troubleshooting
Once your cuttings are planted, place them in a bright spot out of direct sunlight. We want warmth and light, but too much sun can scorch those tender new leaves. Keep the soil consistently moist but not waterlogged. You’ll want to remove the plastic cover for an hour or so each day to allow for air circulation and to check on your babies.
You’ll know your cuttings have rooted when you see new growth appearing at the top, or if you gently tug on a stem and feel a little resistance. This usually takes anywhere from 4 to 8 weeks.
Now, what about when things go wrong? The most common culprit is rot. If you see a cutting turning mushy, black, or developing fuzzy mold, it’s a sign of too much moisture or poor air circulation. Unfortunately, these are usually lost causes. Discard any rotting cuttings promptly to prevent it from spreading. Sometimes, cuttings just don’t root – that’s part of the learning process! Don’t get discouraged.
A Encouraging Closing
Growing new plants from cuttings is such a magical process. It takes a bit of patience and a watchful eye, but the reward of seeing those tiny roots form and then watching your new little sweet clovers grow is truly immense. Be patient with yourself and with your plants. Every gardener, no matter how experienced, has had cuttings that didn’t make it. The joy is in the trying, the learning, and ultimately, the thriving! Happy propagating!
Resource:
https://identify.plantnet.org/k-world-flora/species/Melilotus%20altissimus%20Thuill./data