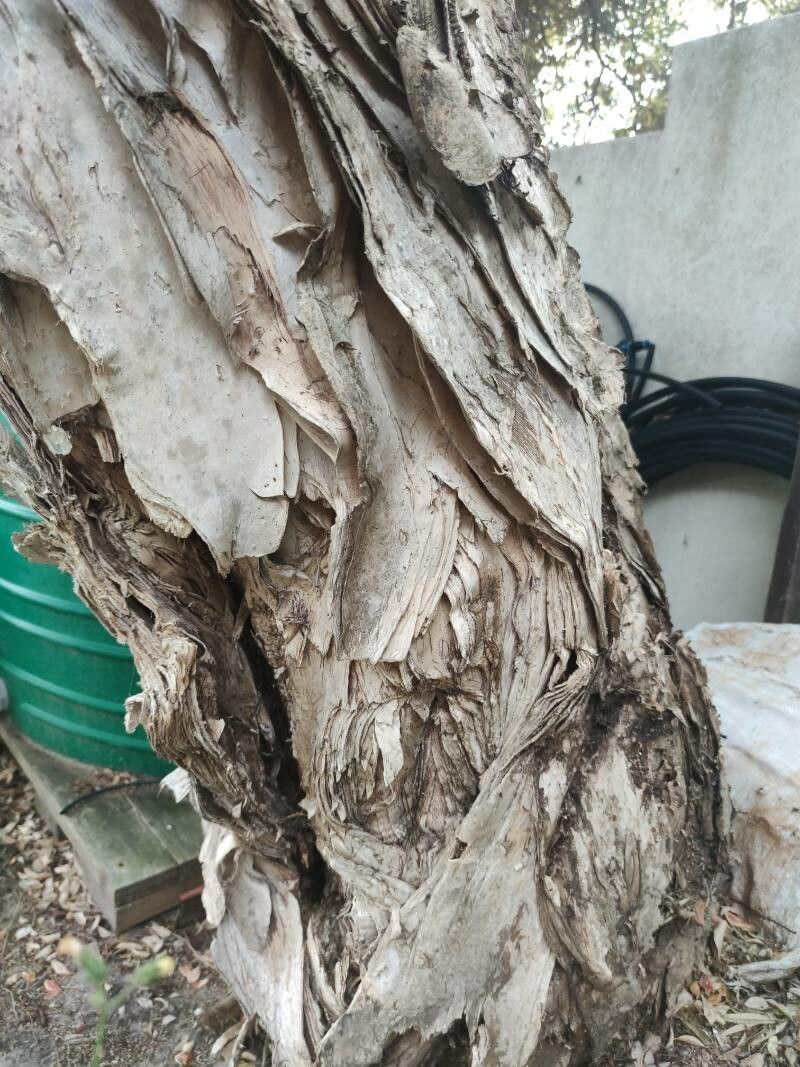
Oh, hello there, fellow plant lover! Today, we’re diving into the wonderful world of Melaleuca ericifolia, or as some of us affectionately call it, the Rosalind’s Honey Myrtle. Isn’t she a beauty? With her delicate, heath-like foliage and those soft, creamy bottlebrush flowers that hum with pollinator activity, it’s no wonder she’s become such a garden favorite. Growing her from scratch? That’s a truly rewarding experience. And you might be surprised to hear this, but propagating Melaleuca ericifolia is quite approachable, even for those of you just starting your green-thumb journey.
The Best Time to Start
For the happiest cuttings and the best chance of success, think late spring to mid-summer. This is when your Melaleuca is in its active growth phase. The stems are flexible, full of energy, and just yearning to put down some roots. Waiting until after the main flush of flowering can also be a good time, as the plant has had a chance to really build up its reserves.
Supplies You’ll Need
Gathering your tools beforehand makes the whole process so much smoother. Here’s what I recommend:
- Sharp, clean pruning shears or a craft knife: For making those crucial, clean cuts.
- Rooting hormone powder (optional but helpful): For that extra boost to encourage root development.
- A well-draining potting mix: I find a 50/50 blend of perlite and peat moss or coco coir works wonders for Melaleuca. You can also buy specific cactus and succulent mixes, which are often a good base.
- Small pots or trays: About 3-4 inches in size is perfect for cuttings. Make sure they have drainage holes!
- Plastic bags or a propagation dome: To create a humid environment for your cuttings.
- A spray bottle: For gentle misting.
- Dibber or pencil: To make a pilot hole for inserting cuttings.
Propagation Methods
Let’s get our hands dirty! Stem cuttings are generally the most successful method for Melaleuca ericifolia.
Stem Cuttings
- Select your stems: Gently bend a young, semi-hardwood stem. If it snaps cleanly, it’s a good candidate. You’re looking for stems that are no longer bright green and floppy, but not yet woody and brittle. Aim for cuttings about 4-6 inches long.
- Make your cut: Using your sharp tool, make a clean cut just below a leaf node. This is where the plant’s natural rooting hormones are concentrated.
- Prepare the cutting: Remove the lower leaves, leaving just a few at the top to photosynthesize. If your leaves are large, you can even cut them in half to reduce water loss.
- Apply rooting hormone (optional): Dip the cut end into your rooting hormone powder, tapping off any excess.
- Plant your cutting: Fill your small pots with the well-draining mix. Make a pilot hole with a dibber or pencil. Gently insert the cutting into the hole, ensuring the leaf nodes are below the soil surface. Lightly firm the soil around it.
- Create humidity: Water the soil gently until it’s moist but not waterlogged. Cover the pot with a plastic bag or place it inside a propagation dome, ensuring the leaves don’t touch the plastic if possible. Poke a few holes in the bag for air circulation.
- Find a happy spot: Place the pots in a bright location out of direct, harsh sunlight. A windowsill that gets morning sun is often ideal.
Water Propagation (Less Common, but worth a try!)
While stem cuttings are my go-to, sometimes you can get lucky with water!
- Follow steps 1-3 from the stem cutting method.
- Place the cutting in a jar or vase of clean water.
- Crucially, ensure no leaves are submerged in the water. Leaves in water will rot and can take your whole cutting down with them.
- Change the water every few days to keep it fresh.
- Place in a bright location away from direct sun. Roots should appear in a few weeks. Once they are an inch or so long, you can try planting them in your prepared potting mix, but be very gentle as water roots are delicate.
The “Secret Sauce” (Pro Tips)
Here are a few little tricks I’ve learned over the years that can make a big difference:
- Bottom Heat is Your Friend: Melaleucaericifolia loves a little warmth from below to encourage root formation. Placing your pots on a propagation mat or even on top of a gently warmed refrigerator can significantly speed things up. Just make sure it’s not too hot – think warm to the touch, not hot!
- Don’t Be Afraid to Mist: While you want to avoid waterlogged soil, lightly misting the leaves every other day can help keep your cuttings from drying out, especially if you don’t have a perfect dome.
- Patience is Key, and So is Observation: Don’t despair if you don’t see roots immediately. Some plants take their sweet time. Gently tugging on a cutting after a few weeks – if there’s resistance, you’ve got roots! If it pulls out easily, it might not have taken.
Aftercare & Troubleshooting
Once you see those lovely little roots emerging from the drainage holes, it’s time to transition your new plant.
- Gradually acclimate: If you’ve been using a plastic bag or dome, start by removing it for increasingly longer periods over a week to get your plant used to normal humidity levels.
- Repotting: Once the roots are well-established and filling the pot, you can transplant your little Melaleuca into a slightly larger pot with fresh, well-draining soil.
- Watering: Water thoroughly when the top inch of soil feels dry. Melaleucas, once established, are quite drought-tolerant, but young plants need consistent moisture.
- Troubleshooting: The most common issue is rot. This usually happens from overwatering and poor drainage. If your cutting looks black and mushy at the base, it’s likely succumbed to rot. Discard it and start again, paying close attention to your watering and drainage. Yellowing leaves can sometimes indicate too little light, while wilting might mean it’s drying out too much.
A Little Encouragement
See? It’s not so daunting after all! Propagating Melaleuca ericifolia is a wonderful way to fill your garden with these charming shrubs or to share the joy with friends. Remember to be patient with your little green babies, observe them closely, and don’t be afraid to learn from any missteps. Happy propagating, and may your Roslynd’s Honey Myrtle bloom abundantly!
Resource:
https://identify.plantnet.org/k-world-flora/species/Melaleuca%20ericifolia%20Sm./data